 It’s here! It’s here! It’s Sale-a-bration time! Are you ready? Sale-a-bration is a stamper’s favorite time of year! Woo Hoo! What can you get out of it? Well, let me tell you!
Shop: Choose any of the Sale-a-bration exclusive products for FREE with each $50 purchase! FREE stuff….Woo Hoo! Have you made out your wish list yet?
Host: Host a party or class. You can earn $30 more in FREE products with a qualifying party. Pick a date! Let’s get that party planned!
Join: Join my team of SASsy Stampers and receive $150 worth of product for just $99! And as an added incentive….Stampin’ Up! will waive your registration for this summer’s convention! That’s almost a $300 value!
Contact me today for more information on any of these fabulous Sale-a-bration opportunities!
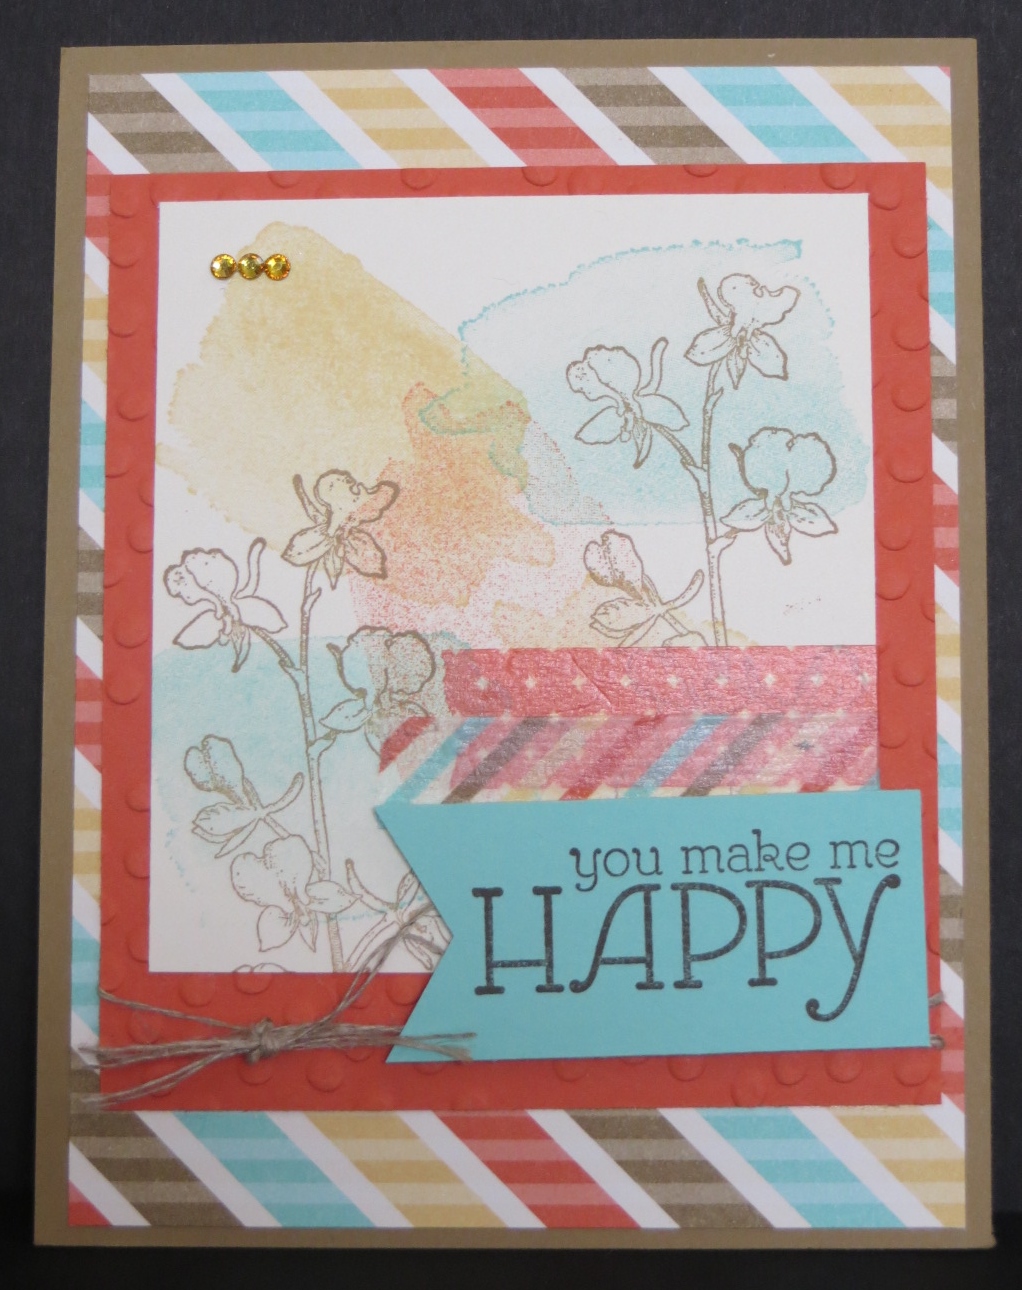
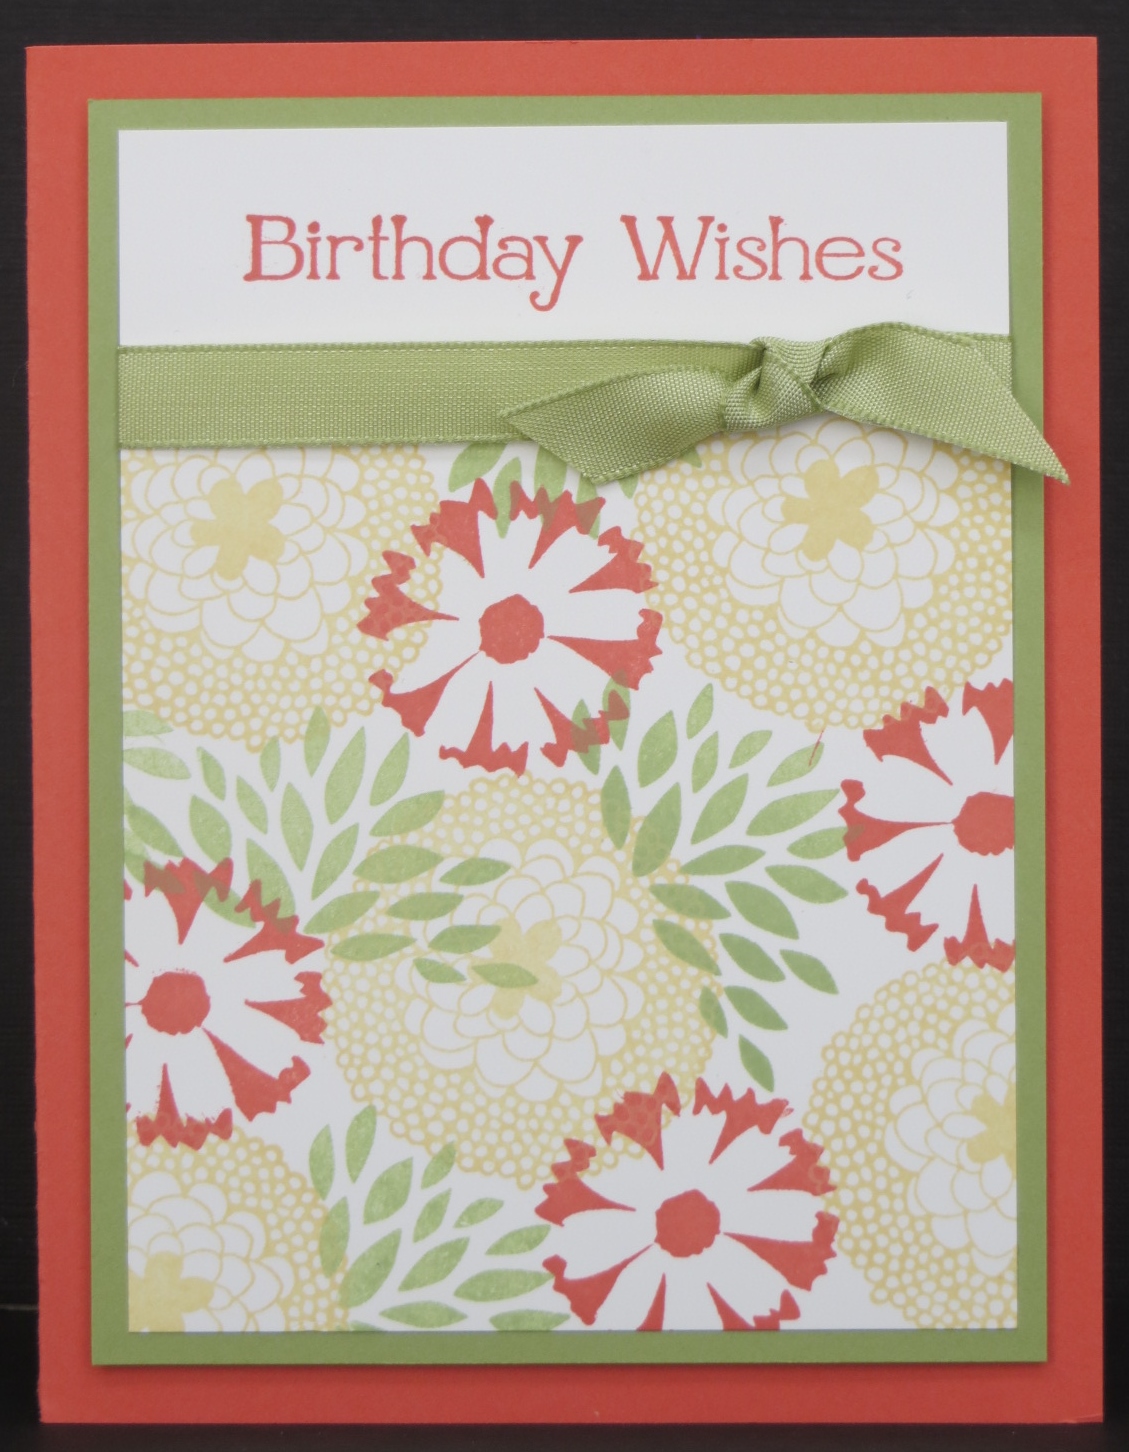
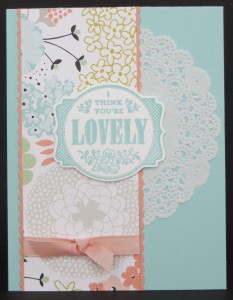
Today’s card is made with a few of the fabulous items you can choose for FREE with a $50 purchase. I used the You’re Lovely stamp set and the Sweet Sorbet Designer Paper. Aren’t they fun?
I did mention that it’s Technique Tuesday so I suppose you’re wondering what the technique is. Well, check out the ribbon. It’s Crisp Cantaloupe but Stampin’ Up! doesn’t sell Crisp Cantaloupe taffeta ribbon. Hmmm….how did I do that? It was SO easy! I put some 70% rubbing alcohol and some Crisp Cantaloupe ink refill in one of our Spritzers and spritzed some Whisper White taffeta ribbon! Tada! Crisp Cantaloupe taffeta ribbon! Give it a try! This is an easy way to get ribbon in any of Stampin’ Up!’s colors!
Have a great day! Take care and Happy Stamping!

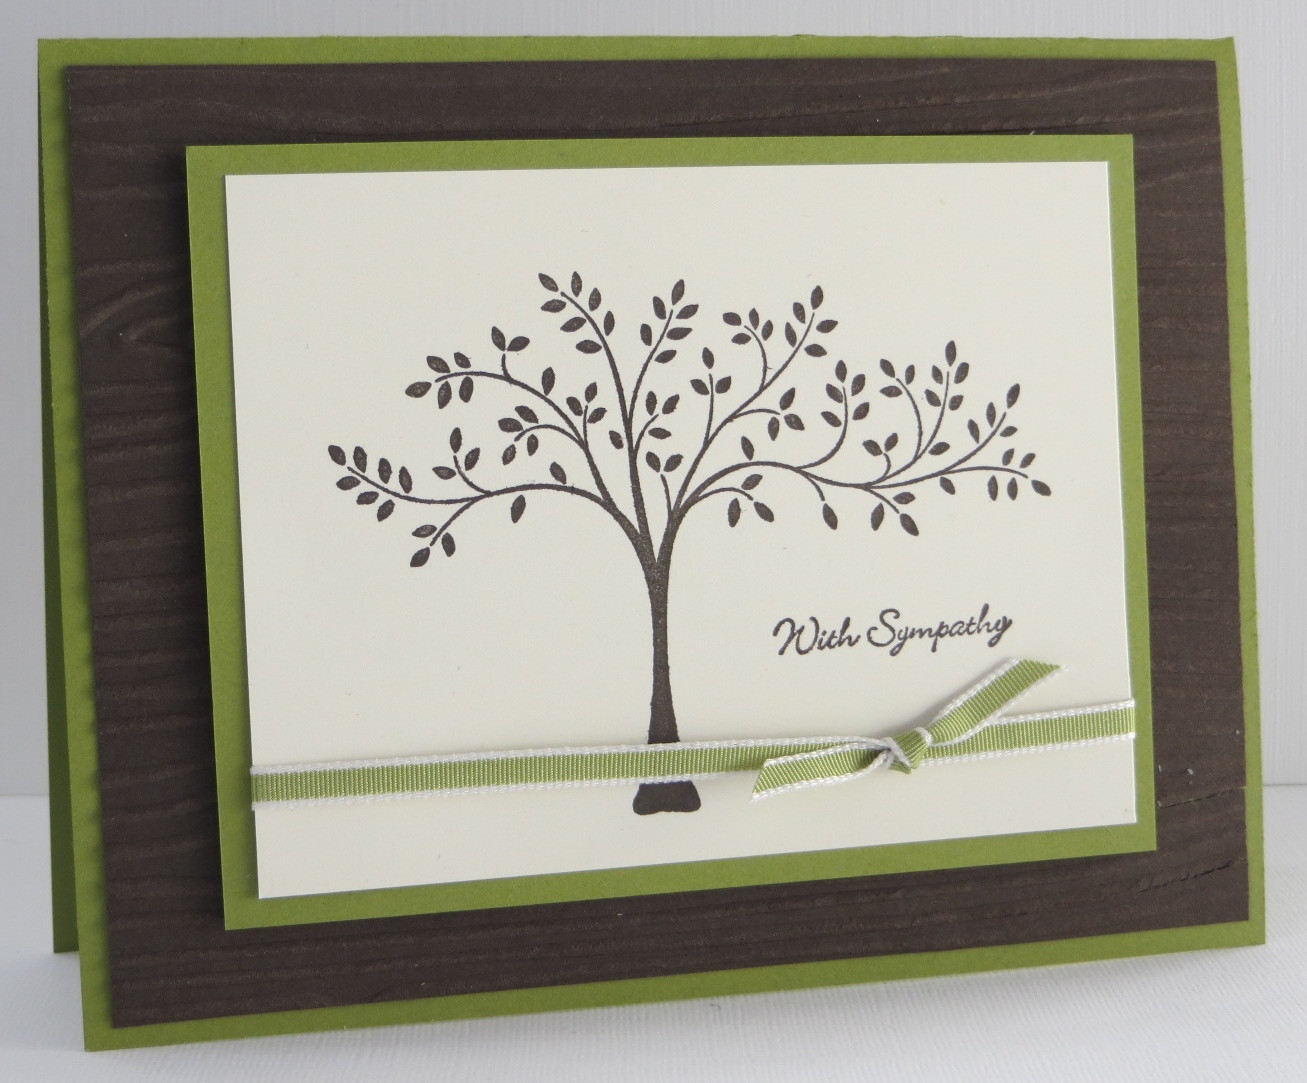
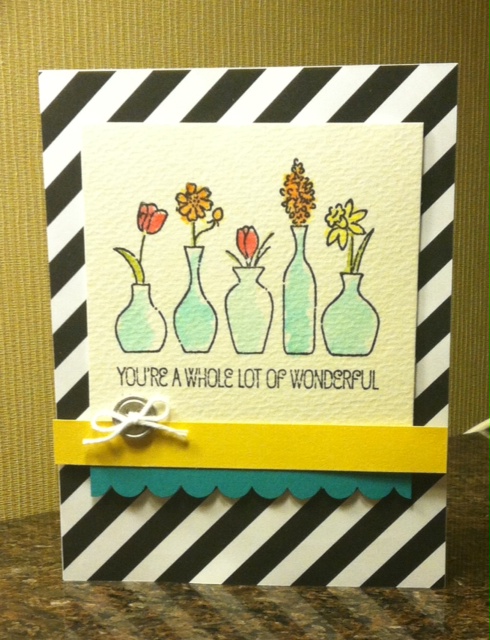
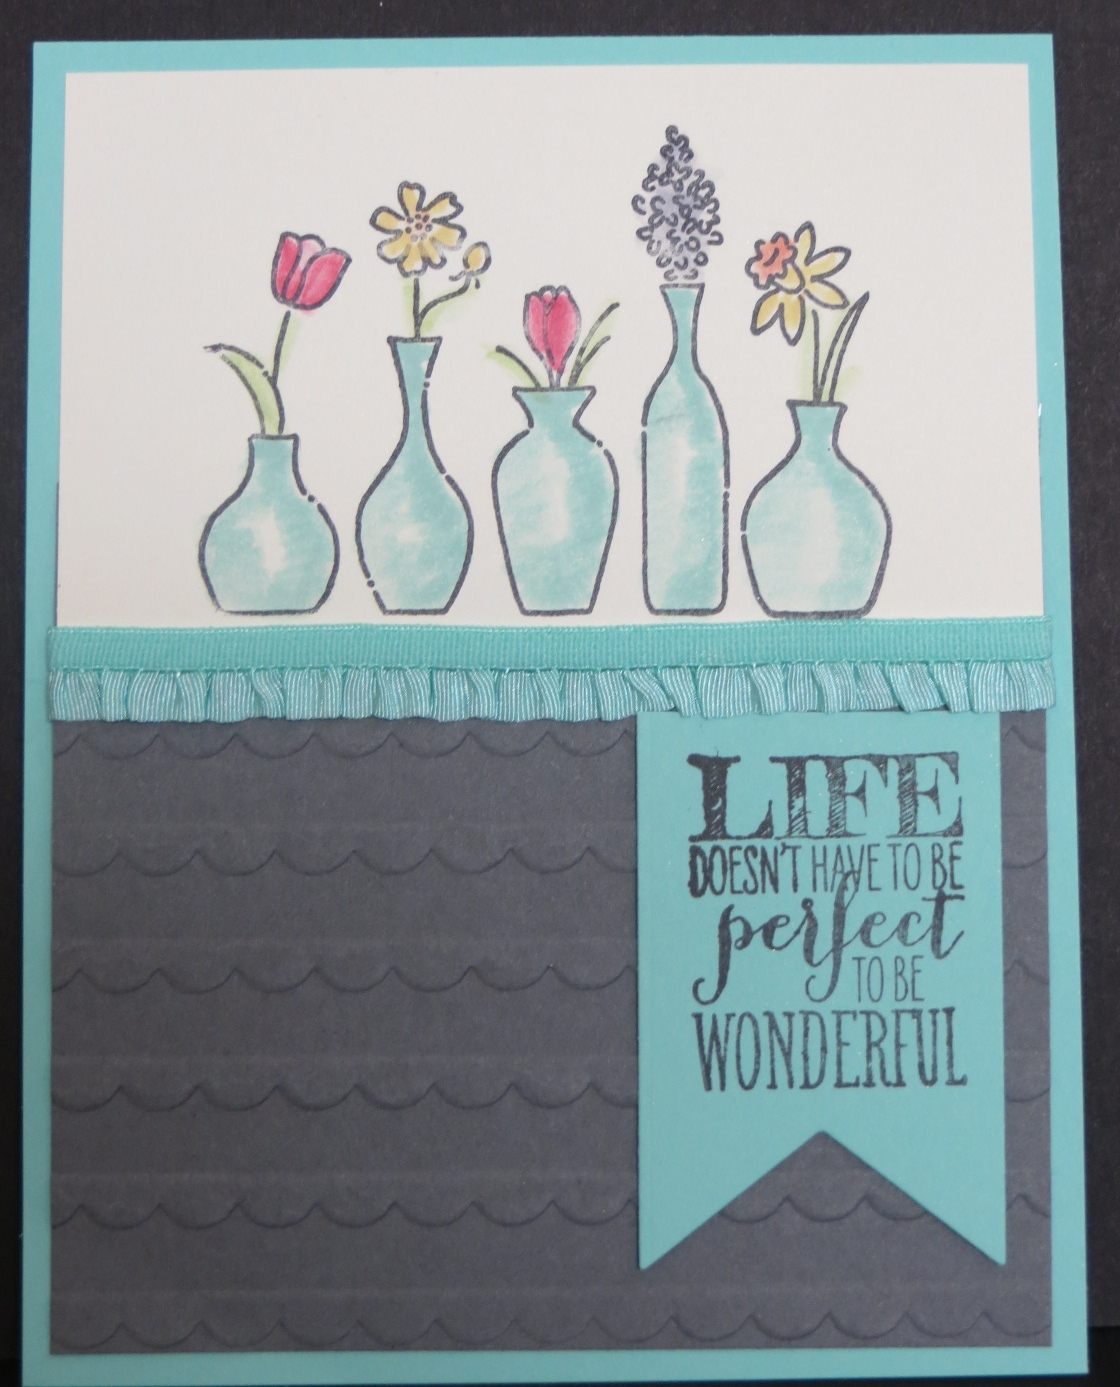 Today I have another swap card from a fellow demonstrator to share with you. Isn’t it pretty? I love the way Sandra highlighted the vases from the Vivid Vase stamp, don’t you?