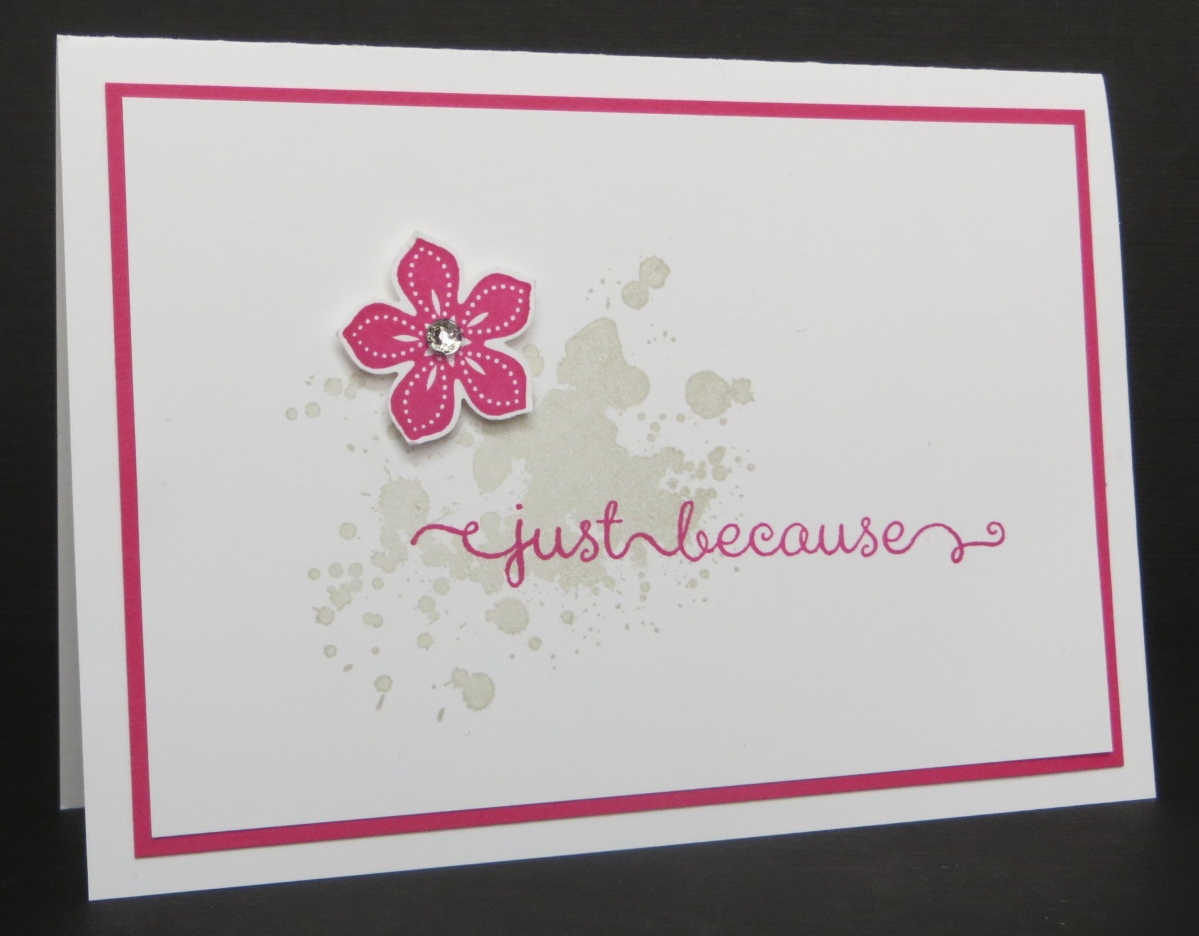
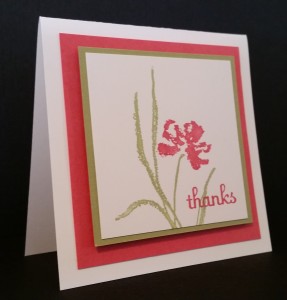
 It’s 3 x 3 Thursday again and today I have a beauty for you! I’ve always loved this Love & Sympathy stamp set. This flower just called to me. This is actually the second one of these sets that I had to get. I must have loaned the first one out to someone and never got it back. I couldn’t do without the set so I had to get set number two. Lucky for me this stamp set isn’t on the retired set. I’d be rather sad if it was. This set has some beautiful phrases for sympathy cards. It’s definitely a set that will stay in my stash even when it does end up on the retired list.
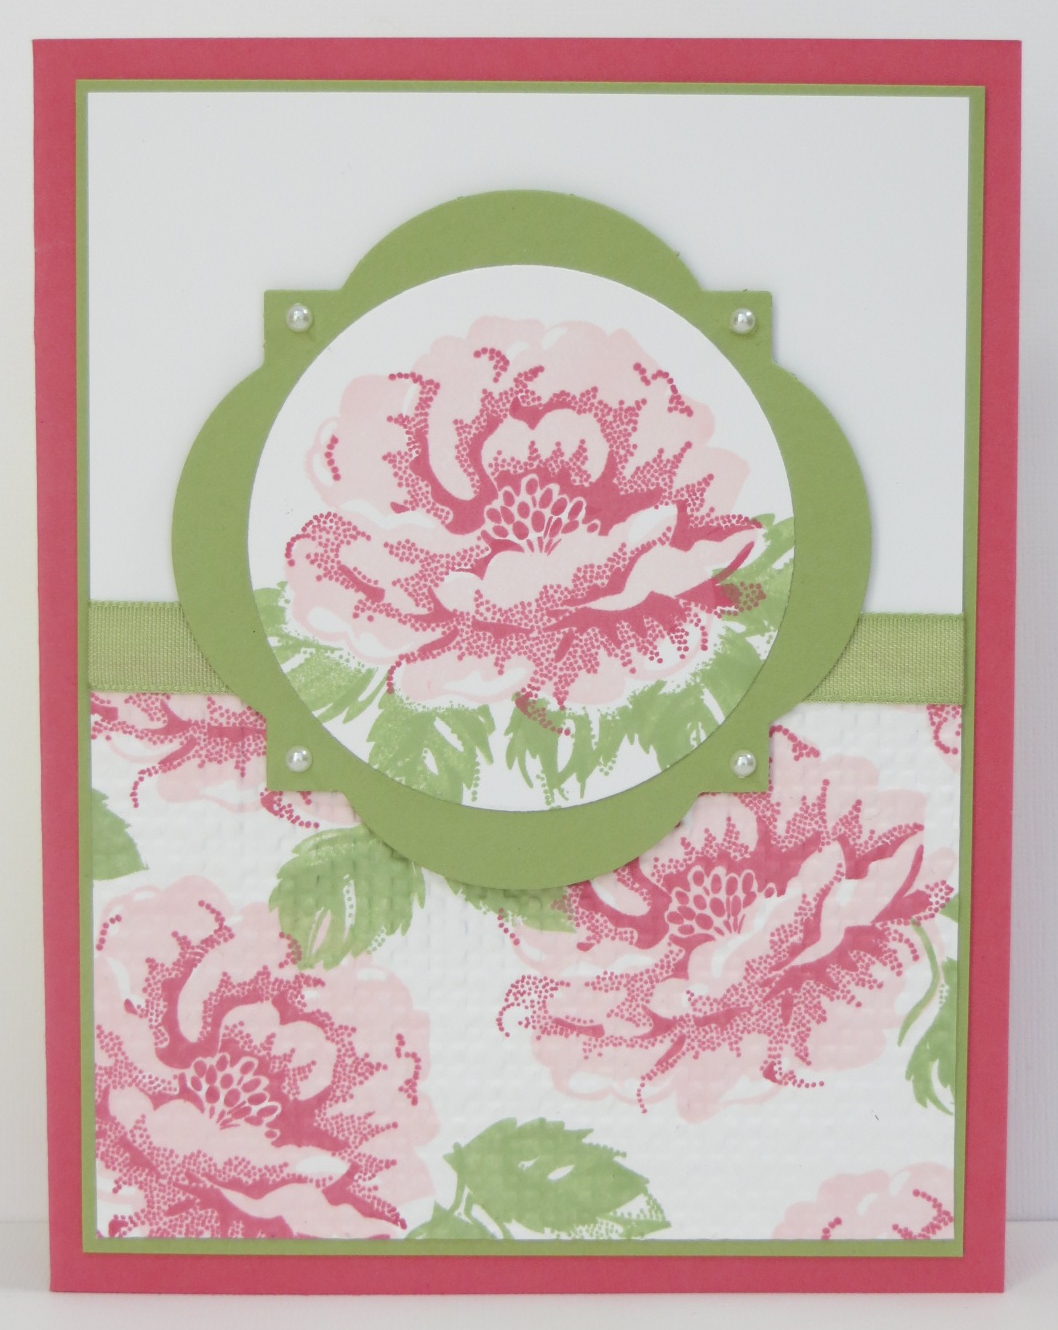
Melon Mambo may be my favorite PINK, but Strawberry Slush, which I used on this little card, comes in a close second. And of course, everything goes better with Pear Pizzazz! 🙂
These little 3 x 3 cards are fun and easy to make. It’s funny, but when I make them I always have them open bottom to top instead of right to left. Not sure why….
Yesterday I received my Project Life products that I got to order early as a demonstrator. Woo Hoo!. They’re pretty cute. I just too a quick glance at them but I plan on digging in and creating with them in the next day or two. I’ll be sure to share. I think the hardest part of using this great new product will be deciding on what photos to use. Do I start with photos on my computer or do I dig into all of those boxes in the basement! I’m almost thinking of starting with the old pictures in boxes only because they’re already printed out. Hmmm….
If you haven’t heard about Project Life here’s a quick description from Stampin’ Up!:
Get ready for a scrapbooking revolution with Project Life! It helps busy people (so basically all of us) document life using photos and journaling in a quick, simple, and fabulous way. We’ve partnered with Becky Higgins, creator of Project Life, to offer a complete line of elite products.
Becky explains, “It’s called Project LIFE because it’s about YOUR LIFE. Whatever your life is. Whatever your stage of life. Whatever your family circumstances. Whatever your lifestyle. Project Life is designed to help anyone and everyone get their pictures into a book.” In a nutshell, it’s all about spending more time making memories and less time scrapbooking them.
Project Life is basically “pocket scrapbooking”. You just slip your photos and embellishments into the pockets of your page. It looks so fun and easy. I had to smile when I was just reading about Project Life on the demonstrator website. It mentioned that one of the selling points is “coordination, coordination, coordination”! Ha! You know that’s one of my favorite words! 🙂
Be sure to let me know if you have any questions on Project Life. I think we’re going to LOVE it!
Have a great day! Take care and Happy Stamping!

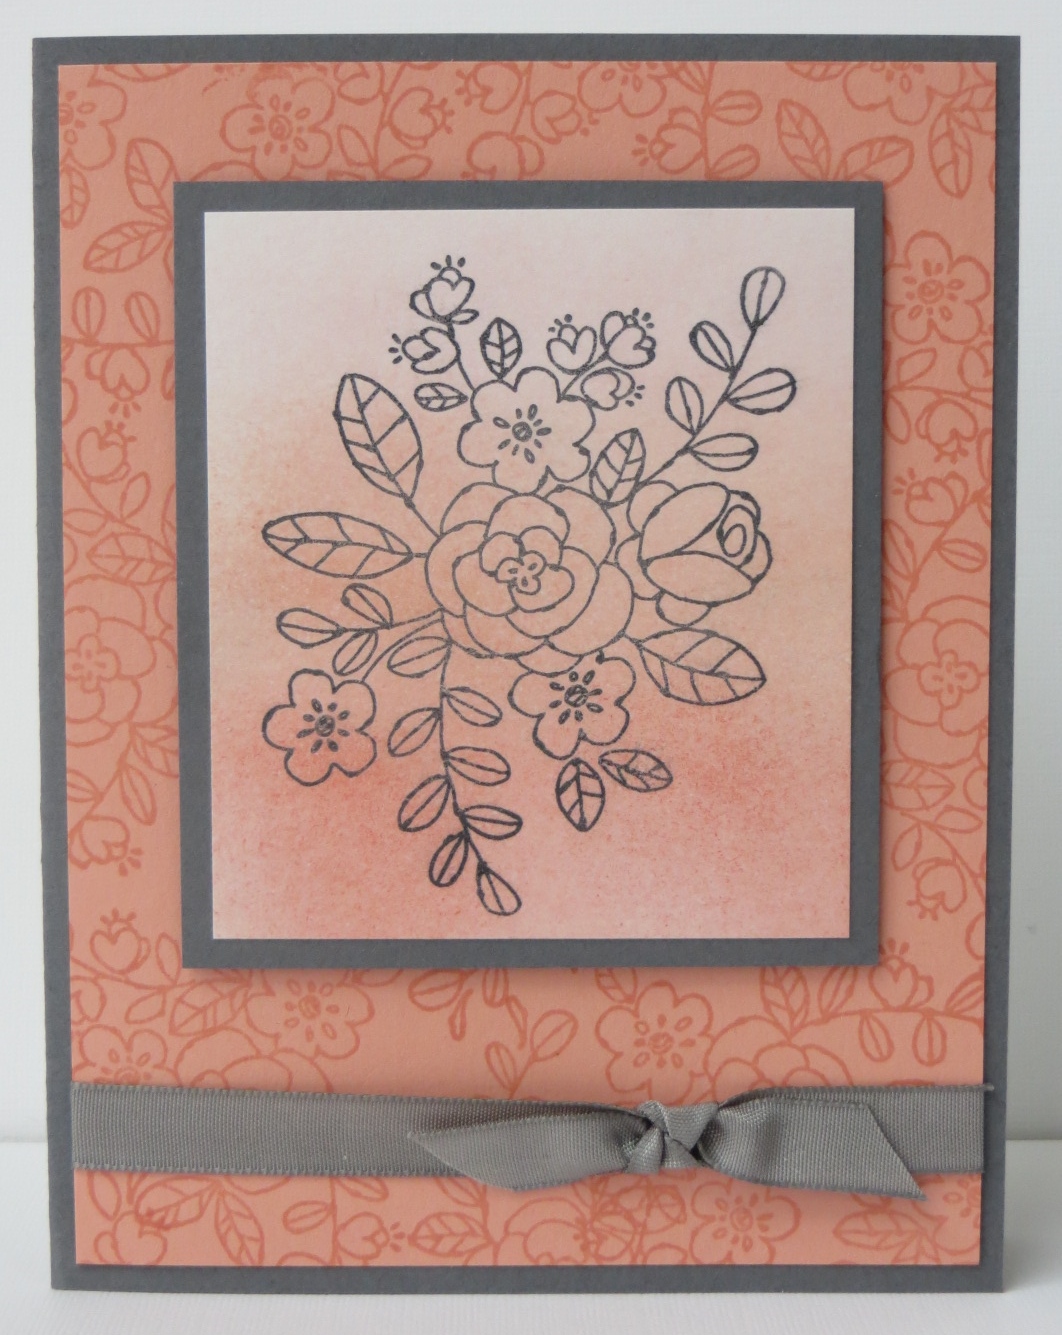 Ombré means shaded or graduated in tone. I used a simple ombré technique on today’s card. I used my ink pads and sponge daubers to make may graduated tones.