Simple Saturday: Love & Affection

Love & Affection.0217
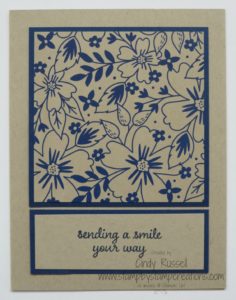
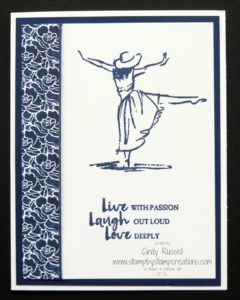
Welcome to Simple Saturday!  It doesn’t get a whole lot simpler than this card.  All you need to do for this easy layout is start with your favorite piece of designer series paper.

I chose this pretty piece of paper from the Affectionately Yours package of designer paper.  The Night of Navy and Crumb Cake is such a striking color combination.

Once I chose my designer paper I simply layered it on a piece of Night of Navy card stock and put it on the front of the card.  Then I stamped my sentiment on a piece of Crumb Cake card stock, layered that on Night of Navy, put it on the front of my card and my card was done!  Easy Peasy!

You could even skip the sentiment and just make your designer paper a bit larger on the card front and you’d still have a great card.

Here are the dimensions that I used:

Crumb Cake:  5 1/2″ x 8 1/2″, 3 3/8″ x 1 1/8″

Night of Navy:  3 1/2″ x 3 1/2″, 3 1/2″ x 1 1/4″

Designer Paper:  3 3/8″ x 3 3/8″

Have fun making this SIMPLE card!  Have a great day!  Take care and Happy Stamping!

Balloon Adventures Shaker Card

Balloon Adventures.0317Check out this FUN birthday card that I made for my niece Abbey’s 16th birthday!  Didn’t it turn out cute?  🙂

This was one of those cards that makes you smile when you are finished with it.  I was pretty pleased with how it turned out.

It really wasn’t difficult to make either.  The first step I had to figure out was my color palette.  If you’ve read my blog much or been around me you know that many times I determine my color palette by what ribbon I want to use on the card.  In this case I don’t even have ribbon on the card (What?!) so I started with stuff I wanted to put in my shaker card!  How crazy is that?  I knew I wanted fun shakery (?) stuff in my card so I went with the Sprinkles Embellishments from the Cool Treats Suite in the Occasions Catalog.  All sorts of pretty colors:  Peekaboo Peach, Pool Party and Watermelon Wonder….and that’s where my color palette for the card came from!

Seeing as I had used the embellishments from the Cool Treats Suite I knew I had to the COORDINATING designer series paper!  Now all of the hard work was done!

I used just a portion of the balloon pop-up die to make the focal point of my card.  I cut my card stock the exact size of the die.  I did have to trim the top and the bottom a bit to fit on my card front.

I punched out my balloons from the Tasty Treats Specialty Designer Series Paper, added my sentiment from the  Balloon Adventures stamp set and the front of my card was done!  I just needed to make the shaker portion.

Making a shaker card is pretty easy.  I cut a piece of Window Sheet the same size as I used for my balloon focal point and adhered it to the back of the focal point with Tear & Tape Adhesive.   On the back of the focal point I then added my foam adhesive strips around the edges.  When you do this step you want to make sure you have no gaps at all between the strips because you don’t want your “shakery stuff” to be able to escape!  Now you want to add all of your “shakery stuff” to the area enclosed by the foam strips.  Once you have added as much “shakery stuff” as you want to your card you will then remove the backing of your foam strips and adhere a piece of card stock which is the same size as your balloon focal point.  Now you have the shaker portion of the card done!  Add it to the front of the card and ta-da….you have a beautiful shaker card.

I did add a couple of extra items to the Sprinkles Embellishments to make my “shakery stuff”.  I added a few silver sequins from my roll of Silver Sequin Trim and I also picked out a few white stars from my container of Metallics Sequin Assortments.  All in all a VERY fun card.  Let me know if you have any questions on how I made it.

Have a great day!  Take care and Happy Stamping!

3 x 3 Thursday: Avant Garden

AvantGarden.0317
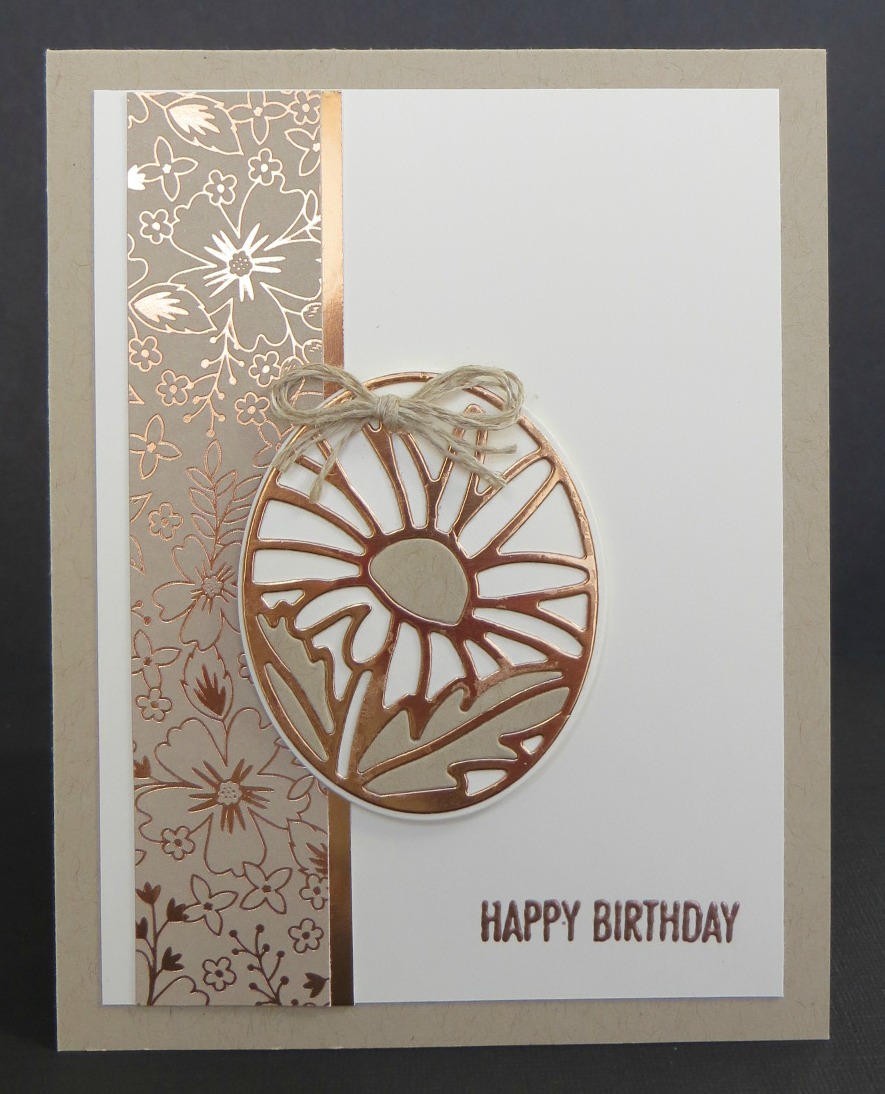
I think I’ve mentioned at least once or twice that I really, really like this flower and stamp set.  🙂

The Avant Garden stamp set is gorgeous and you can get it for FREE during Sale-a-bration!  It doesn’t get much better than that!

It’s 3 x 3 Thursday.  I haven’t had one of these for awhile.  I like to put little 3 x 3 thank you notes in with the orders for my customers.

Yes, this is basically the same layout that I used on the Avant Garden card that I showed you last week but it’s such a great and versatile layout that I had to use it on these little notes!

I think I’ve found a new favorite color combination:  Rich Razzleberry and Sweet Sugarplum.  Yum!  They work so well together!  Do you have a favorite Stampin’ Up! color combination?  Leave me a comment and let me know what it is!

Have a great day!  Take care and Happy Stamping!

SASsy Stampers & Friends

20170225_090541 (2)This is part of my SASsy Stampers and Friends group.  This picture was taken at our recent Stamp Camp which was held at the end of February.  We are all wearing our Mardi Gras crowns and beads since it was held just before Mardi Gras.  You can’t say that we don’t have fun!  🙂

You may be wondering why I’ve capitalized only the first three letters of SASsy?  That’s because those letters stand for Seriously Addicted to Stamping or as we say amongst ourselves:  Smart Ass Stampers.  Since I am very sassy and the others can be too we usually just go by Sassy Stampers & Friends.

Only four of the gals are actual members of team.  The other four constitute the “friends” part of the title.  These are gals who don’t have uplines at all or have uplines who aren’t very active.

We do get along well and have a lot of fun together.  I try to get the gang together a number of times during the year for a quick meeting and some stamping.  A number of us like to travel to Stampin’ Up! events too.  Janet, Jan and I are heading to Minneapolis next month and we’re probably heading to Salt Lake City in November to kick off Stampin’ Up!’s 30th Anniversary?  Would you like to join us in November?  (The April event is already full).  We’d love to bring you along and share in the fun.

Do you love Stampin’ Up! products?  Would you love to be able to purchase them at a 20% discount?  You should think about becoming a member of my team of Sassy Stampers!  Now is the perfect time to become a demonstrator!  When you purchase your starter kit for only $99 you not only get to choose $125 of merchandise for the $99 but during Sale-a-bration (ends March 31st) you can also choose ANY 2 additional stamp set for FREE!!!

The new Annual Catalog is coming out June 1st but as a demonstrator you would be able to check it out at the beginning of May.  You’d be one of the first people to see all of the new and exciting products coming!

I really love being a Stampin’ Up! Demonstrator and I would love to have you become one too!  Please contact me with any questions you may have on being a demonstrator or on how to sign up.  Become SASSY!

Have a great day!  Take care and Happy Stamping!

Make it Mine Monday: Cool Treats

Cool Treats.0217How about a birthday card for Make It Mine Monday?  My March is filled with birthdays.  Today is my favorite pastor’s birthday.  Happy Birthday Pastor DJ!  As you can tell from the picture below, DJ is young….he’s not even 40!  He’s a great and inspirational speaker and a lot of fun to be around.  The big joke between us is hugs.  DJ is not a hugger yet every time I see him I 20170305_074926 (2)give him a hug….he tries to run away.  I secretly think he really loves hugs!  Ha!

I’m kind of sad though because Pastor DJ is leaving our church.  He and his family (his wife Jen is a hoot and I love her as much as I love DJ) are heading to a church in Houston, TX.  It’s definitely a big loss for us and a big gain for the congregation in Houston.

But back to the card!  This fun card that I made for the Card Buffet class last week was copied from the talented Dawn 16828e267156bc02b79d25857c185d87Olchefske.  As you can see, I kept the same basic design and colors but I changed the card orientation and added a couple of layers.  I just love getting inspiration from others.  Thanks Dawn!

Later this week I’ll share the actual card that I made for Pastor DJ as well as the card I made for my niece for her Sweet 16th!

Have a great day!  Take care and Happy Stamping!

Simple Saturday: Beautiful You

Beautiful You.0217
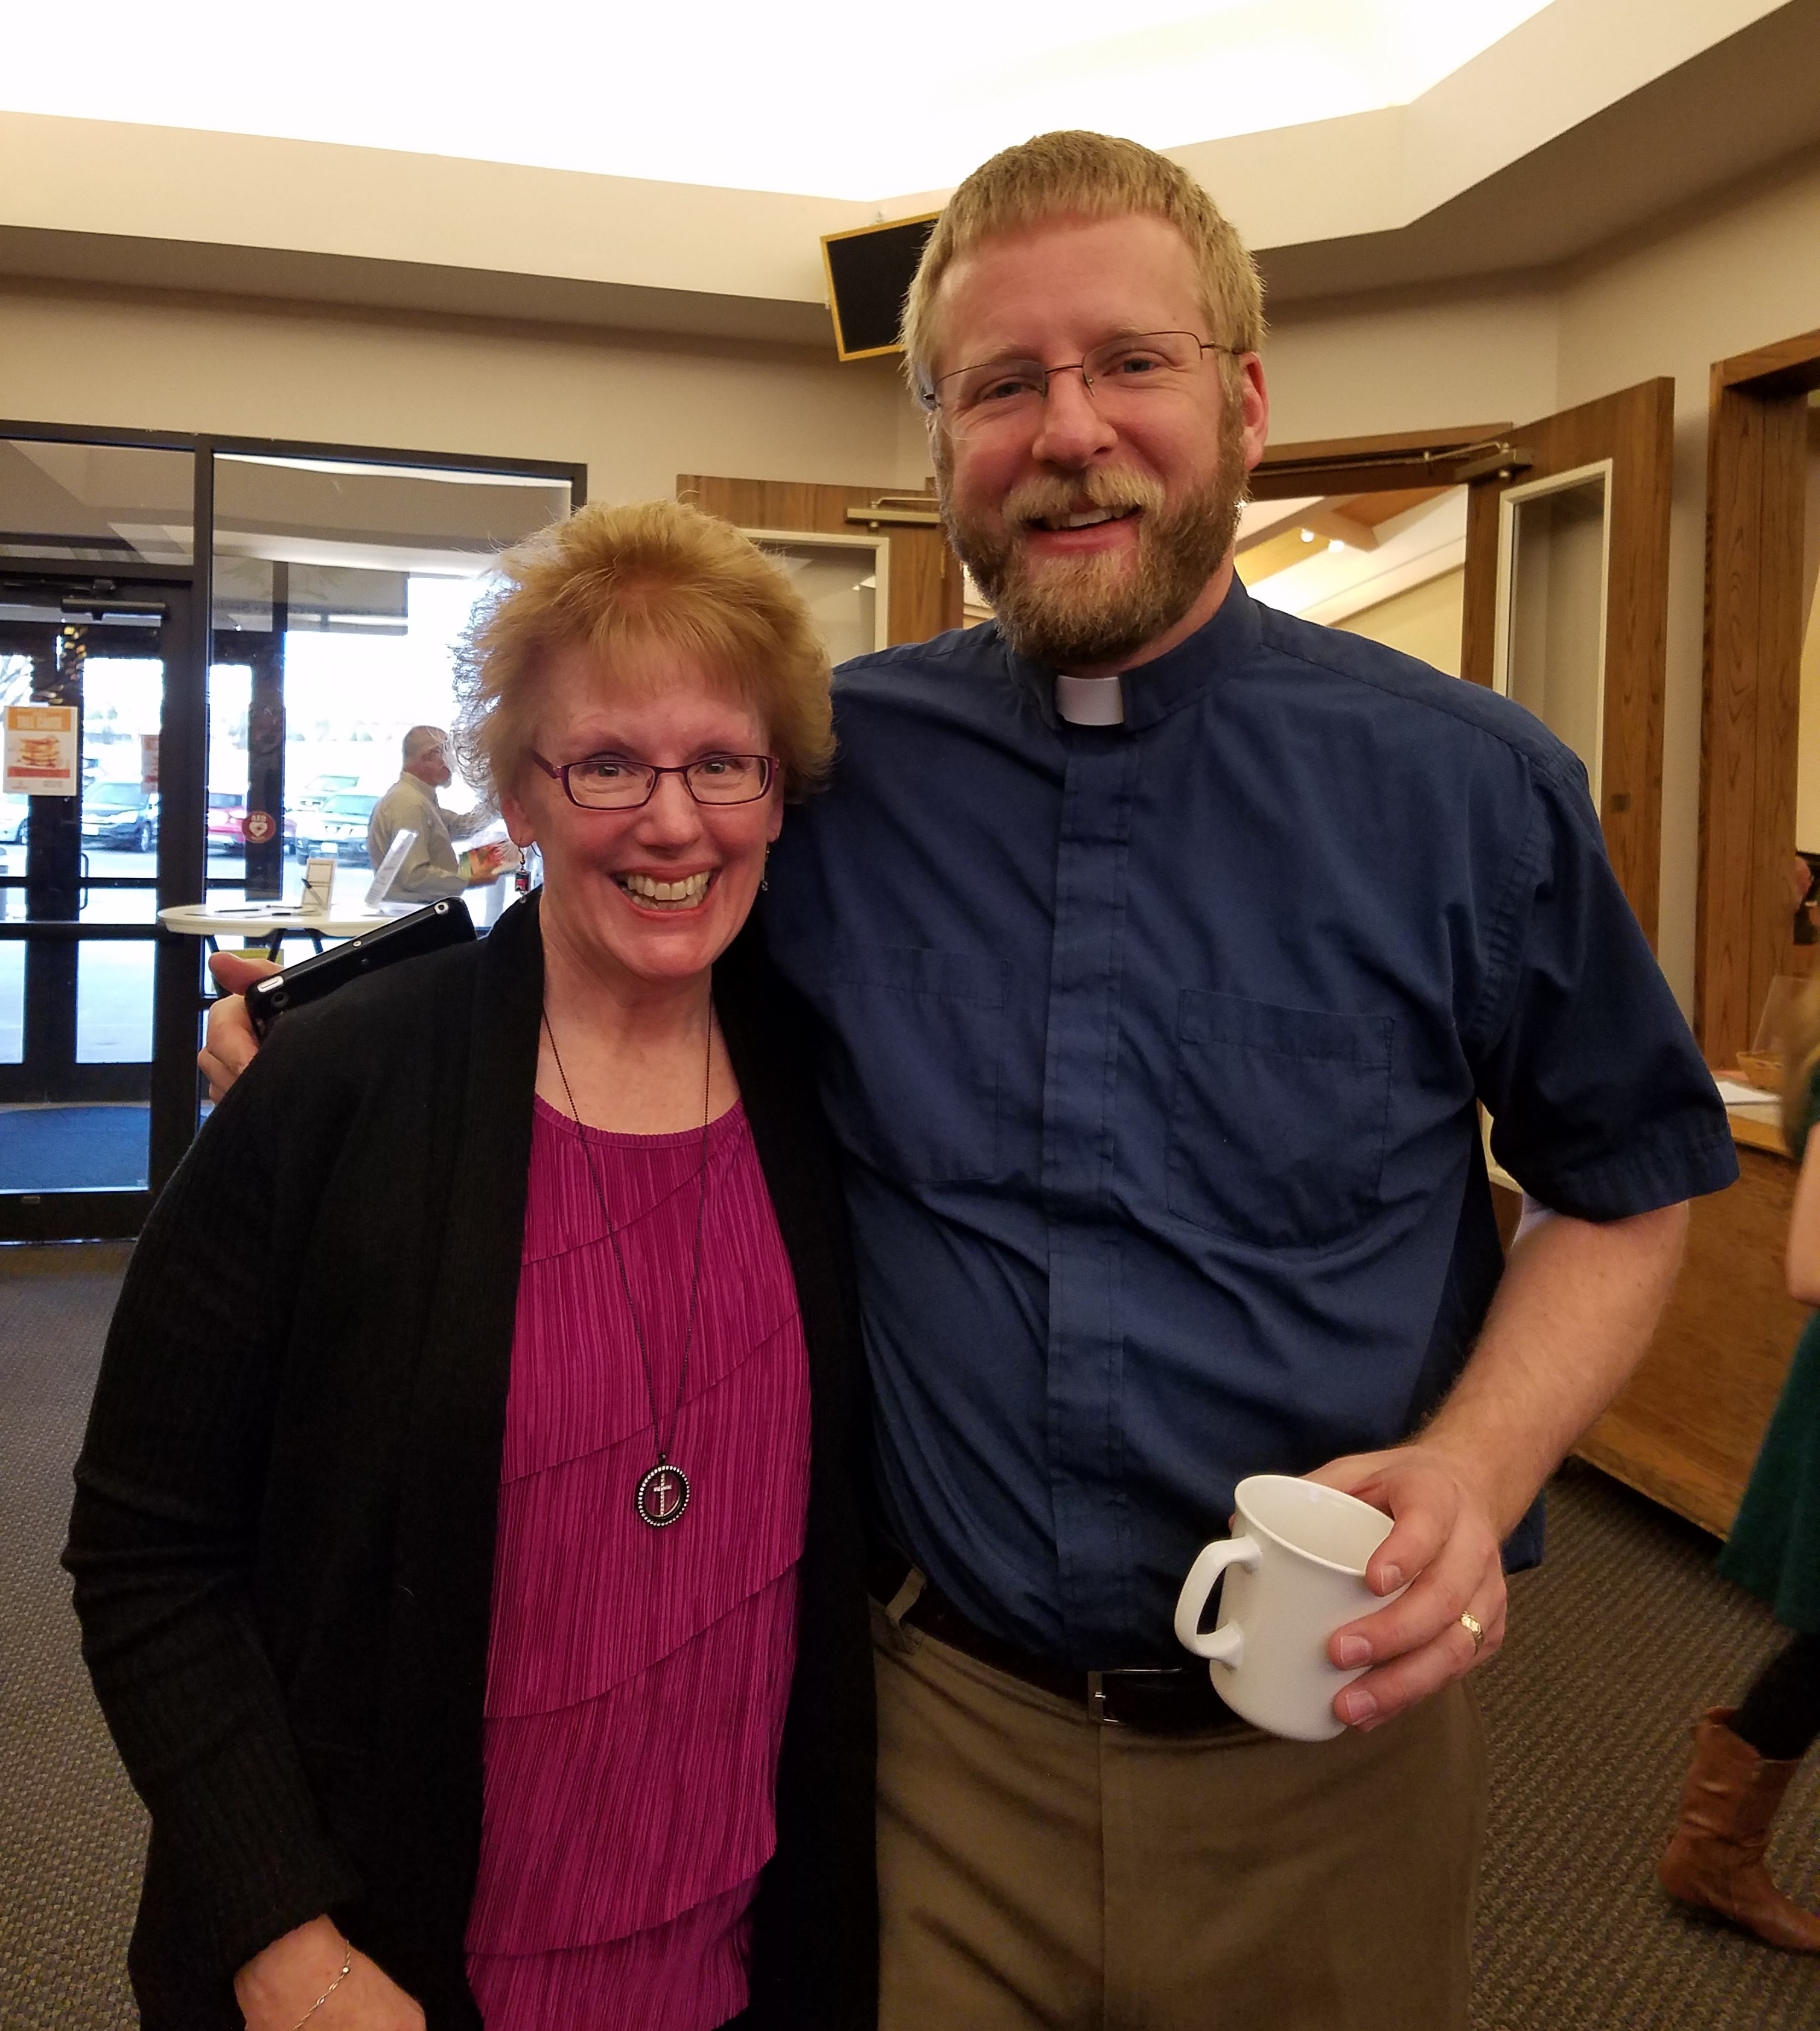
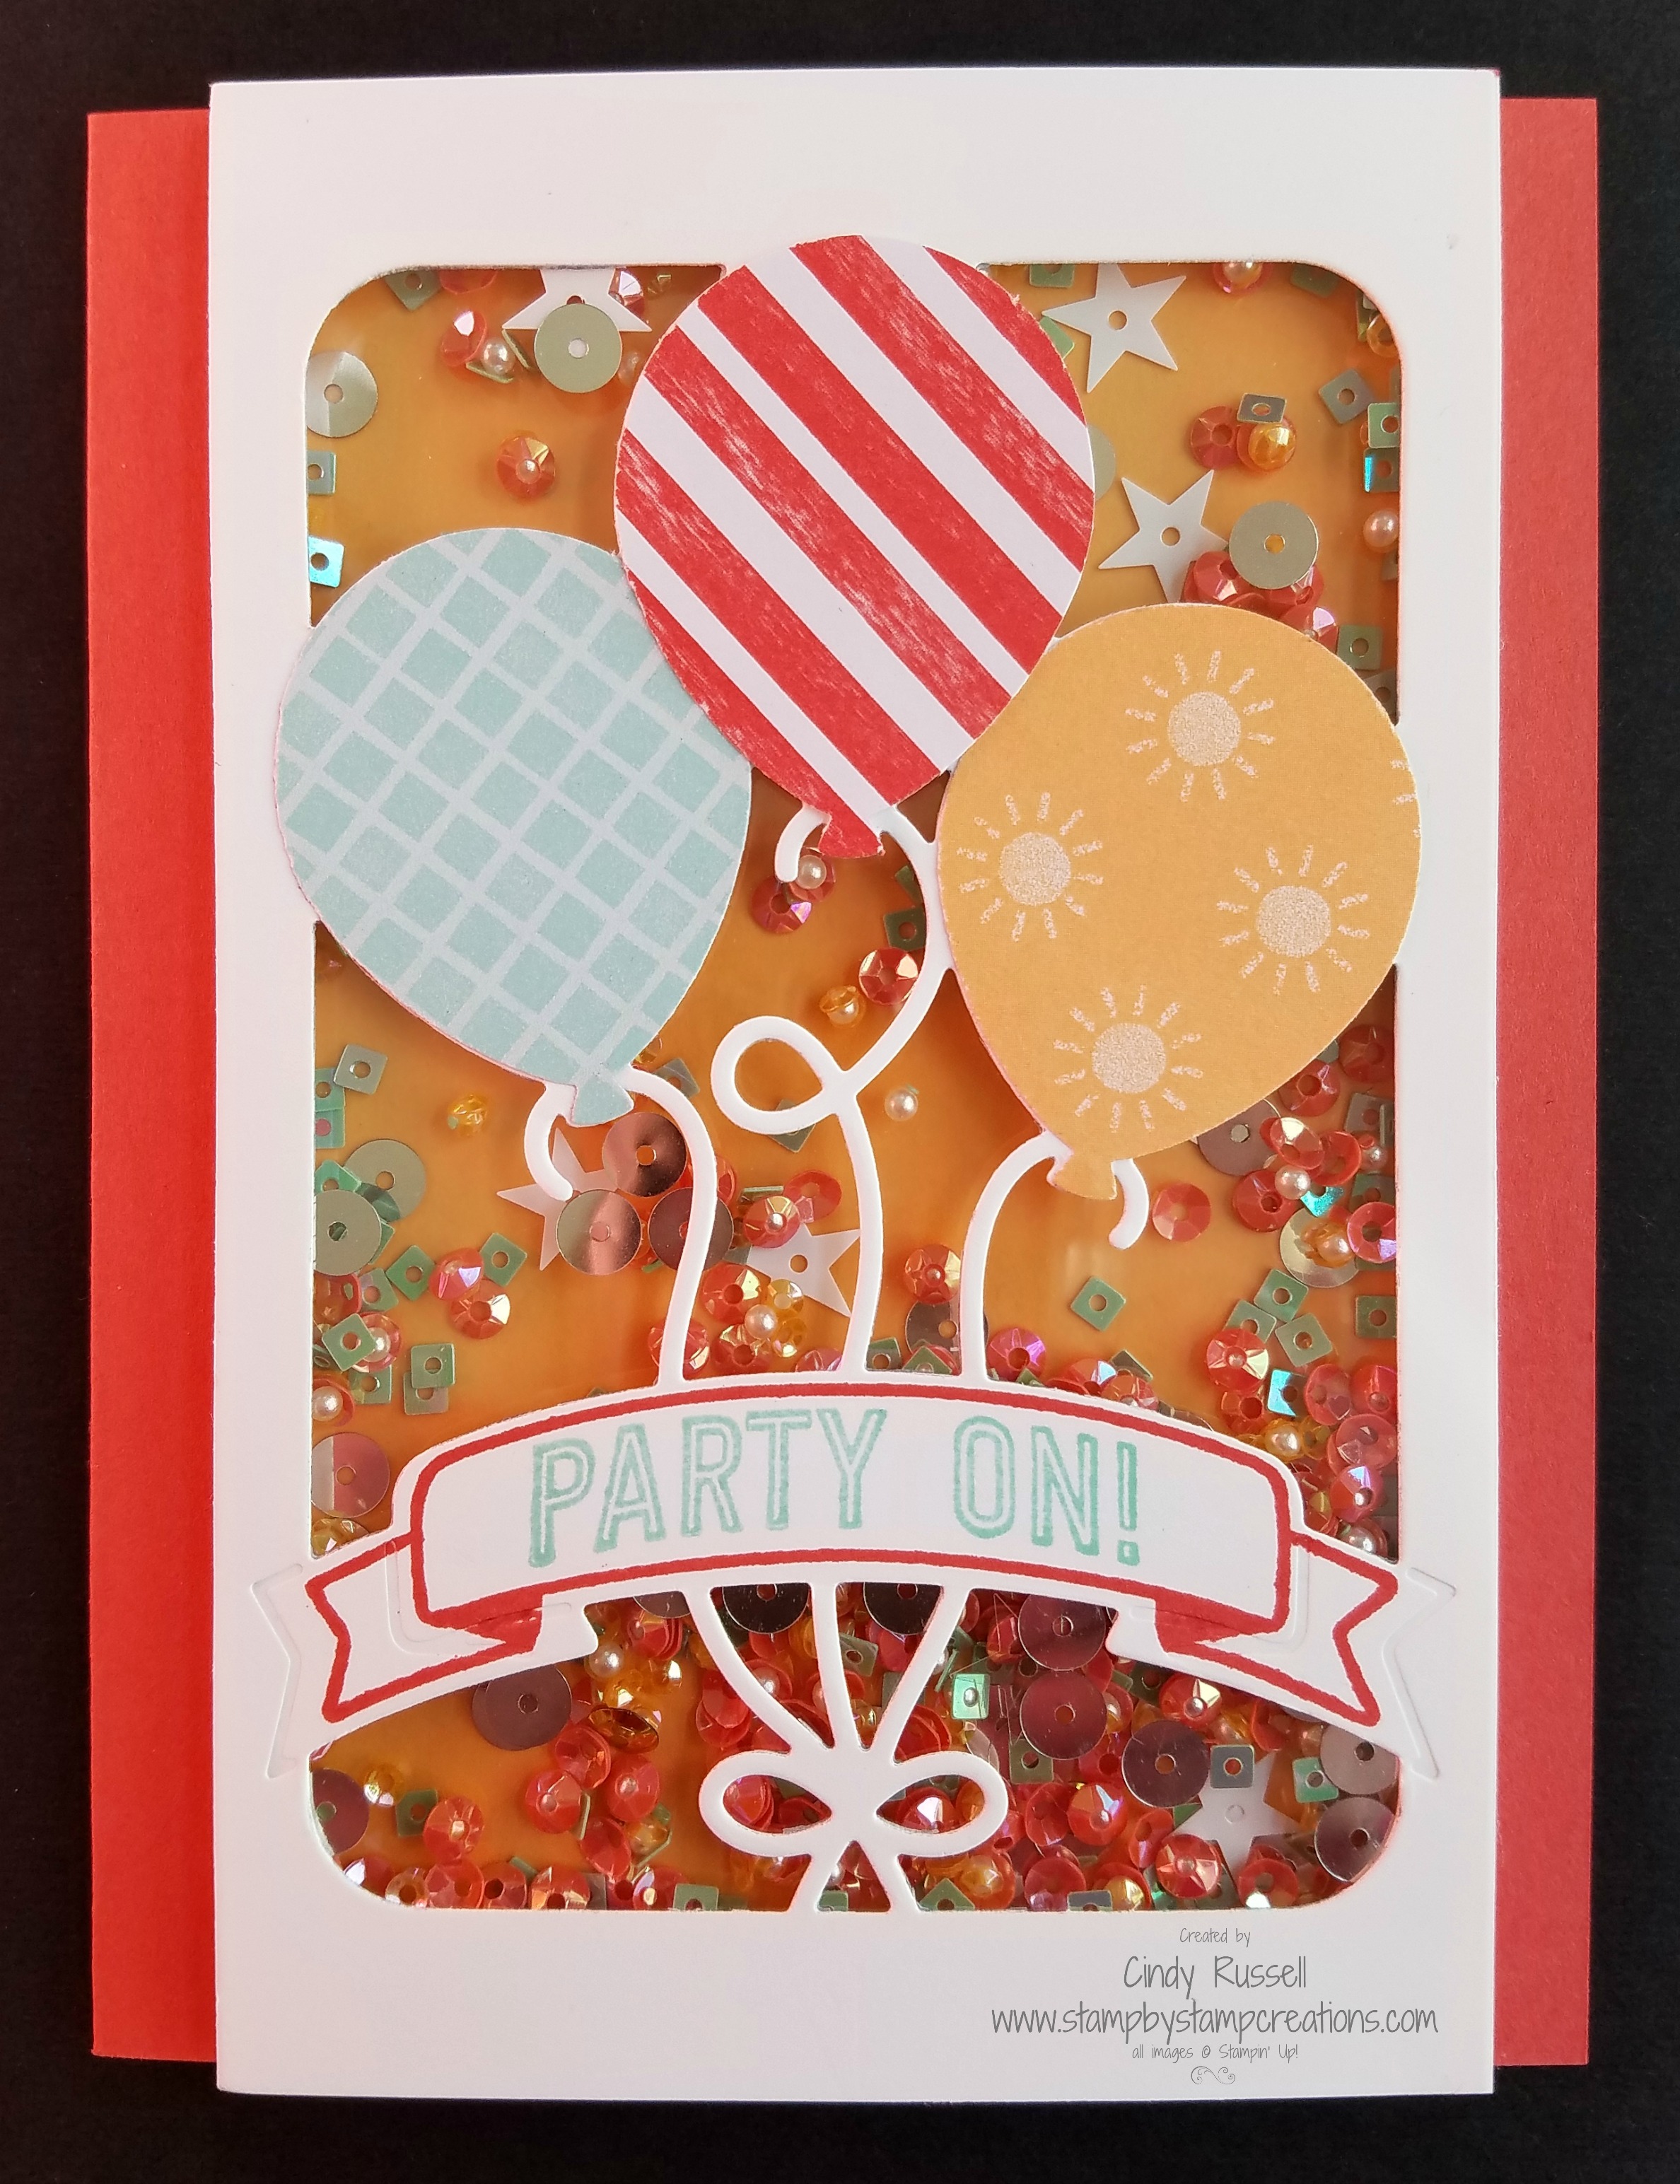
Last week I held a Card Buffet Class where my customers can make as many cards as they’d like.  I designed 8 fairly simple cards so that they would have time to make a bunch if they liked.

Today’s card is one of the one’s I designed for the Card Buffet.  I couldn’t go wrong with the Beautiful You stamp set and the Floral Boutique Designer Series Paper!  🙂

It’s hard to tell but on the right edge of the designer paper I added a piece of Night of Navy Solid Baker’s Twine.  It just seemed to finish the card off.  Simple, yet elegant.

This design will definitely work with any of the images in the Beautiful You stamp set since the area you are stamping on is so large.  The blue and white color scheme is simple enough too for any of the images.  Give it a try!

Have a great day!  Take care and Happy Stamping!

Popcorn Treat

Camp Popcorn Box.0217
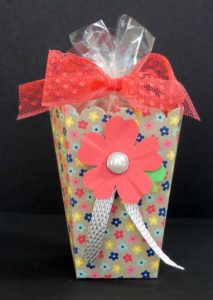
At my team Stamp Camps we serve a lunch and also an afternoon treat.  During our past camps we’ve had delicious decorated cookies but for this camp my friend Jan made these fun little popcorn boxes with yummy caramel corn.

Jan used the Popcorn Box Thinlits found on page 191 of the Annual Catalog.  Aren’t they cute?  I actually don’t have these thinlits but they’re definitely on my wish list now!  There’s also a stamp set that coordinates with the thinlits called Ready to Pop.  You can get them together in a bundle for 10% off!  How great is that?!  You can check out the stamp set and the bundle on page 17 of the Annual Catalog.

Everything Jan used on these cute little boxes is current except for the ribbon she used to wrap the cello bag.  The ribbon on the box itself is actually a Sale-a-bration item that you can get for FREE with $50 order.  The Ready to Pop Bundle is only $44 so if add a package of designer paper or card stock you’ll be at the $50 and can get the Sale-a-bration ribbon or any other Sale-a-bration item for FREE!

Hmmm….I’m getting hungry for popcorn!  Have a great day!  Take care and Happy Stamping!

Lift Me Up Treat Bag

CampTreatBag.0217My friend Jan loves to make 3D projects.  For our Stamp Camps she always volunteers to make the bags that we give to customers as they come in.  The bags have a few pieces of candy in them and the customers can place their finished projects in the bag.

This is the bag that she made for our recent Stamp Camp.  All I can say is WOW!  That was a lot of work.  She made 40 of them!  Thanks Jan!

Jan used the Lift Me Up stamp set and the Up & Away Thinlits Dies as well as the Carried Away Designer Series Paper.  The designer paper is a Sale-a-bration item that you’re close to earning for FREE if you purchase the Lift Me Up Bundle.  How great is that?  The designer paper is fun because it coordinates perfectly with the bundle.  Some of the designs have hot air balloons on them and some have clouds.  COORDINATION!  Woo Hoo!  🙂

The decorated focal point is a little too large for a regular card front but with a little trimming I think it would work.  I’m definitely going to give it a try!

You can check out the Lift Me Up Bundle on page 10 of the Occasion Catalog and the Carried Away Designer Series Paper can be found on page 7 of the Sale-a-bration Brochure.

Have a great day!  I hope it’s uplifting!  🙂

That’s the Tag

StampCampJan.0217Absolutely Gorgeous!  That’s all I have to say about this card.  OK…not really….you know I always have more to say!  Ha!

This was one of the projects from our Sassy Stampers & Friends Stamp Camp this past Saturday.  Isn’t it beautiful?  Thanks Jan for sharing this project with us!

You just can’t seem to go wrong with the Copper Foil Sheets!  They are definitely one of my favorite specialty papers.

Now, you know me….I have my own way of doing things.  If I was going to recreate this card I would have another layer of the Copper Foil behind the Whisper White layer.  With me it’s all about the layers….I can’t seem to get enough of them!

What about you?  Would you have changed anything on this card?

In case you’re wondering, the designer paper is from the Affectionately Yours Designer Series Paper pack.

Have a great day!  Take care and Happy Stamping!  Happy March!

Succulent Garden

Succulent.Camp.0217Yesterday I mentioned that my team held a Stamp Camp this past weekend.  A few of our team members got together and made these gorgeous centerpieces for some of the tables.

Wow!  You should see them in person!  Laura, Cindy and Keri used the Succulent Framelits Dies to create these.  Not only did they die cut all of the pieces but inked the pieces to give them dimension and assembled each flower before assembling the whole bouquet.  A lot of work, but definitely worth the effort.

Succulents are big these days.  The Occasions Catalog has an entire suite called Succulent Garden.  You can check it out starting on page 20 of the catalog.  I personally haven’t had a chance to play with this suite but I’m looking forward to it.  Have you played with it yet?  If you have I’d love to see what you’ve done!  Email me a picture to cindy@stampbystampcreations.com.

Have a great day!  Take care and Happy Stamping!

Make it Mine Monday: Avant Garden

Avant Garden.0217
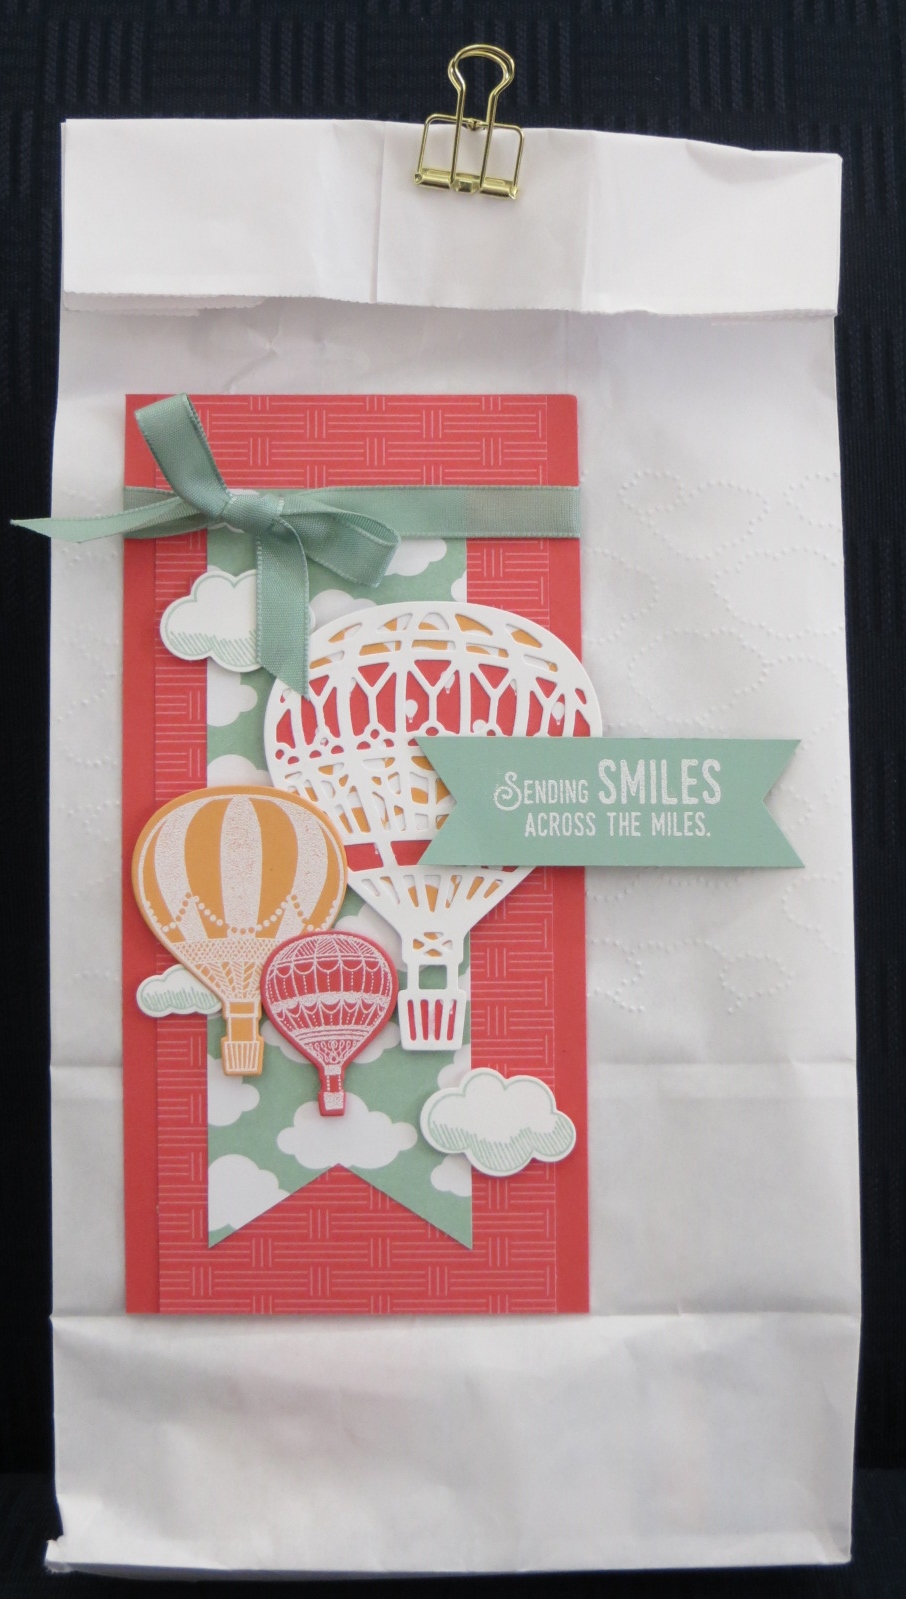
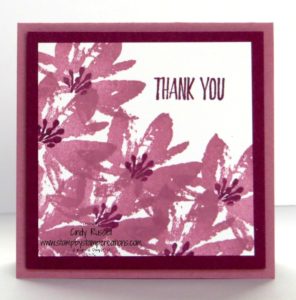
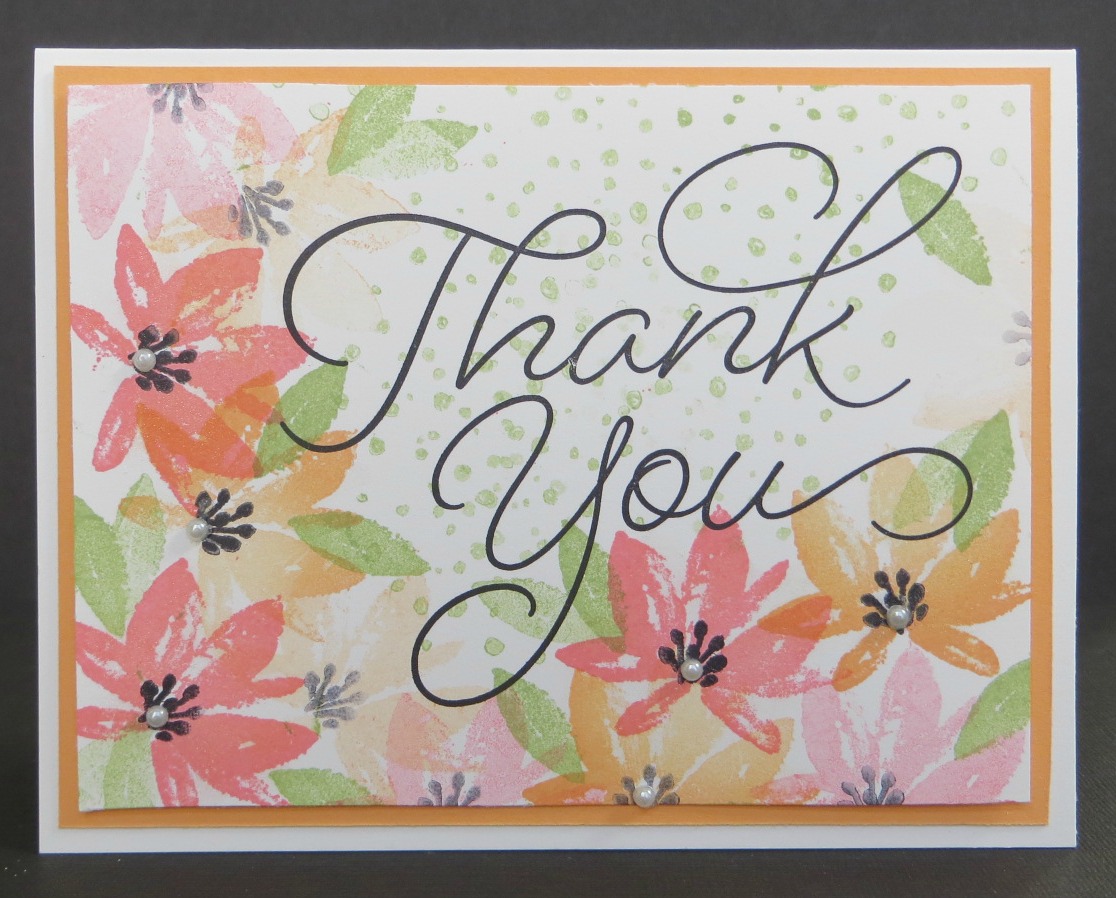
Have you played with the Avant Garden Sale-a-bration stamp set yet?  I love these flowers!

I designed this card for my Card Buffet Class that I’m holding this week.  I had plenty of inspiration.  I found quite a few cards on Pinterest that inspired me.  They were gorgeous but a little more involved than I wanted.  For the class I was looking for a simple design that people could make multiples of if they wanted.  I simplified my e78096e7b1d9e52eae829c52ea23a43edesign by only stamping the flowers along with the sentiment and leaving off the leaves and such.

You can see how I kept the basic layout but also simplified it by keeping my flowers one color.

This past weekend my group, Sassy Stampers & Friends held our Sale-a-bration Stamp Camp for our customers.  One of our IMG_9539designers came up with a card using this same basic design.

All three of these are basically the same card but they all look different.  From these you can see how easy it is to make a card your own.  Give it a try!

Avant Garden is a GORGEOUS stamp set and you can get it for FREE during Sale-a-bration with a qualified order.  There’s only a little over a month left of Sale-a-bration!  Don’t miss out!  Get those orders in today!  You can check out all the Sale-a-bration items available here.

Have a great day!  Take care and Happy Stamping!

Inside the Lines Specialty Designer Series Paper

sab17_10a
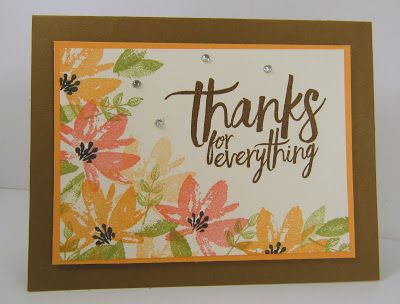
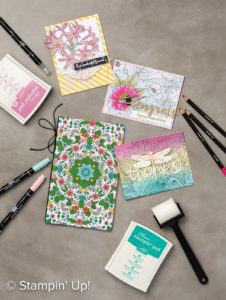
Do you like to color?  If you do, you definitely need to check out the Inside the Lines Specialty Designer Series Paper.  It’s a 2017 Sale-a-bration item that you can choose for FREE with a $50 dollar order.

This fun package of paper contains 12 sheets of coloring paper….3 sheets of 4 different designs.  In the picture at the left you can see some of the many different ways that you can color this fun paper.   The video below shows these techniques in more detail.  Check it out!

If you love to color and want to try out this fun paper remember that it is only available through March 31st with a qualifying order!


Have a great day!  Take care and Happy Stamping!


Lift Me Up Tri-Fold (Gate Fold) Card

Lift Me Up.1.0217Thank you to the talented Dawn Olchefske for this card idea.  Actually, I pretty much CASEd (copied) Dawn’s idea step by step.  I did change the measurements a little and only added one balloon.

Why change a good thing?  I loved Dawn’s card from the start but as I was making it I had to change a few things.

I had to change the measurements and a little Lift Me Up.2.0217bit of the layout only because I used a different sentiment.  I wanted to use the birthday sentiment since I didn’t need a card about “love”.  That meant that I had to shorten my front “flaps” a little bit to make sure the sentiment would fit in the white area.

Here are the measurements I used:

Card Base: 5 1/2″ x 7 1/2″ score at 1 5/8″ & 5 7/8″

Whisper White:  5 1/4″ x 4″, 1 3/8″ x 5 1/4″ (2x)

Designer Paper:  1 1/4″ x 5 1/8″ (2x)

Night of Navy:  3″ x 3 3/4″

4748457f02b195cfab94f45b4061800bTo stamp the sentiment perfectly I adhered the large piece of Whisper White card stock to the inside of my card and then used removable adhesive to hold the two front flaps down so that my card was “closed”.  Then I got out my Stamp-a-ma-jig to perfectly align the sentiment.  When I was done stamping I just had to rub off the removable adhesive with my finger and I was good to go.

To finish off the card, I die cut my balloon and adhered just the top of it to the top flap.  Don’t put adhesive on the whole balloon or you won’t be able to open your card!  🙂

This designer paper (Carried Away) is one of the Sale-a-bration items that you can choose for FREE.  Don’t forget that for every $50 you spend during Sale-a-bration you can choose a FREE Sale-a-bration item!  Woo Hoo!

As you can see from the last picture, I couldn’t add the small balloon to my card because there wasn’t room when I used the longer sentiment.  Thanks again Dawn for your inspiration!

Have a great day!  Take care and Happy Stamping!

Sale-a-bration Glimmer Paper

Yesterday, when the new Sale-a-bration items were released, I mentioned that my favorite was the Glimmer Paper.  It’s GORGEOUS!  I will definitely be hoarding this! 🙂

Here is a video showing you just how gorgeous the glimmer paper is and giving you a few ideas for it’s use.  Enjoy!


Don’t forget to place your Sale-a-bration order!  Have a great day!  Take care and Happy Stamping!

New Sale-a-bration Items!

untitled3Stampin’ Up! has released 3 new Sale-a-bration items and I know you’re going to LOVE them!

Check them all out here!

You’ll find a GORGEOUS 6″ x 6″ Glimmer Paper Assortment Pack featuring Bermuda Bay, Sweet Sugarplum and Mint Macaron.  This is definitely my favorite item.  You’ll also find two fun stamp set.

I haven’t had a chance to play with these new items yet but I’ve seen some fun samples!

These new Sale-a-bration items and the Sale-a-bration items released in January are all only available until March 31st so get those orders put together.  🙂

You can choose any Sale-a-bration item for FREE when you place a $50 order.  Place a $100 order, choose 2 SAB items!  Woo Hoo!  I’m placing an order this morning so I can some of these new items.  How about you?  Shop now!

Have a great day!  Take care and Happy Stamping!