 Whew! Easter is over. I’ve had a busy couple of weeks. First I was in the MN Homeland for a week and when I came home it was Holy Week already. That meant a long choir rehearsal on Wednesday, singing in a cantata on Good Friday and two early services on Sunday…and that was just the church stuff! I had to hit the grocery store and make deviled eggs, Frango Mint Cheesecake and Easter potatoes for dinner yesterday! Like I said…whew! Now I can just sit back and enjoy life.
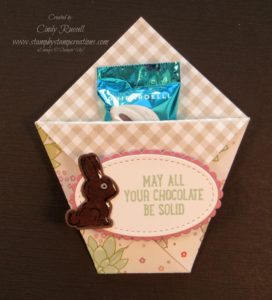
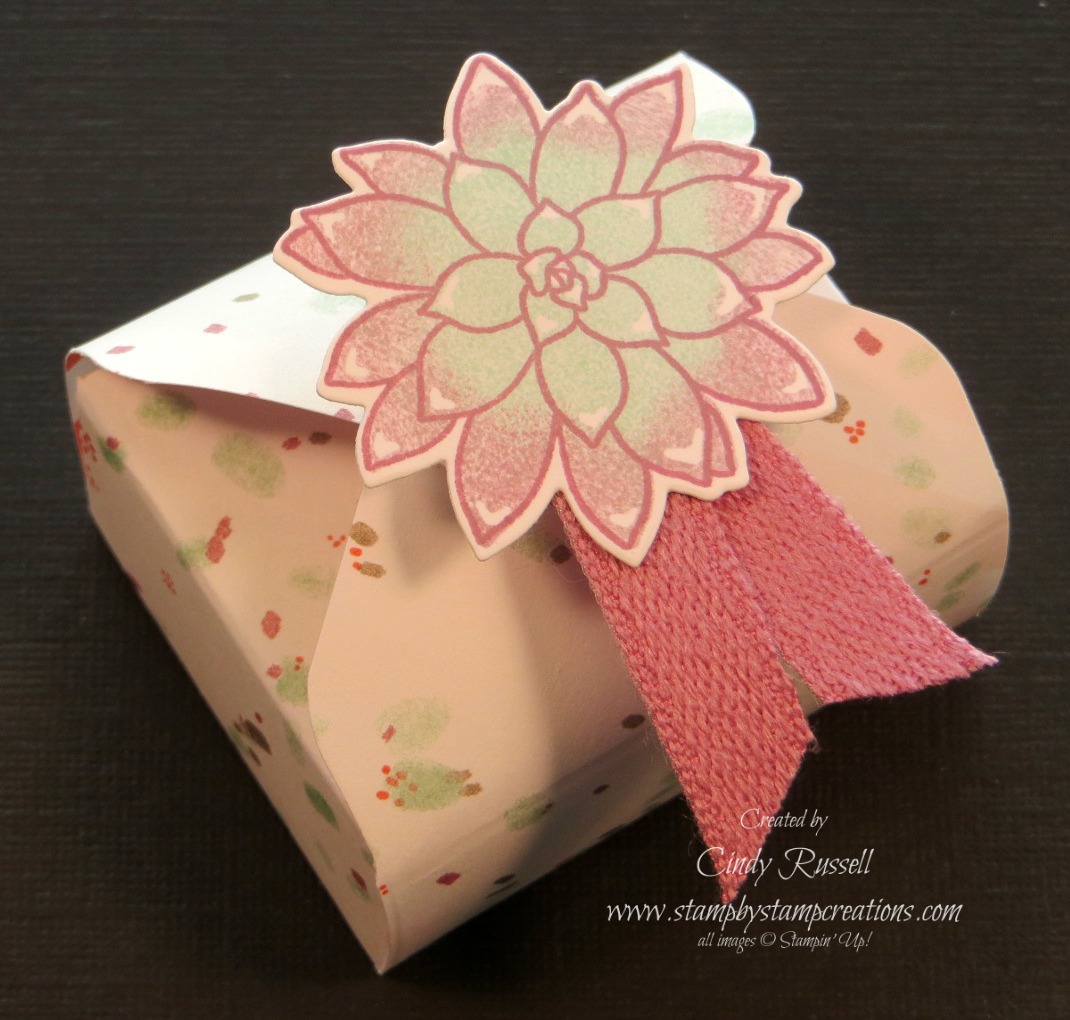
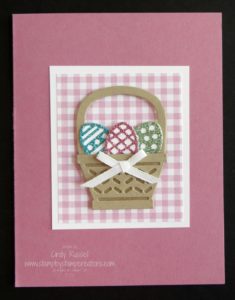
Easter is over but I still wanted to share with you this adorable little treat holder. I made this for my table mates at the On Stage event in Minneapolis. This was one of those projects that made me all happy when I finished it. It turned out so dang cute!
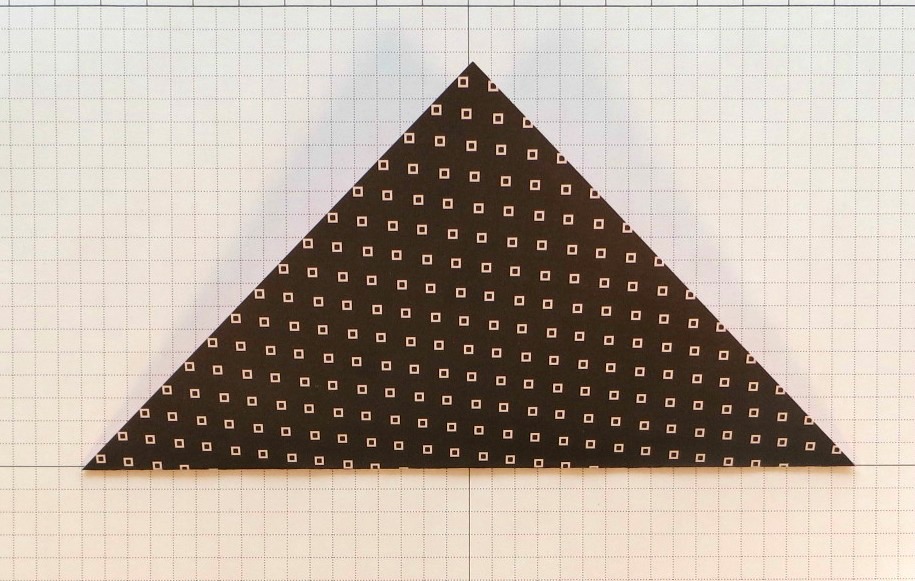
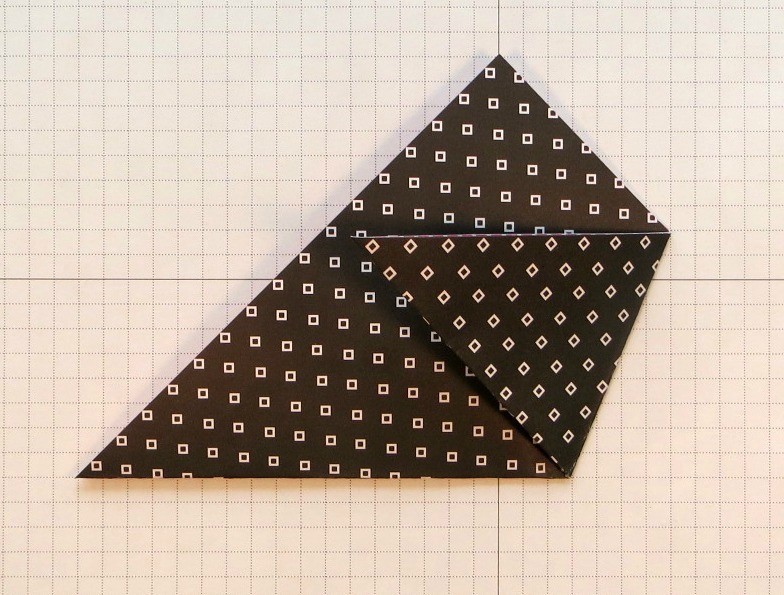
This little folded treat holder is SO easy. I will make a little tutorial today and share it with you tomorrow instead of trying to explain it here without pictures.
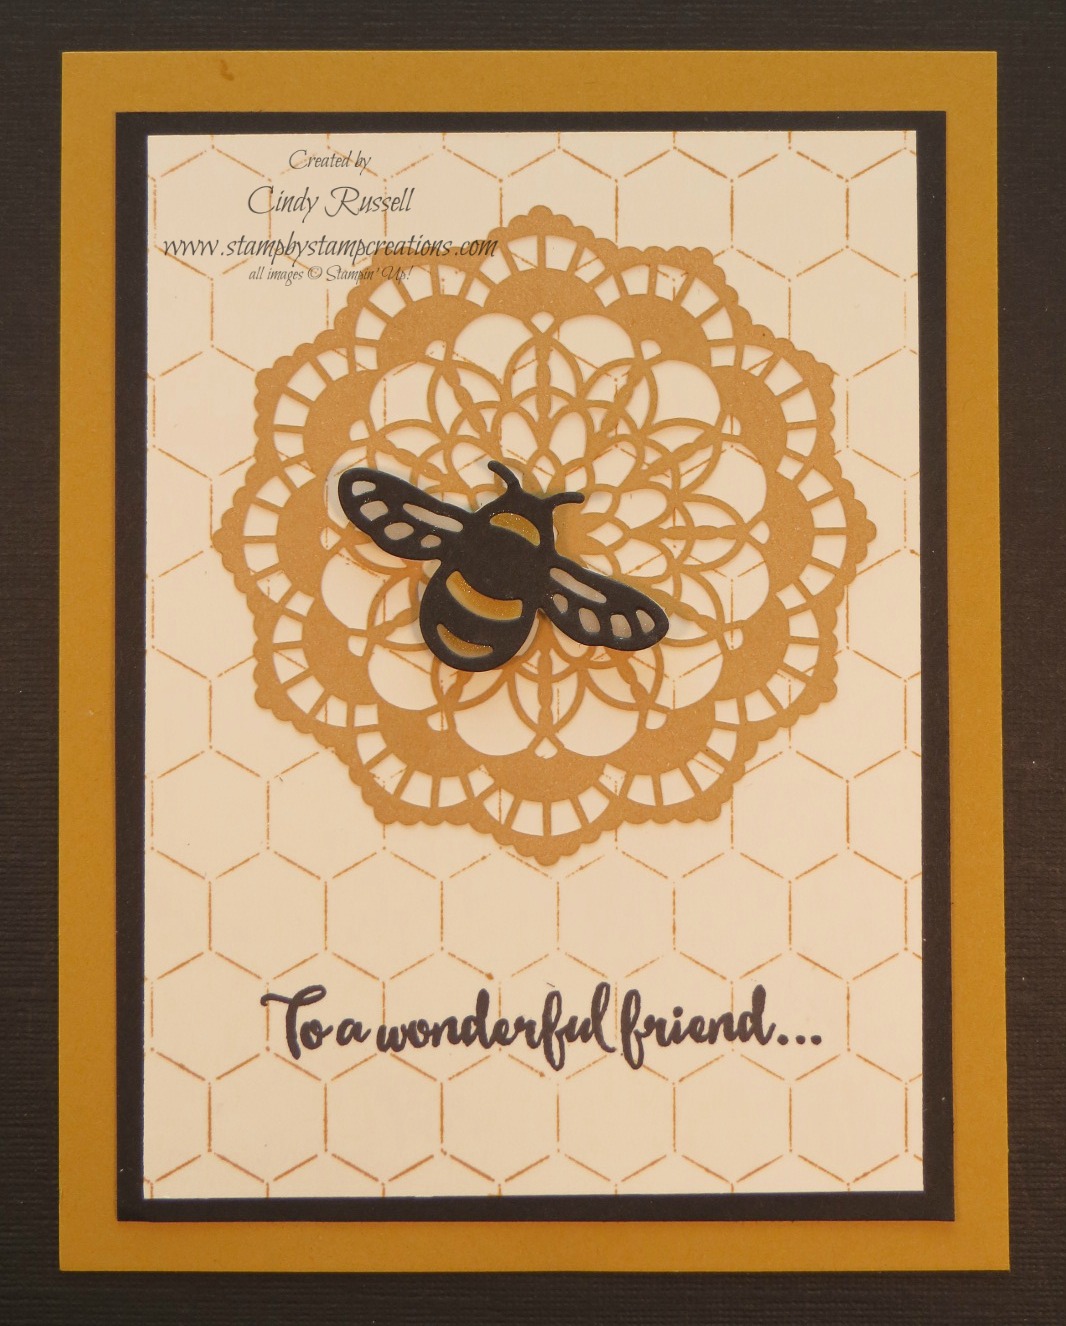
My favorite part of this treat holder is the little label with the chocolate bunny. The bunny and the sentiment are both from the wonderful Basket Bunch Bundle. FYI…the Basket Builder Bundle (which includes the Basket Bunch stamp set and the Basket Builder framelits) is on the retiring list but as of today both of these items are still available. If you purchase them separately, the stamp set is 20% off and the framelits are 50% off! These are great items for you stash as Easter does come around every year! 🙂
You can shop right here in my online store! Don’t miss out on these fun items. How can you resist that cute little chocolate bunny and that fabulous sentiment! 🙂
Say…did you notice that my bunny is kind of shiny and looks more 3D? Well…let me tell you how I did that….
After I stamped the bunny and die cut him I colored his eye with my Chalk Marker and my Basic Black Marker. Then I took my Fine-Tip Glue Pen and “colored” him in! Do you remember Crystal Effects? It works just like that to give the raised, shiny look! How fun is that? You’ll have to try it on something!
Don’t forget to buy the Basket Bunch stamp set and the Basket Builder framelits at those fabulous low prices! You’re going to want them next Easter! 🙂
Have a great day! Take care and Happy Stamping!

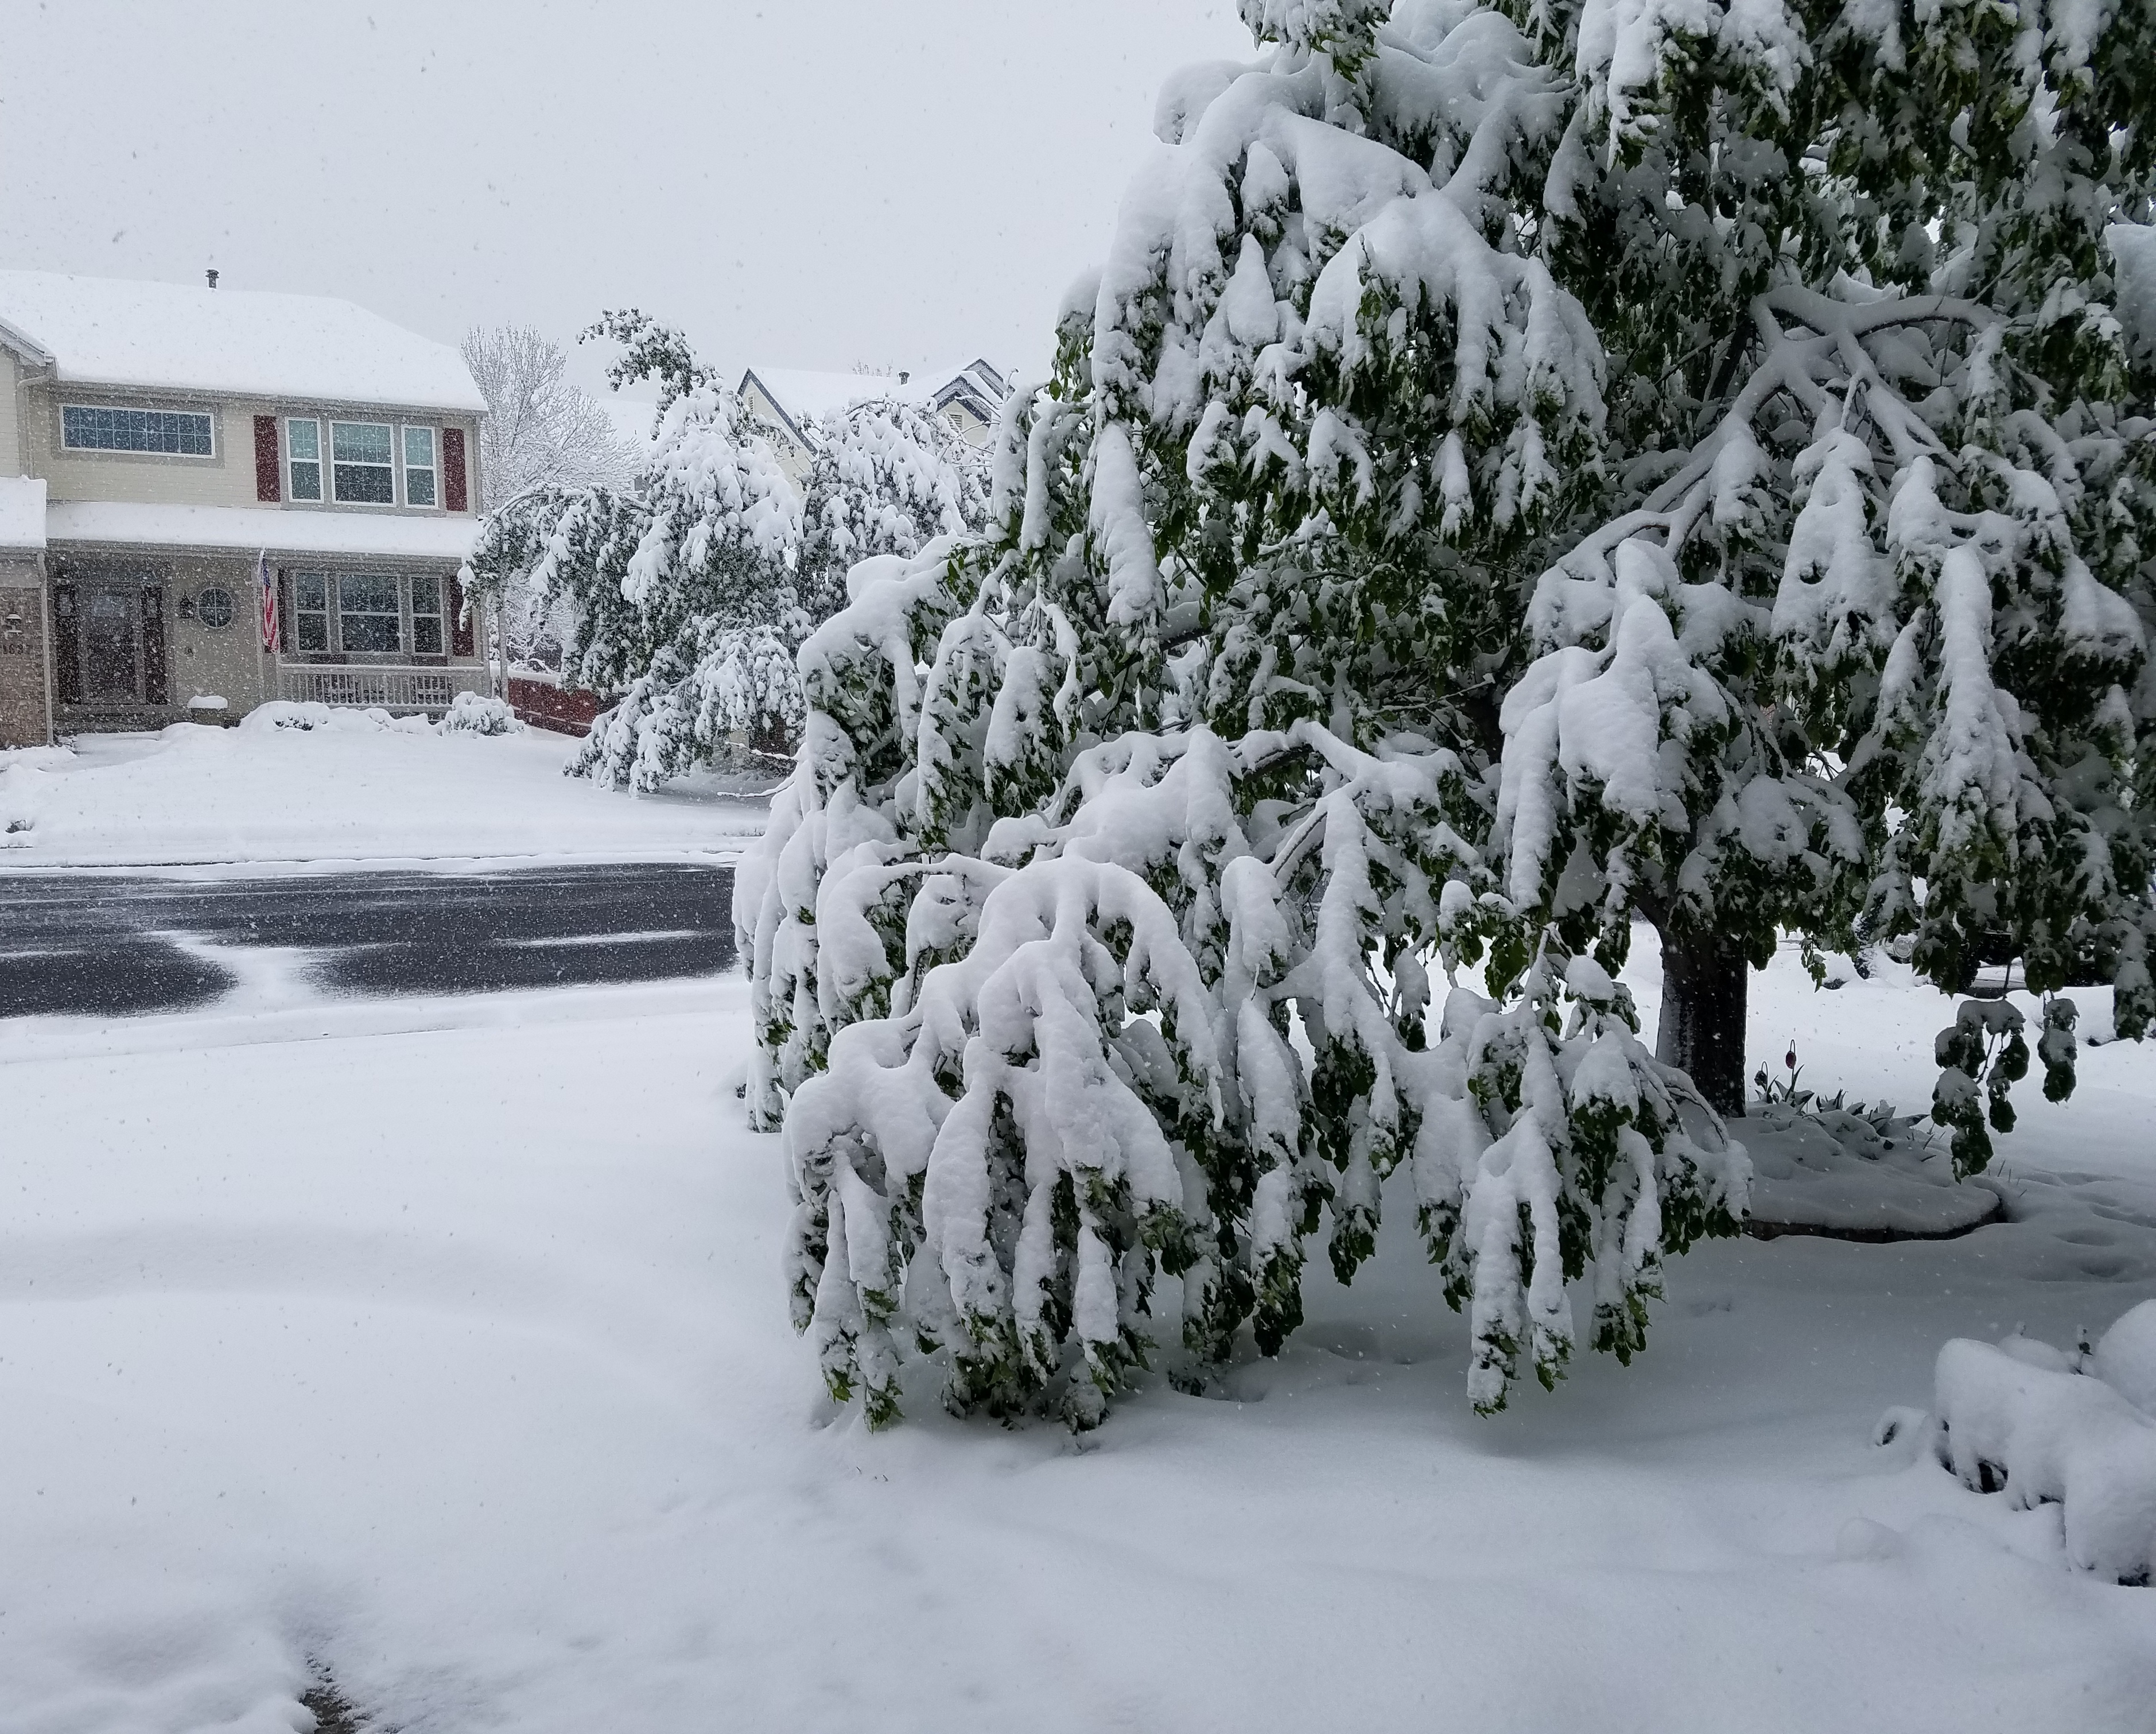 Hello! It’s Simple Saturday. Actually, I should call it Snowy Saturday! Yep…this is life in Colorado. Just when you think it’s safe to put your winter clothes away you need them again!
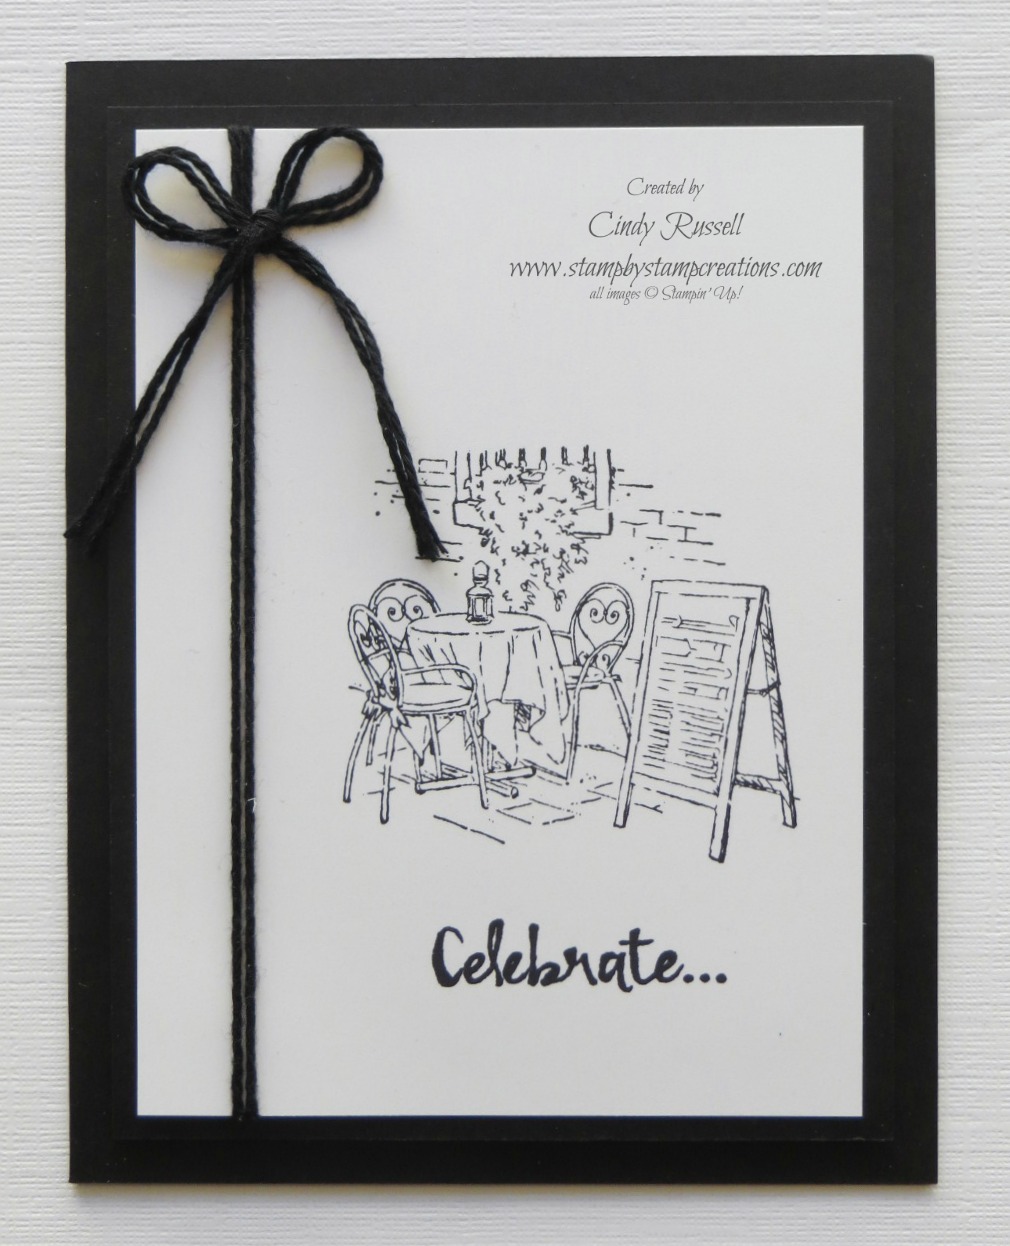 Stampin’ Up!’s Million Dollar Sales Achiever? Susan Nygaard helped design/inspire this stamp set. How fun is that?
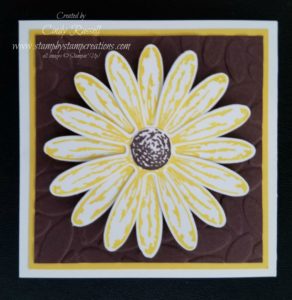 I didn’t need another flower stamp set….yet here we are….
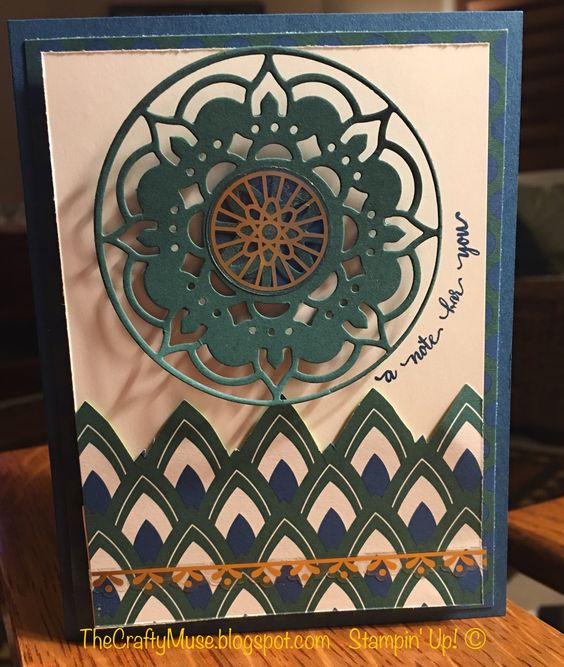
 Hello! Yes, it’s been awhile. I tell you….things get crazy around here and I forget to post on my blog. Classes last week and planning for a team meeting for last Saturday kept me on my toes as well as doing a project for church. The week just flew by. I hope your life isn’t quite as busy as this.
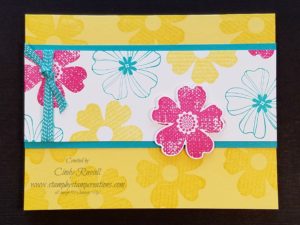 Spring has sprung and it’s time for flowers! These fun flowers are from the Flower Shop stamp set that has a COORDINATING punch! You know how I love my coordination! 🙂
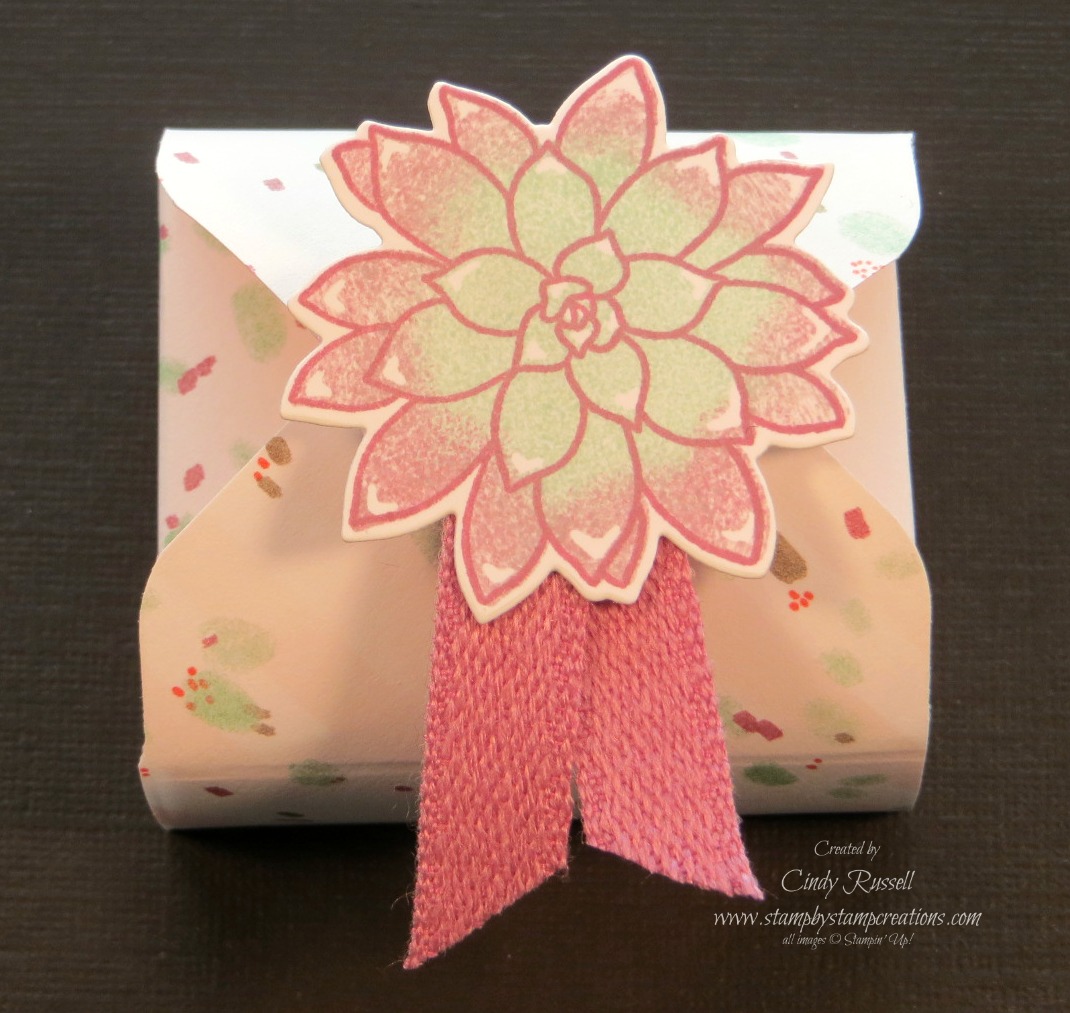
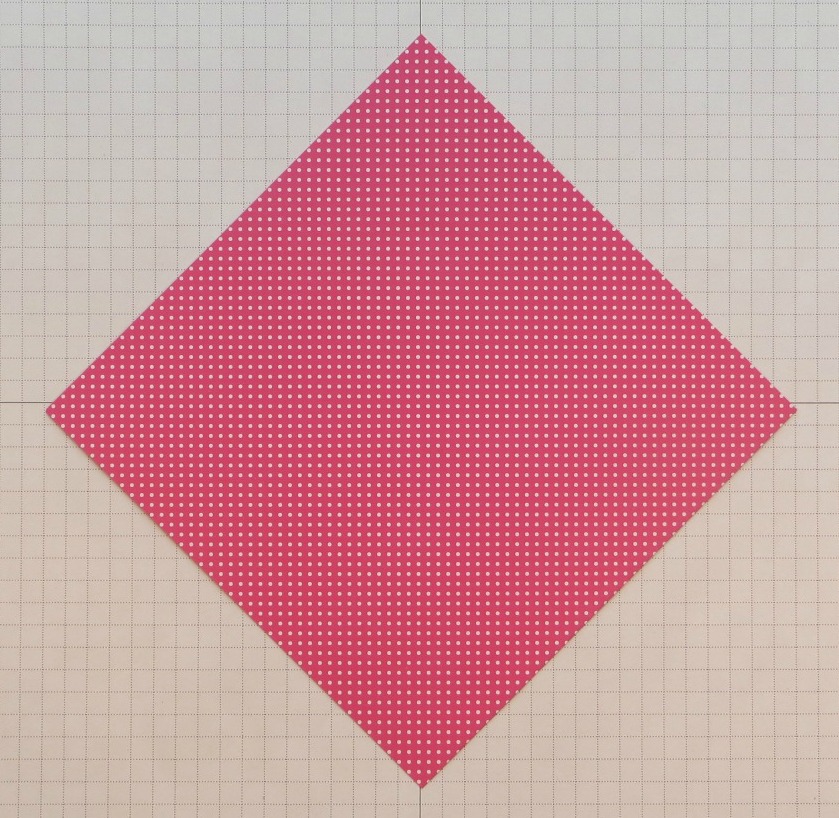
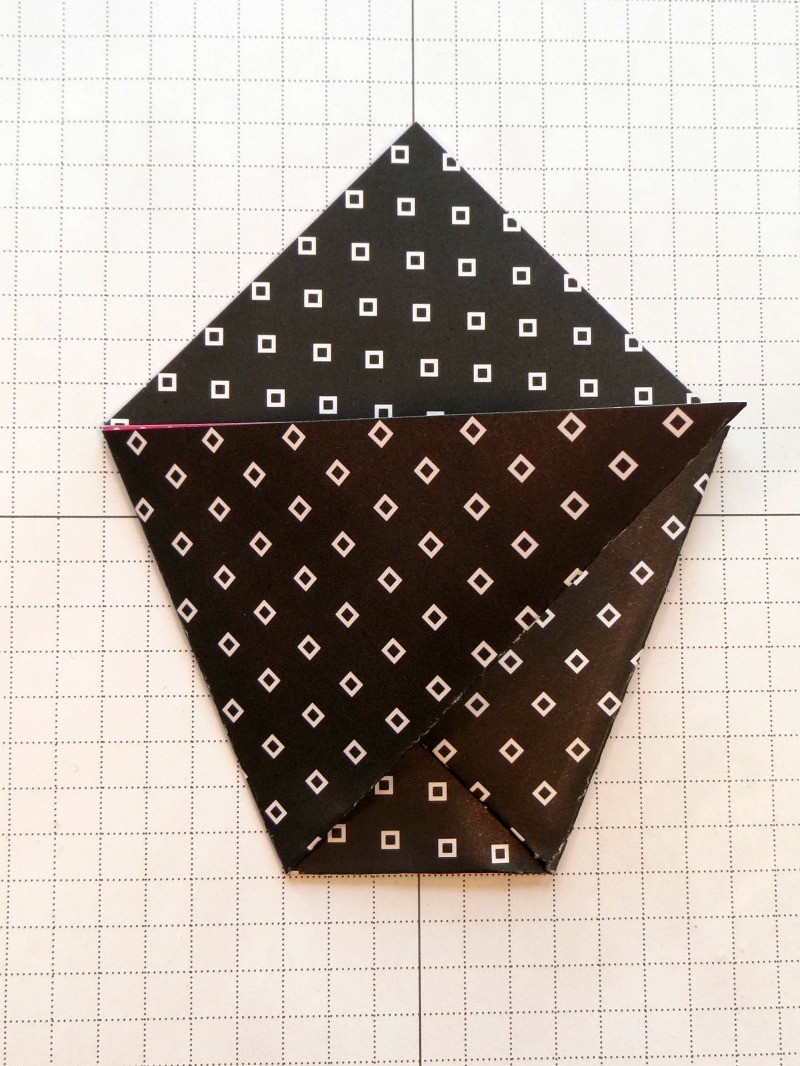
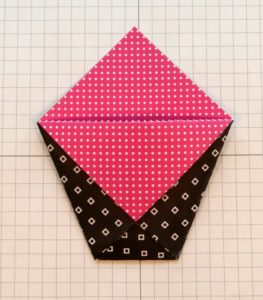 The final step is to take the top point and fold it towards the bottom edge of your treat holder along the top horizontal edge.


 Happy April! Can you believe that Easter is in 2 weeks! Yikes! I can’t believe that April is here already either! Where does the time fly?
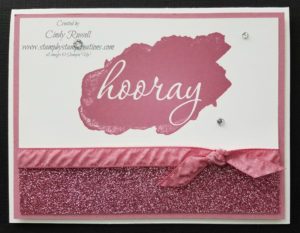 Yikes! Only a couple of days left of Sale-a-bration 2017! Have you placed your order?
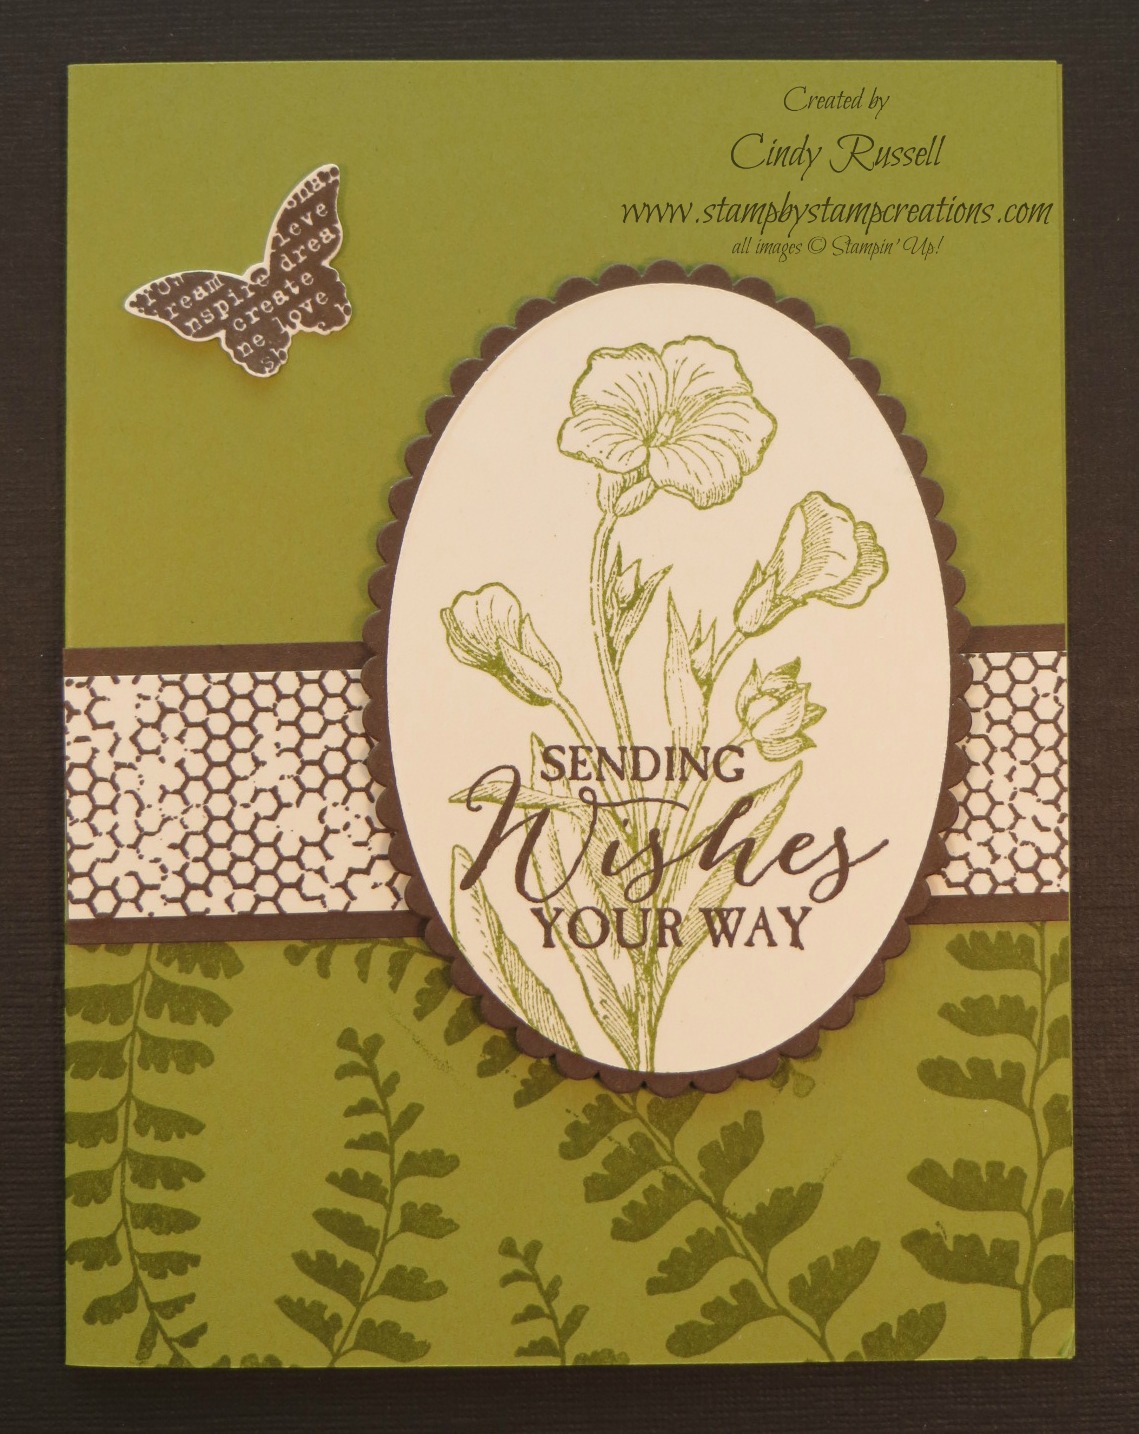
 Do you ever get really excited when you finish a card because it turns out so well? This is one of those cards for me…..it turned out so pretty! 🙂