
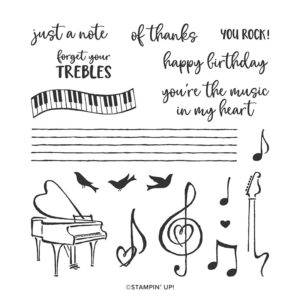
Once I saw this stamp set in the new Mini Catalog I knew it was the first stamp set I had to buy. I LOVE it! Music is in my soul. I’ve sung in the church choir forever and I’m on my second year of playing in the bell choir. I’ve taken piano lessons and played the flute, oboe and tenor saxophone in junior high and high school. Yes, music is in my soul.
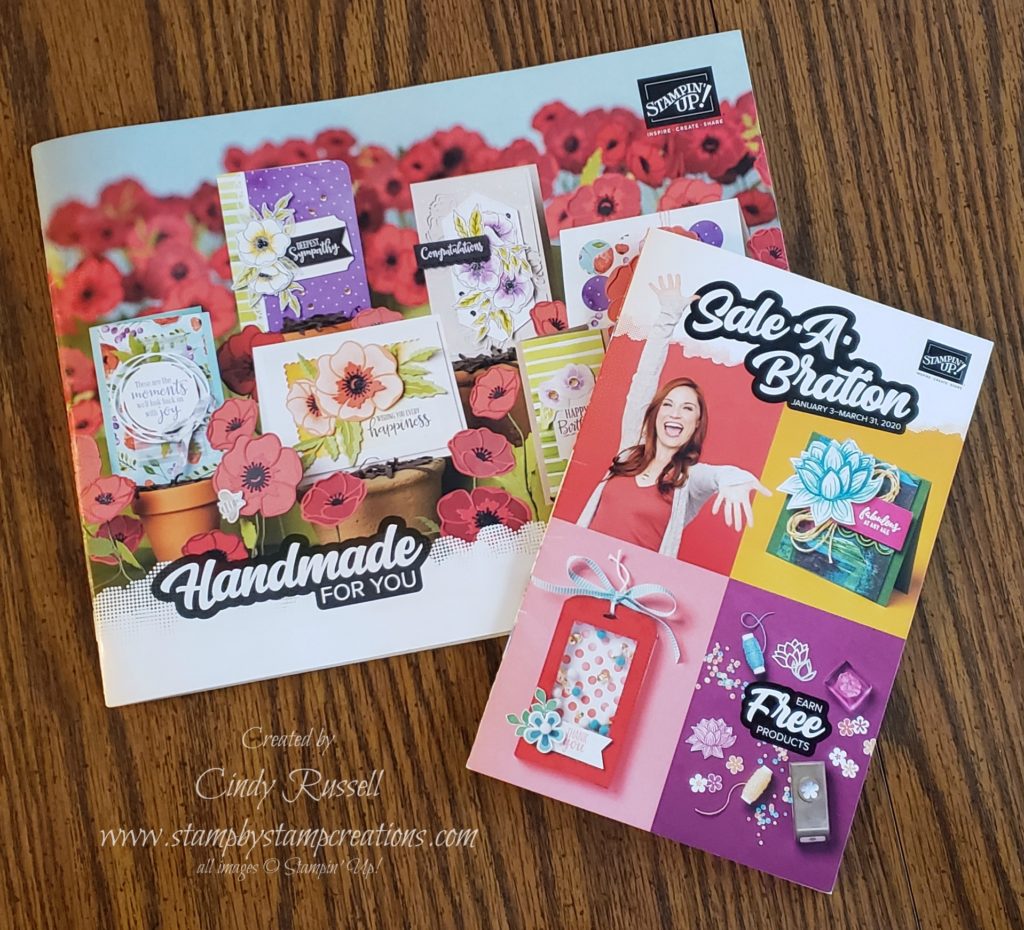
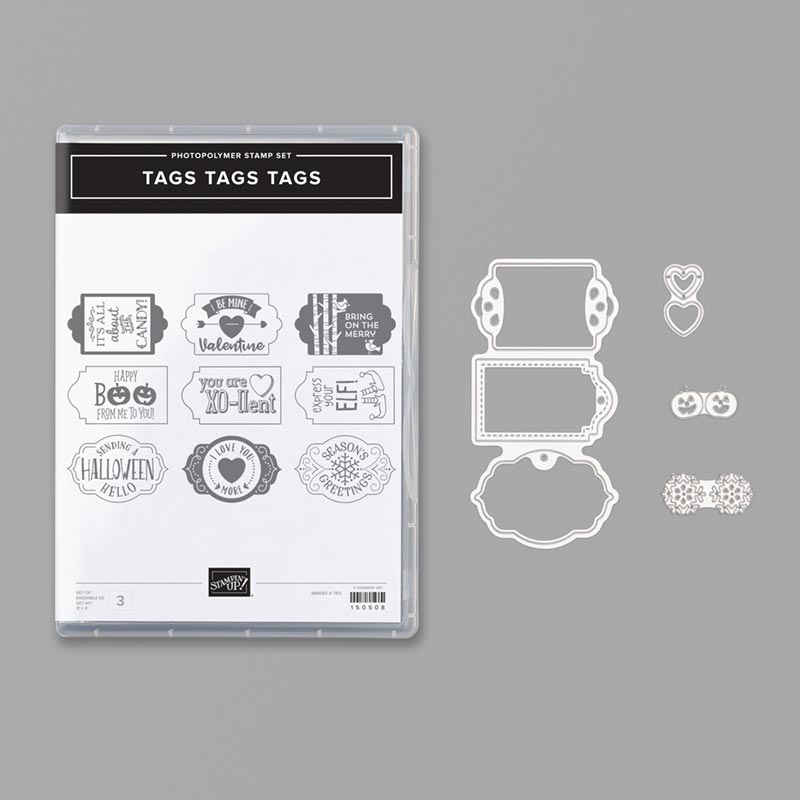
This stamp set was inspired by Million Sales Achiever Dawn Olchefske and you can find it on page 57 of the new Mini Catalog.
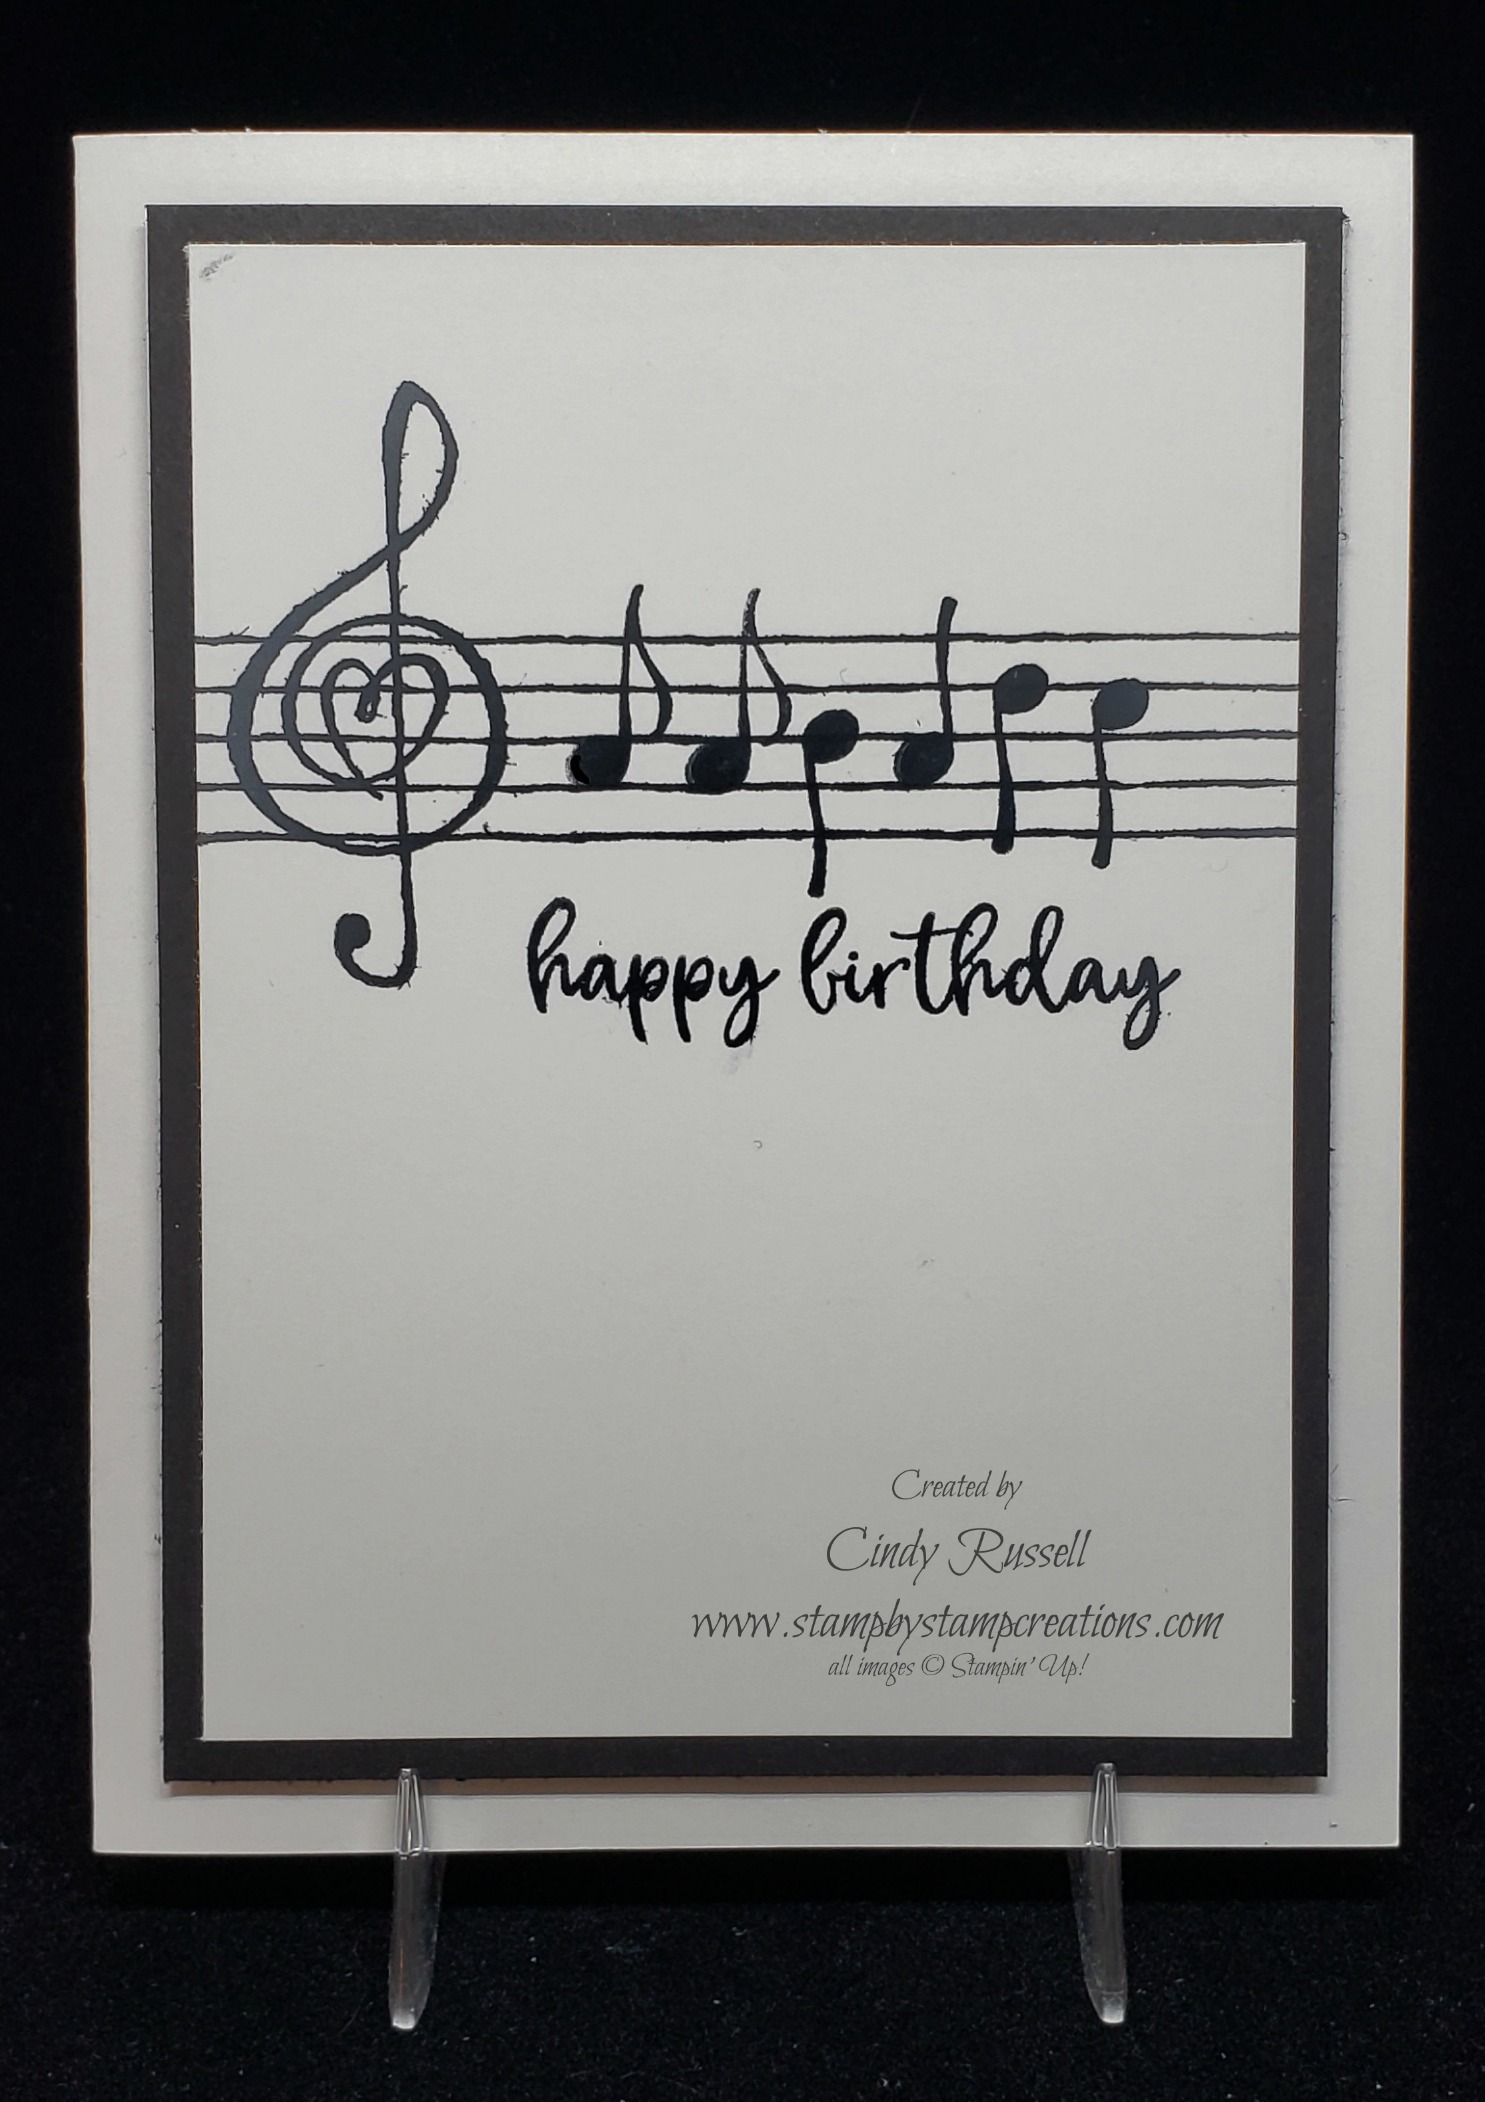
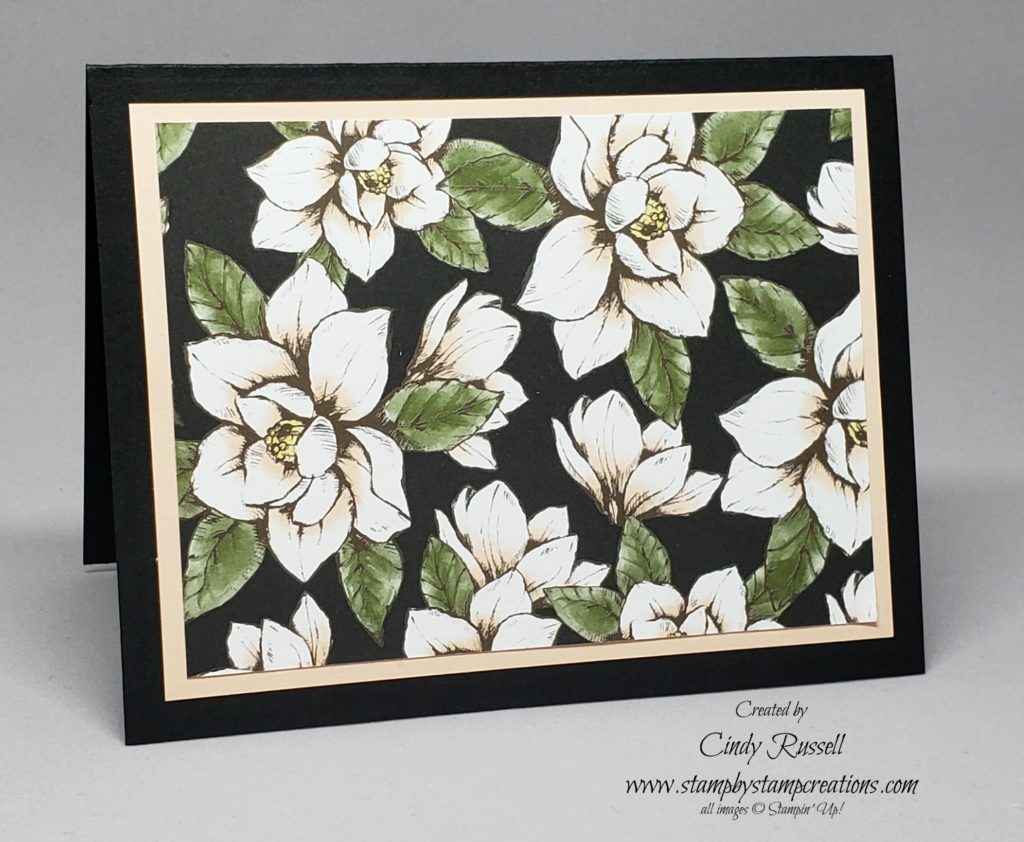
I CASED this idea straight from Dawn. She had made simple note cards with her stamp set and this birthday idea was one of them. I just made it into a full-sized card!
Thick Whisper White Cardstock: 5 1/2″ x 8 1/2″ Basic Black Cardstock: 5″x 3 3/4″ Whisper White Cardstock: 4 3/4″ x 3 1/2″
I stamped the music staff first, then the treble clef sign. If you can read music you’ll know that the notes that are stamped on the card are the tune to “Happy Birthday”! Thanks Dawn for figuring that out for me! 😀
I just love this card. So easy! I’m going to make a bunch for our choir director. Thank you Dawn for one of my favorite stamp sets ever!
Have a great day! Take care and Happy Stamping!


