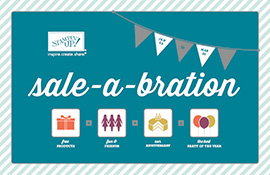
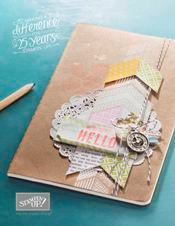
 I hope you’ve had a chance to check out Stampin’ Up!’s exciting new Spring Catalog. I can’t believe all of the fabulous, gorgeous and fun items in it. Do you love the great accessories as much as I do but would like to just try them out before purchasing the whole thing? Now’s your chance!
It’s time for my 2013 Spring Accessories Share! Get a little bit of ALL the fabulous accessories in this new catalog for only $25 (US). Shipping, if necessary, is separate. In my accessories share you will receive:
Delicate Details Lace Tape – 12″ each of 2 different designs (pg. 3)
5/8″ Flower Trim – 12″ (pg. 5)
Paper Doilies – 6 (pg. 5)
Creped Filter Paper – 2 squares, 2 circles (pg. 6)
Large Basic Rhinestones – 10 (pg. 8)
Designer Builder Brads – 4 (pg. 12)
Core-dinations Card Stock – 2 6″ x 6″ pieces of 3 different colors (pg.12)
1 1/4″ Two-Tone Ribbon – 2 feet each of 2 different colors (pg. 13)
Print Poetry Designer Series Paper – 12/ 4.5″ x 6.5″ sheets (pg.16)
Basics Designer Buttons – 2 each of 2 different designs (pg.20)
Natural 7/16″ Trim Ribbon – 2 ft (pg. 20)
Soda Pop Tops – 2 each of 2 different sizes (pg. 24)
Cute Clips – 1 each of 6 different designs (pg. 28)
3/8″ Striped Organdy Ribbon – 2 ft each of 3 different colors (pg. 30)
Tea for Two (pg. 3), More Amore Specialty (pg. 10), Parker’s Patterns (pg. 20) and Sunshine & Sprinkles (pg. 28) Designer Papers – 6 – 6″ x 6″ pieces of each designer paper Pack
Check out the fabulous Spring Catalog here! Please contact me if you’d like to participate in this accessories share. have a great day! Take care and Happy Stamping!

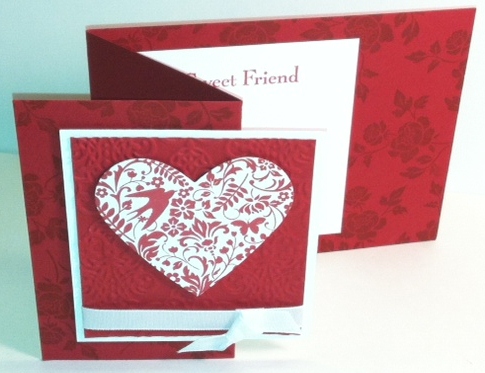
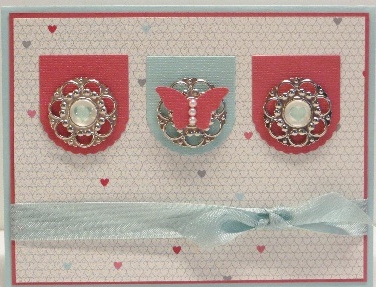
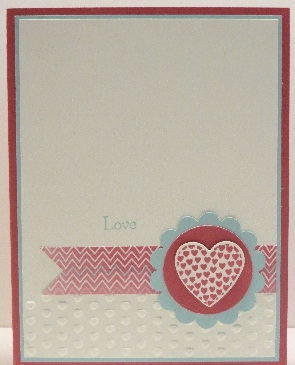
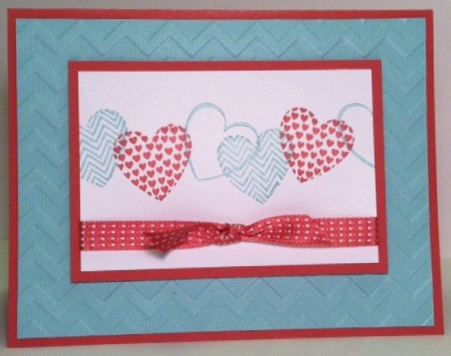
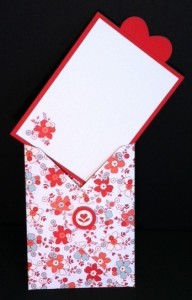
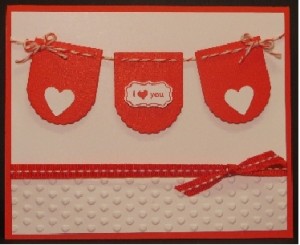
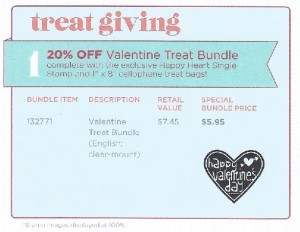
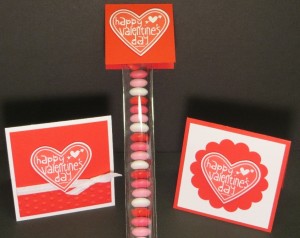
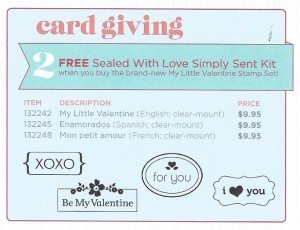
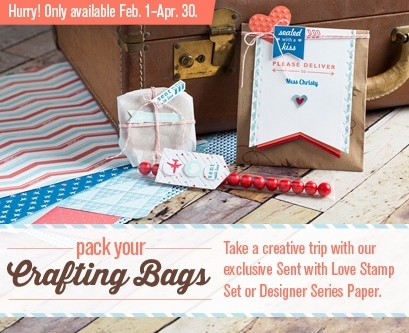 Stampin’ Up! has some fun new products for us! They’re offering a special limited-time stamp set and Designer Series Paper that’s all about travel. The Sent with Love Stamp Set and Designer Series Paper are perfect for documenting family vacations, creating unique invitations, or myriad other fun paper-crafting projects! Check out the cute stamps below. I’ve ordered my products….have you ordered yours? Check out the images and patterns here. Don’t wait too long….these items are only available until April 30th!