
 As I mentioned yesterday, February and Valentines Day are all about LOVE! As paper crafters we’re all about making cards but it’s also fun to make 3D projects.
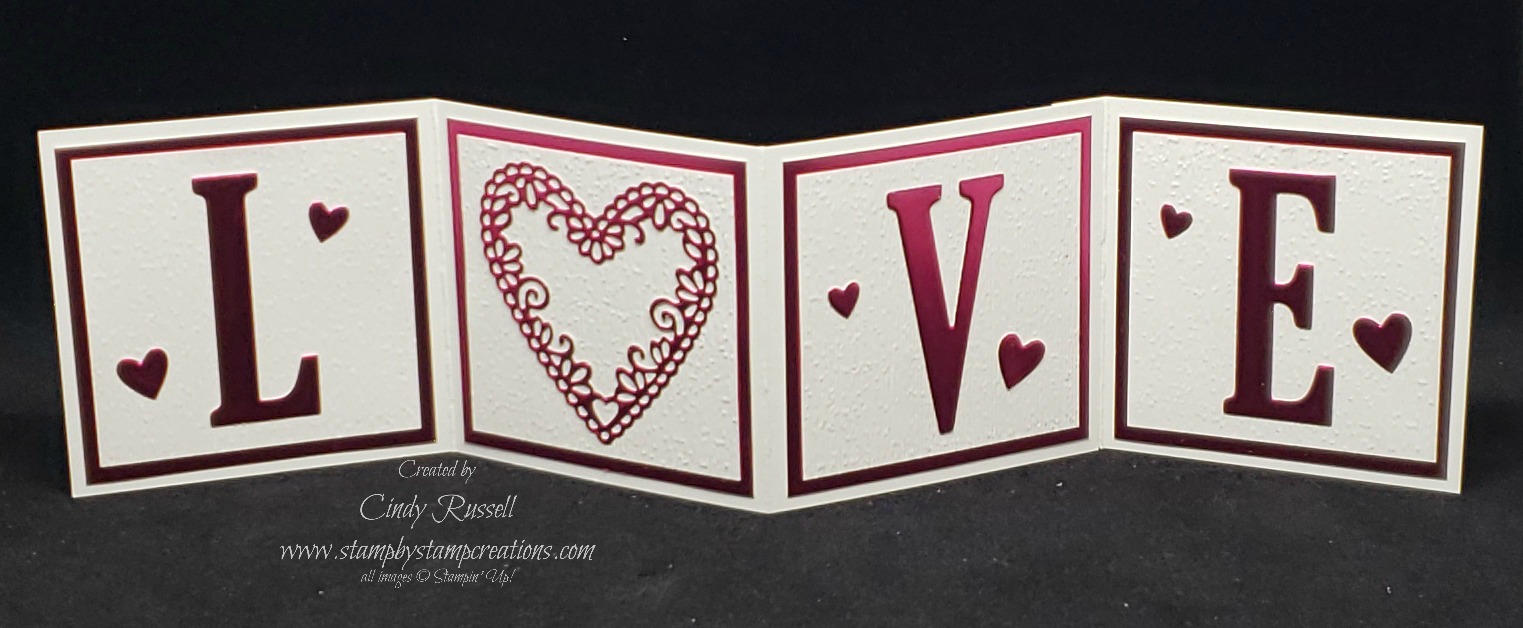
At Christmas time my demo friend Jan gave me a fun little banner like this one that said “SNOW” and had a large snowflake for the “O”. I had just received my pre-order of items from the Occasions Catalog and the Sale-a-bration brochure and my little brain went into overdrive! I just knew I had to make one of these for Valentine’s Day using the GORGEOUS Lovely Lipstick Foil Sheets that you can get as a FREE Sale-a-bration item and the Be Mine Framelits.
This turned out just as cute as I imagined! I can’t wait to display it!
This little LOVE banner was pretty easy to make. You should start with a 12″ x 12″ piece of Whisper White cardstock. (I say “should” because the cardstock I had was only 11 7/8″ x 11 7/8″ so I had to improvise.)
Cut a 12″ x 3″ piece of Whisper White cardstock. Score at 3″ and 9″. Flip it over and score at 6″. Fold along score lines. You want the outside score marks to be valley folds and the inside score mark to be a mountain fold.
(Improvisation: Start with an 8 1/2″ x 11″ piece of cardstock (I used Thick Whisper White for a little more support). Cut a piece that is 3″ x 9″ and a piece that is 3″ x 3 1/2″. Score the large piece at 3″. Flip cardstock over and score at 6″. Score the small piece at 3″. You want your score marks folding as mentioned in the step above. Once you have your pieces situated this way you will adhere the 1/2″ section of the small piece to the back of the right side of the large piece. If you look closely at the picture above you can see that I did this.)
Cut 4 – 2 3/4″ x 2 3/4″ pieces of Lovely Lipstick Foil Sheets and adhere to the four sections of the scored Whisper White cardstock.
Cut 4 – 2 1/2″ x 2 1/2″ pieces of Whisper White cardstock. Run them through the Big Shot with the Subtle Embossing Folder (my favorite!) for a little texture. Adhere them to the squares of Lovely Lipstick Foil Sheets.
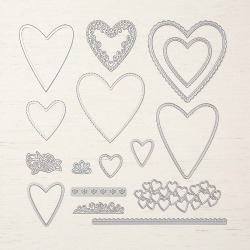
Figure out how large of pieces of Lovely Lipstick Foil Sheets you want to use to die cut the letters and heart and adhere pieces of Multipurpose Adhesive Sheets to the back. (You can use regular adhesive on the letters but the Multipurpose Adhesive Sheets make adhering the heart SO much easier.) Die cut the “L”, “V” and “E” and the intricate heart from Lovely Lipstick Foil Sheets. Adhere these pieces to the embossed squares of Whisper White cardstock.
 To finish off the banner I die cut the little piece with all the little hearts on it and adhered some of the hearts to each of the letter squares. Don’t worry….I didn’t waste the outline of the little hearts….I used it on a card!
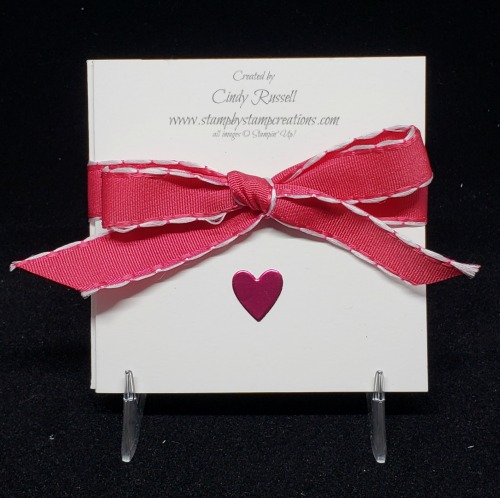
These little banners would make wonderful gifts. I may have to make some more of them! Of course if you are going to give this as a gift how do you present it? Tie a ribbon around it of course and add one of the many little hearts that you just die cut to make the banner!
 Have a great day! Take care and Happy Stamping!