
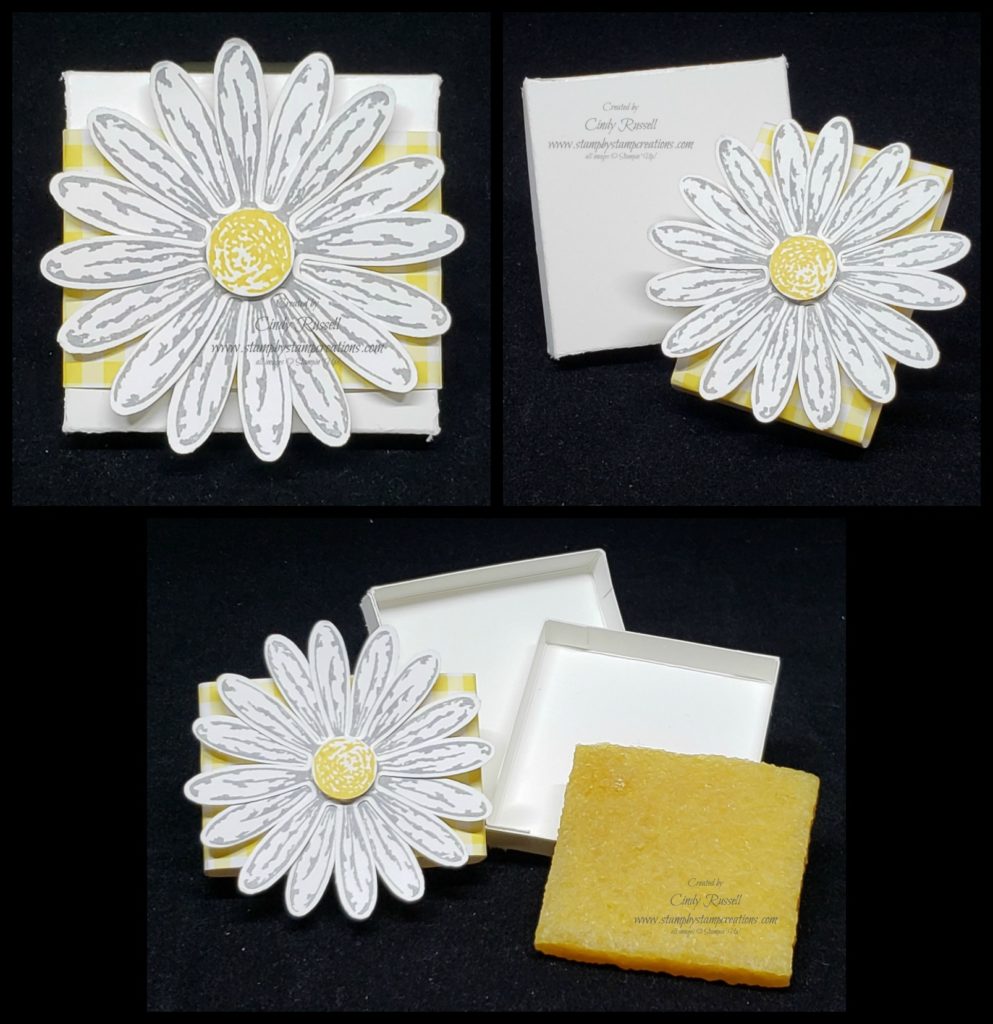
When my friends and I go to On Stage events many of us create small gifts for each other. For this last event I went to in Minneapolis I created these adorable little Daisy Boxes that were the perfect size for an adhesive eraser (Amazon!).
The box was pretty easy to make. I just measured the adhesive eraser and made the length and width of the box base just a hair bigger. The sides of the box were just a hair bigger than the height of the adhesive eraser. In order to have the lid fit over the base I added about 1/16″ to the length and width of the base dimensions.
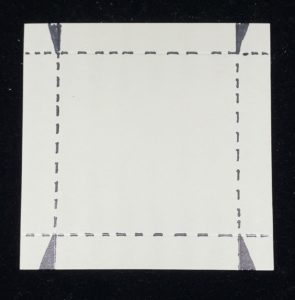
The adhesive eraser is about 1 7/8″ x 1 7/8″ x 1/4″. I then made the bottom of my box 2″ x 2″ x 3/8″ which made for a nice snug fit. So I started with a piece of cardstock that was 2 3/4″ x 2 3/4″ and scored each side at 3/8″. For the lid I started with a piece of cardstock that was 2 13/16″ x 2 13/16″ because I wanted the lid to fit snug. This piece of cardstock was also scored at 3/8″ on each side. On both the top and the bottom I snipped a little angle in the corners to reduce the bulk when I formed the box itself.
Once the box itself was done it was time for the adorable belly band. You can’t go wrong with the Gingham Gala designer series paper stack and it coordinates perfectly with the daisy. I stamped the daisies with Smoky Slate ink and the center with Daffodil Delight ink. Once the flower was pieced together I attached it to the belly band with Stampin’ Dimensionals.
I hope you have a great day! Take care and Happy Stamping!