By The Tide Reverse Masking

002It was a bit chilly here in Colorado yesterday so I thought I needed something that made me think “WARM!  Our BIG snowstorm was kind of a bust but it did get cold.

This “warm” card was made using the “By The Tide” stamp set from the Spring Catalog.  I made this card at a team Shoebox Swap a few months ago.  We used the Reverse Masking technique on it.  We used one of the Oval Framelits and die cut an oval in a piece of card stock.  We laid it over the piece of Whisper White card stock and then sponged Marina Mist ink into the oval.  Then we stamped the seaweed into the sponged oval.  The final touch was to use the Occasions Paper Piercing Pack to pierce holes all around the sponged oval.

It’s not a difficult card but I do have to admit I messed it up big time the night we were making it.  Someone (and I won’t mention any names, Cindy) managed to sponge and pierce her oval right on the card front.  It did look fine but the Marina Mist border does add something to the card and brings out the sponging.

Have a warm day!  Take care and Happy Stamping!

Designer Type Birthday

006Do you have any birthdays coming up that you need cards for?  Here’s a fun card for you!  I used the new Designer Type Photopolymer Stamp Set from Stampin’ Up!.  Here’s what Stampin’ Up! has to say about these fun new stamps:

“Our top-quality photopolymer has just enough give to create a perfectly stamped image every time and with the introduction of our firm-foam pads, let’s just say they’re meant for each other! Photopolymer stamps will also be unique, fun designs that will inspire you and provide more versatile options you may not see in our traditional wood- and clear-mount stamp options.”

“What makes them so great?

  • They’re entirely transparent for perfect placement every time!
  • They are durable. The photopolymer material is designed to last.
  • Can you say sticky? (Don’t worry; in a good way.) These stamps stick amazingly well to our clear blocks.
  • They’re age tested. They won’t yellow or cloud up over time.
  • We could go on, but we’ll let you try them for yourself.

They are clearly a great choice.”

The photopolymer stamps are fun to play with and it is easy to see what you’re doing.  They bend too.  This pennant stamp comes as a straight line but you can curve it when you place it on the clear block.  It is easy to place the little letters and numbers in the pennant.  You should try playing with these stamps.  They’re FUN!  😀

Click here to find out more about these fun new stamps and to see all of the designs included in this new stamp set.

Have a great day!  Take care and Happy Stamping!
Wishes Your Way Pinwheel

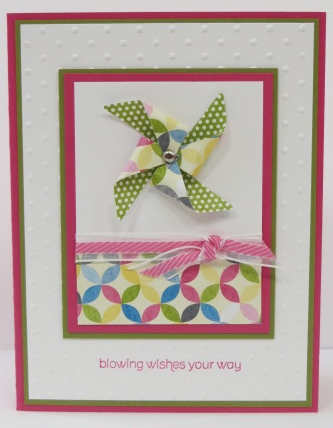
Pinwheel.0413Aren’t pinwheels fun?  Here’s a fun one made with the adorable Sunshine and Sprinkles Designer Paper and to set it all off is the really cute Melon Mambo 3/8″ Striped Organdy Ribbon!  How could I go wrong with this card when I was using my favorite color?  MELON MAMBO!!  I’m SO glad that this color is sticking around when the Stampin’ Up! colors get refreshed!  I can’t wait to try it with the new Smokey Slate or reacquaint it with Bermuda Bay.  Those two colors work so well together.

This card just shouts SPRING and we definitely need that!  We could get 6″-12″ of SNOW tonight and tomorrow.  🙁  The worse part about it is that hubby is out of town and I’ll have to shovel it all myself!   I’ll let you know if that really happens though.  They haven’t predicted the last few storms accurately so we’ll see about this one!  Have a warm and dry day!  Take care and Happy Stamping!
Rain or Shine

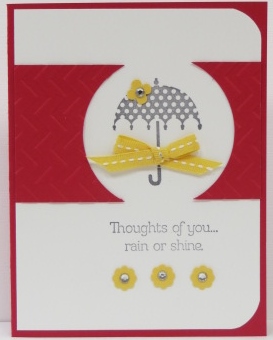
Rain or Shine.0413Rain or Shine?  What’s your choice?  I do love a sunny day but we do need moisture here in Colorado so I think I need to choose rain.  I said rain….not snow!  It’s April and I’m kind of over snow but of course the weatherman is predicting snow in the next few days.  I guess that’s part of living in beautiful Colorado!  Anyway, enough of the weather!  Let’s take a look at this cute card!

The first thing you should notice is that I could have shown you this card last month during “What Can You Do With A Circle?” month.  I just love the way this technique highlights the stamped image.  Isn’t it fun?  My piece of Real Red Card Stock is only 2 1/4″ wide.  After I ran it through the Big Shot I used the 2 1/2″ Circle Punch to punch the circle.  This way it “cuts” the card stock in two pieces.    I also used another circle technique on this card.  I used the 1 3/8″ Circle Punch to round the two corners.  Gotta love those circle punches!

Have a great day and Happy Stamping!

P.S.  Don’t forget about the FREE Shipping through tomorrow!!!

Sent With Love

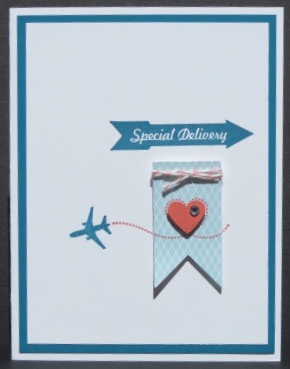
Sent With Love.1I finally got out my Sent With Love Bundle and started playing.  I CASEd this card right from Pinterest.  Are you a Pinterest addict?  I know I am.  I try to limit myself to checking it only a couple times a week unless I’m looking for something specific.  In this case I was looking for cards made with the Sent With Love stamp set so I just did a search on that.  Great stuff!

What a fun card!  I’m so glad that both of the colors on this card, Island Indigo and Calypso Coral, will be staying around.  Did you check out yesterday’s post about the Color Refresh?  If you haven’t yet, you better do it!  🙂

This Sent With Love Bundle is only availble through the end of this month so be sure to check out the details here.  It’s a fun stamp set with fun designer paper to match.  Don’t miss out!

Have a great day!  Take care and Happy Stamping!
P.S.  Don’t forget that FREE shipping starts tomorrow!  Get that order ready now!


Springtime Bootiful Occasions

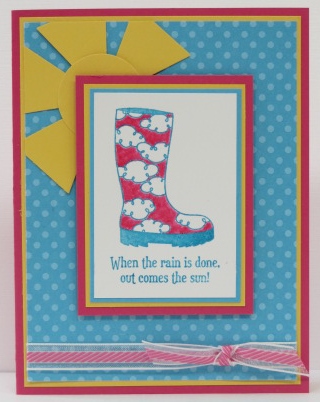
Bootiful Occasions.0413Spring has sprung and now we’re in desperate need of those April showers the month is so famous for. What better way to get ready for an April shower than with an adorable pair of rain boots!  (OK…just one boot here but you get the idea!)

Once again I got carried away on layers but they just add so much to the card.  Don’t you love the little sun made from the 1 1/4″ Circle Punch and the Pennant Builder Punch?!  Too cute!

You can’t tell from the picture but I heat embossed the boot and sentiment.  Did you know that you can heat emboss with the new classic foam pads?  They’re much “goopier” (is that a word?) than the old pads so the stamp picks up more ink.  If you work quickly enough (no dilly-dallying!) and sprinkle your clear embossing powder on the wet ink right away you can emboss!  How fun is that?!

A cute card for spring with fun and bright colors!  Have a great day!  Take care and Happy Stamping!

Elements of Style

Elements of Style.0313Here’s a pretty and versatile card for a Tuesday morning!  We made this at our recent Stamp-a-Stack class.  It’s a great card because it can be for almost any occasion!  Simply change the sentiment!

The flowers are from the “Elements of Style” stamp set and the sentiment is from “Petite Pairs” although you can use any sentiment that fits in the large oval punch.

Once again my photo doesn’t do the card justice.  I used the Primrose Petals Core’dinations Card Stock for the large background piece just to add a little texture.

Today is the first session of this week’s “Spring Has Spring” class.  We’re making 4 fun cards for spring.  I can’t wait to share them you!

Have a great day!  Take care and Happy Stamping!
More Circle Fun!

001 (2)We’re down to the wire….”What Can You Do With A Circle?” month is almost over.  Have you enjoyed it?  I sure hope so!  It’s been fun putting it all together for you.

I CASEd this card from my upline Tara.  She’s the BEST!  Always willing to help you out.  Isn’t this a fun card?  I used the Delicate Details Lace Tape from the Spring Catalog.  I punched out 1/2″ circles (see, I used circles!) and stuck them to the back side of the lace tape which is sticky on the back.  When I adhered the tape to the card I did use a little bit of adhesive on the back of each colored circle.

Another simple and fun card!  Why don’t you give it a try?  Have a great day!  Take care and Happy Stamping!
Embedded Embossing Technique….With Circles!

Embedded EmbossingYou’ve got to have circles when it’s “What Can You Do With A Circle?” month!  Today I have a fun technique for you and it’s even more fun with CIRCLES!  😀

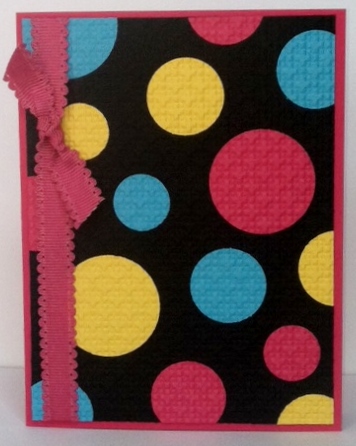
For this card I punched a bunch of circles with my 1-1/4″, 1″ and 3/4″ circle punches and randomly adhered them to a piece of Basic Black card stock.  I then ran the black card stock through the Big Shot with the Square Lattice Embossing Folder.  That’s it!  Throw some ribbon on it and adhere it to a card!  It’s so festive!

One trick I always do when I use this embossing folder (most others) is that I always cut the card stock larger than I want the final piece to be.  This folder, especially, shrinks when you run it through the Big Shot.  Of course it doesn’t shrink evenly.  It shrinks more in one direction than the other!  This way it will always be the exact size that I want!

Have a great day!  Take care and Happy Stamping!

Circle Flowers

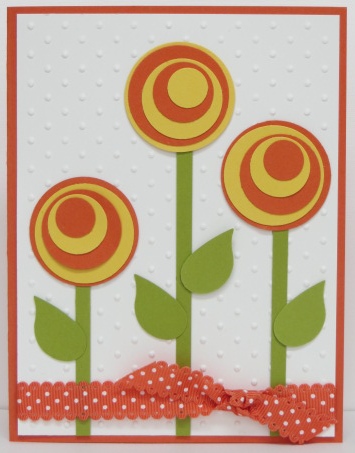
circle flowersAren’t these cute?! And they’re circles!  I made this card yesterday and thought it wasn’t bad but the more I look at it the cuter it gets!  Is that possible?  Maybe the all those circles are just doing crazy things to my brain!  Ha!

Such a FUN card and it’s made with…yes…CIRCLES!  I used the 1 3/8″, 1 1/4″, 1″, 3/4″ and the 1/2″ circle punches.  Wouldn’t this be cute in PINKS?!

The flowers were simple to make with all of those punches.  The leaves are actually the wings from the Bird Builder Punch and the stems are strips of paper!  How easy is that?

It’s a perfect card for spring!  Yes, our spring weather is slowly returning to Colorado.  We’re so excited!  60’s for Easter Sunday!  Much nicer than this past weekend!

Have a great day!  Take care and Happy Stamping!


Dropped Circles

009 (2)Spring has sprung but you wouldn’t know it here in Colorado.  We had more snow this past weekend and the past few days have been COLD!  I know, I’m whining….but when the calendar says spring you want to put away all your winter gear and enjoy the warm breeze and sunshine!

This fun technique/template (with circles!) is called Dropped Circles.  I went with the pastels for spring and used the “Spring Sampler” stamp set.  The strips are a little less than 1 1/4″ wide so that you can fit them in a 1 1/4″ Circle Punch to round the bottom edge.  Remember how I showed you how to round corners circle punch in my recent e-mail?  If you missed it and want to know how I did this leave a comment or contact me.  I’d be happy to share!

I did have a little trouble lining up my strips of card stock evenly and having enough room for the punched circles but all in all I think the card turned out pretty cute.  Thanks to LeAnn Greff for the idea!  I’ve seen cards like this where you punch a small image in the strip instead of attaching a circle.  I might have to work on that one to share with you!

Have a great day!  Take care and Happy Stamping!
 

Half Circle Highlight

photo (3)It’s the last week of the month so I need to make sure I give you more circles!  (“What Can You Do With A Circle?” Month!)  Although, today, I only have a half circle for you…

Isn’t this kind of a neat layout?  I’ve seen used on a vertical card too.  I like the way the half circle kind of frames the flowers.

I started with a full card and then cut away half of the front before punching the half circle.  To tie the ribbon, I cut a slit in the fold of the card with my Xacto knife and slipped the ribbon through.  All of the stamping is done on the inside piece of the card.  It’s a pretty easy layout.  I’ll have to try it in class sometime!

Have a great day!  Take care and Happy Stamping!

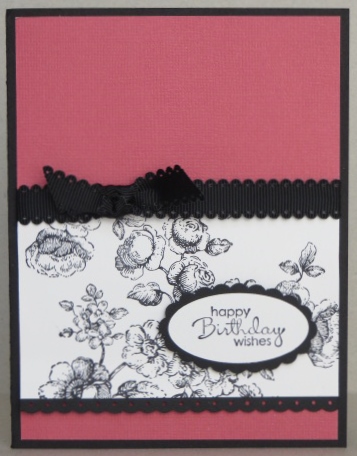
Best of Birthdays!

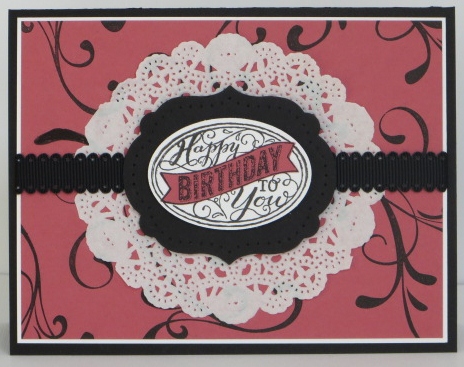
Best of Birthdays.0213It’s a big birthday day.  I know at least 3 people celebrating today and my baby’s birthday (age 20 now) was yesterday!  I felt we were in need of a birthday card for today’s post.

I used the new image from the “Best of Birthdays” stamp set.  It’s a fun image.  Have you used it yet?  How about the doilies from the Spring Catalog?  Have you tried them?  I’ve been working with them a little bit.  They’re not quite my style but it’s fun trying to incorporate them into a card or project.  Did you notice that the doily is actually a circle? 🙂

Well, hopefully our little blizzard will let up soon.  I need to go pick up a pie for birthday celebrations.  My son’s birthday was yesterday, his girlfriend’s birthday was last Saturday and my other son’s fiance’s birthday is this coming Tuesday!   We have plans to go out to dinner tonight so we’re hoping the weather will cooperate.

Have a great day!  Take care and Happy Stamping!

Happy Hour Fun

Happy Hour.0213It’s Happy Hour!  No circles today, just squares.  That’s ok though….the squares contain tropical drinks….yum!  🙂

This is a fun card that I CASEd while making a batch of cards for my cousin.  Don’t the Calyposo Coral and the Island Indigo go perfectly together.  Such a fun and bright combination.  These colors will be gone at the end of May so be sure to get your paper, ink pads, ribbon and ink refills before they’re gone!

Cheers to you!  This drink is on me!  Have a great day.  Take care and Happy Stamping!


Circle Circus

photo (2)What better way to celebrate “What Can You Do With A Circle?” month than with a circle stamp set!  Yes!  Circle Circus is the perfect stamp set for this month!  It’s full of all different size circles that coordinate with Stampin’ Up! punches.  How perfect is that?!

This is a pretty simple card and did you notice that I used my favorite color?  Melon Mambo!  It just makes this card pop!

I highlighted a few of the flowers with one of the flower punches in the Itty Bitty Punch pack and added a rhinestone jewel.  Fun & Simple!  😀  If you like this card, please share it!

Have a great day!  Take care and Happy Stamping!