
 A few weeks ago I shared a special shaker card with you and promised you the tutorial. Well, here it is!
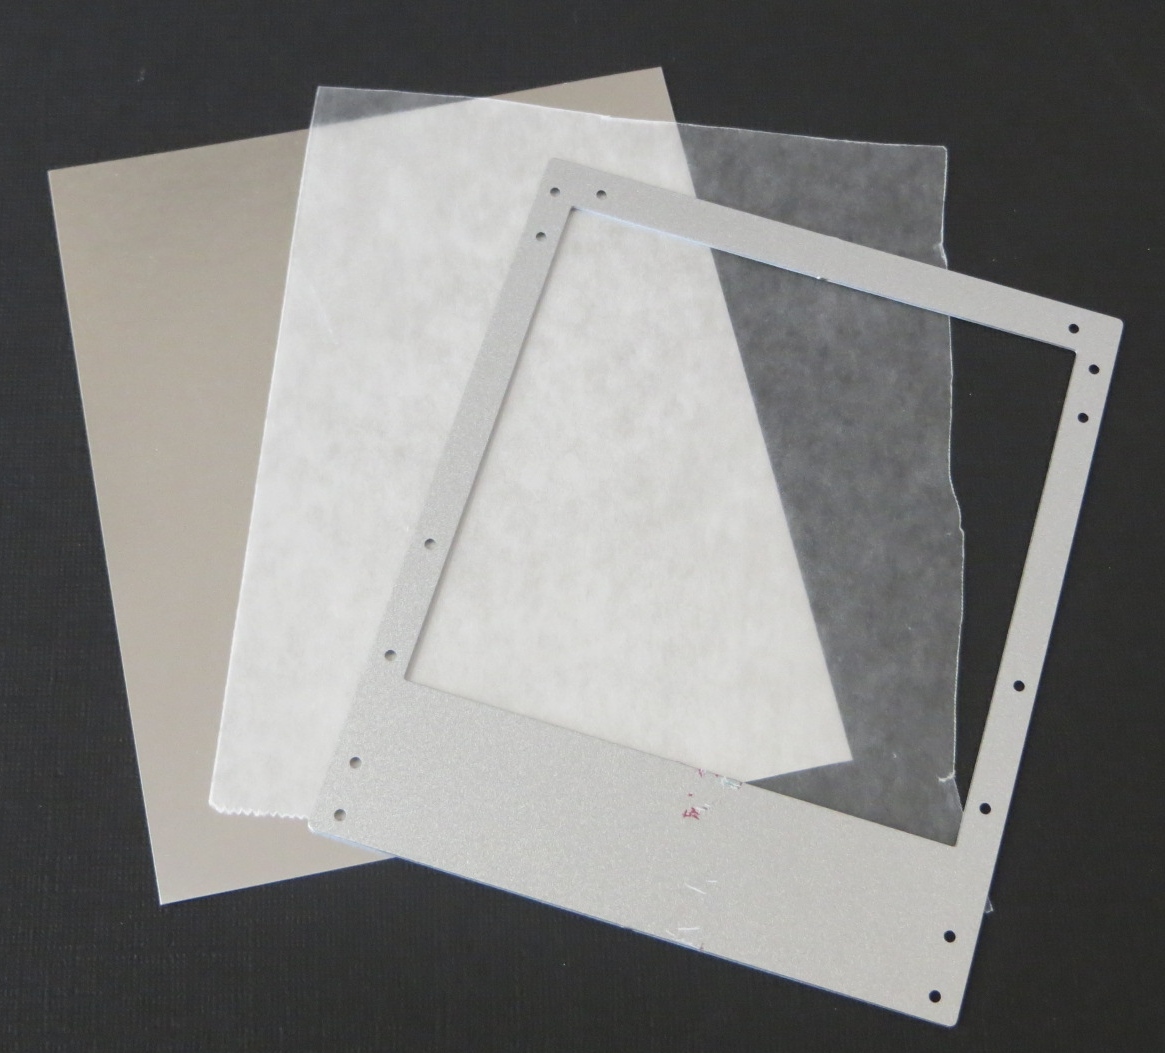
The first thing you need to do is die cut the “polaroid” frame with the On Film Framelit. The key to this step is placing a piece of wax paper between the framelit and your card stock (picture 1). This way your paper doesn’t stick in the fine parts of the framelit.
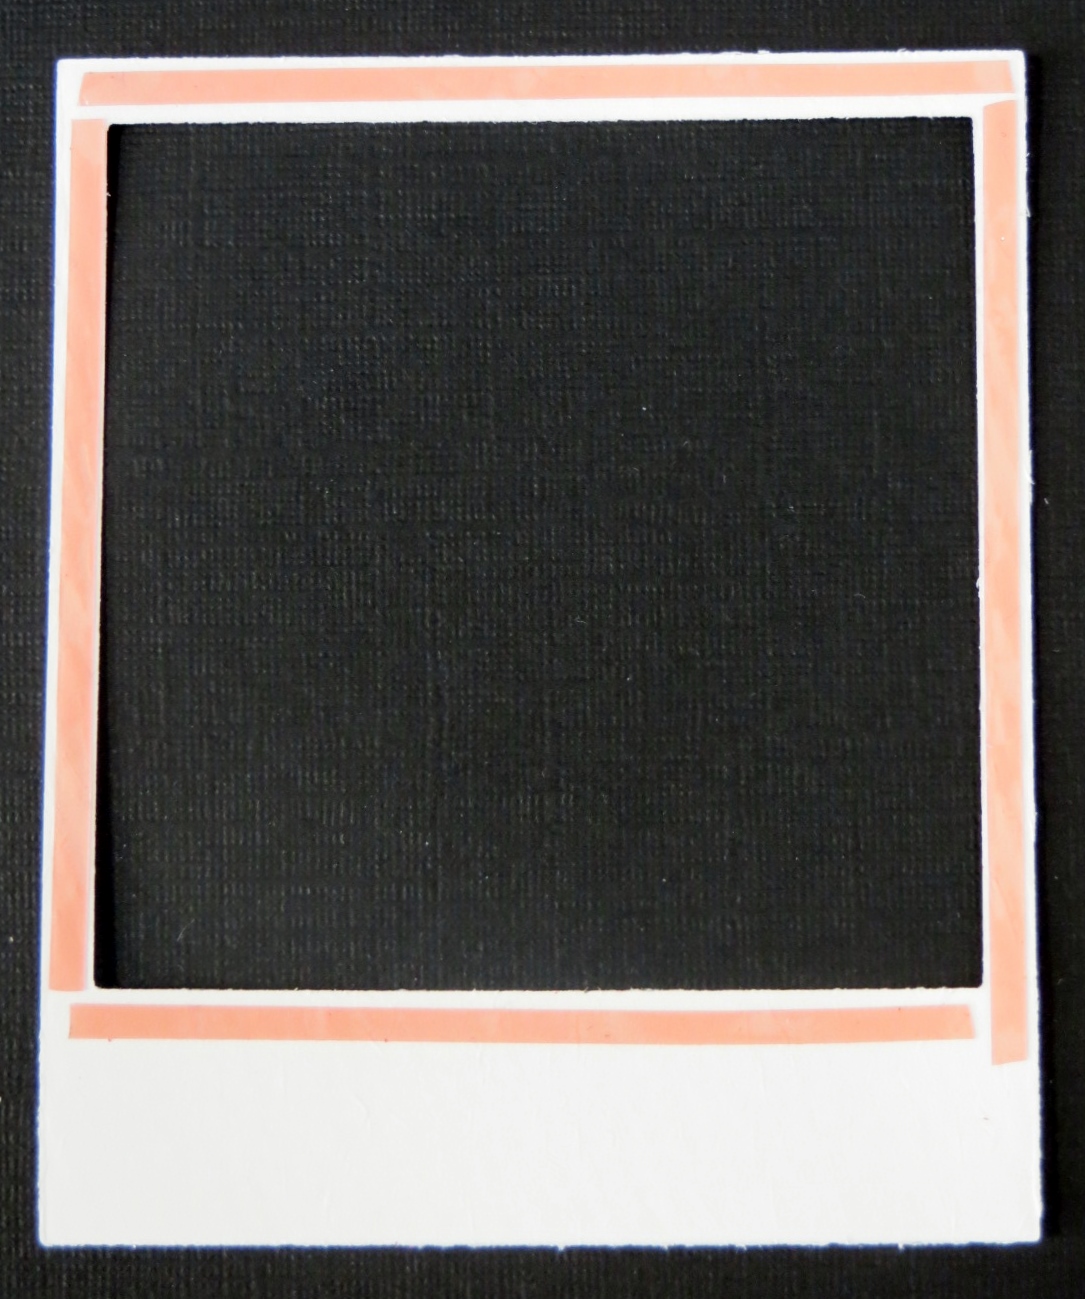
The next step (picture 2) is to place Sticky Strip all around the opening on the back side of your die cut frame. Stampin’ Up! Sticky Strip is too wide so you’ll need to cut it in half. Or you can purchase 1/8″ tape from your local craft store or online.
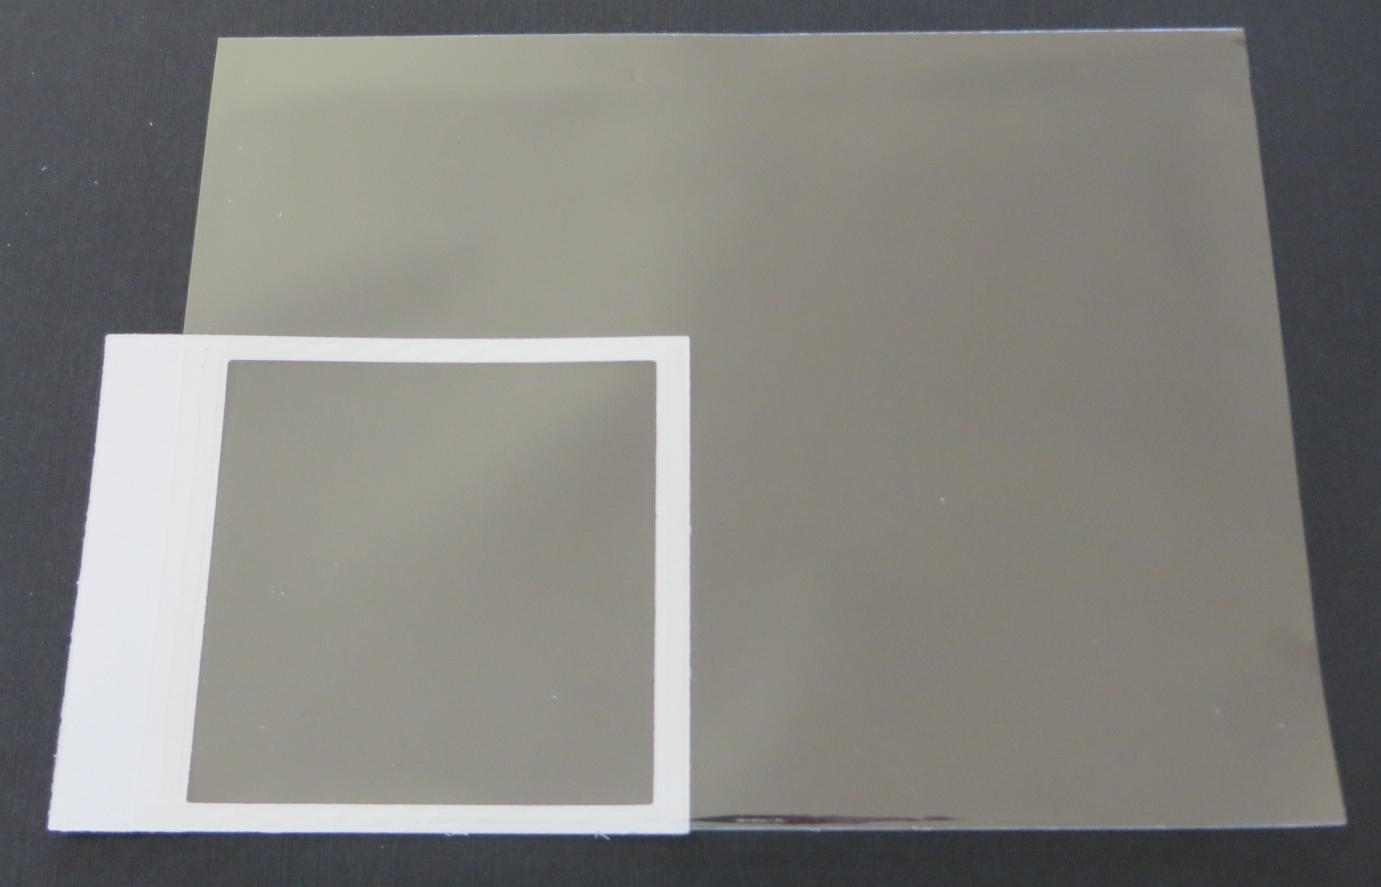
Now remove the backing on your Sticky Strip and place a large Cello Bag on the back of the frame (picture 3). Line up the bottom of the cello bag over the piece of Sticky Strip at the bottom of the frame and line up one of the sides of the cello bag with one of the sides of the frame.
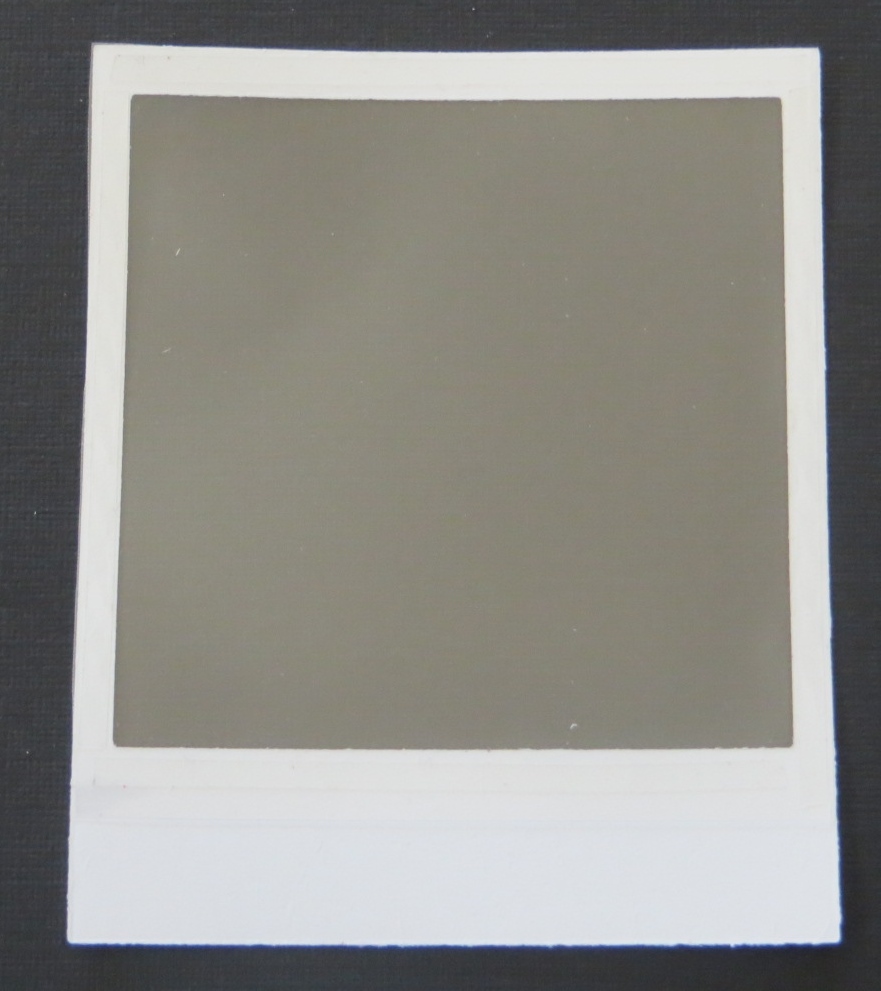
Trim the edges of the cello bag even with the frame (picture 4). 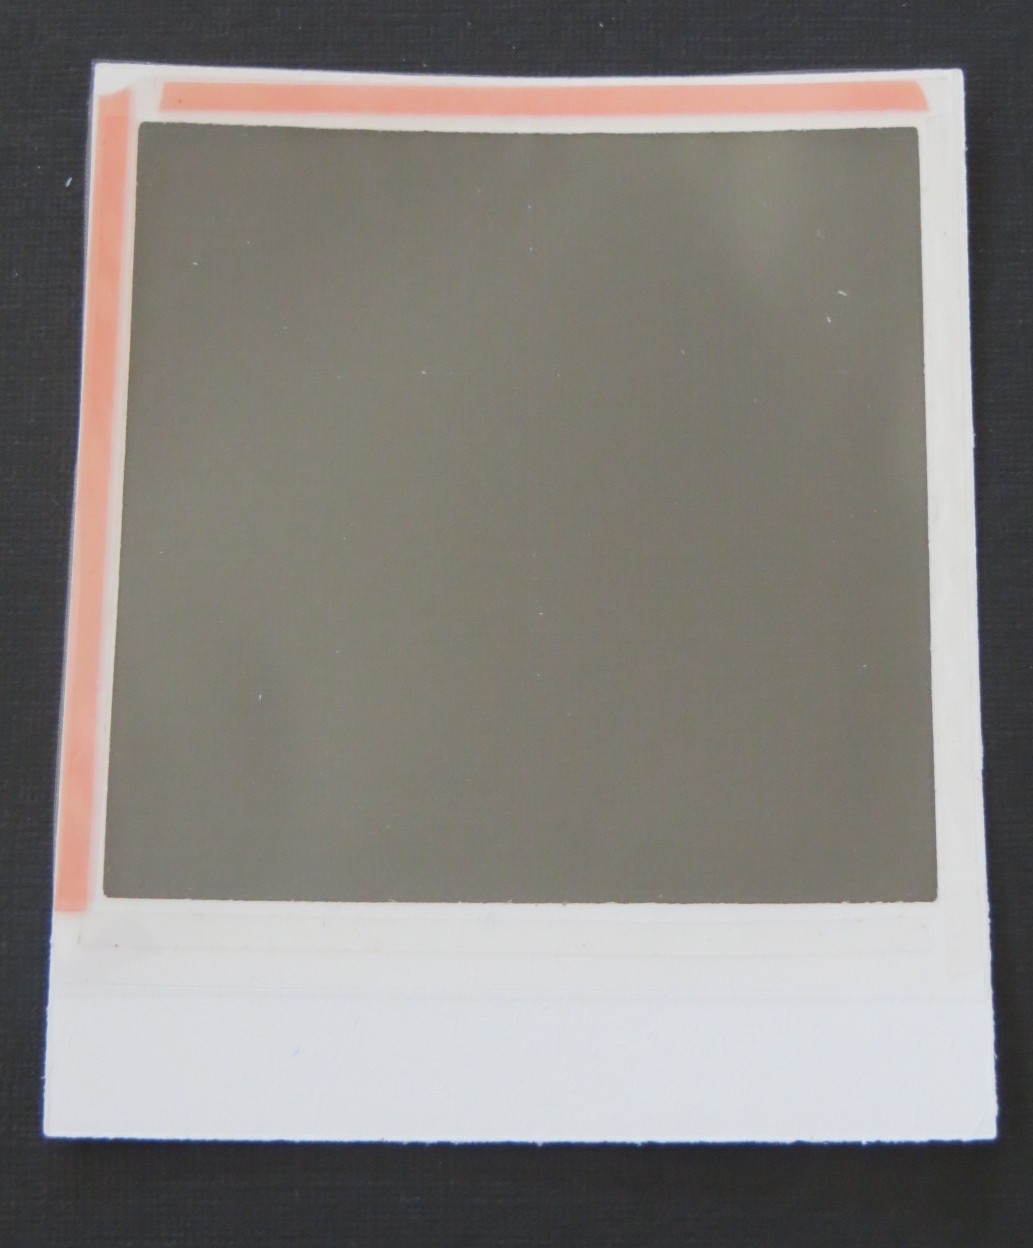
Two of the sides of the cello bag are still open. Place Sticky Strip between the front and back of the cello bag along these edges (picture 5).
Place your confetti pieces in between the two layers of the Cello Bag. Remove backing from Sticky Strip pieces and close up your shaker.
That’s it! I hope this all makes sense. If you have any questions, please ask.
Enjoy your tutorial! Have a great day! Take care and Happy Stamping!