 Are you like me? Does life seem to get away from you? I haven’t actually been stressed this week but I haven’t got as much done as I’ve wanted to get done or should have got done.
I have this great notepad that I can list everything that needs to get done each day. I’m really good at writing on it but somehow I manage not to look at it during the day. Sheesh! Oh well, I can only improve, right? 🙂
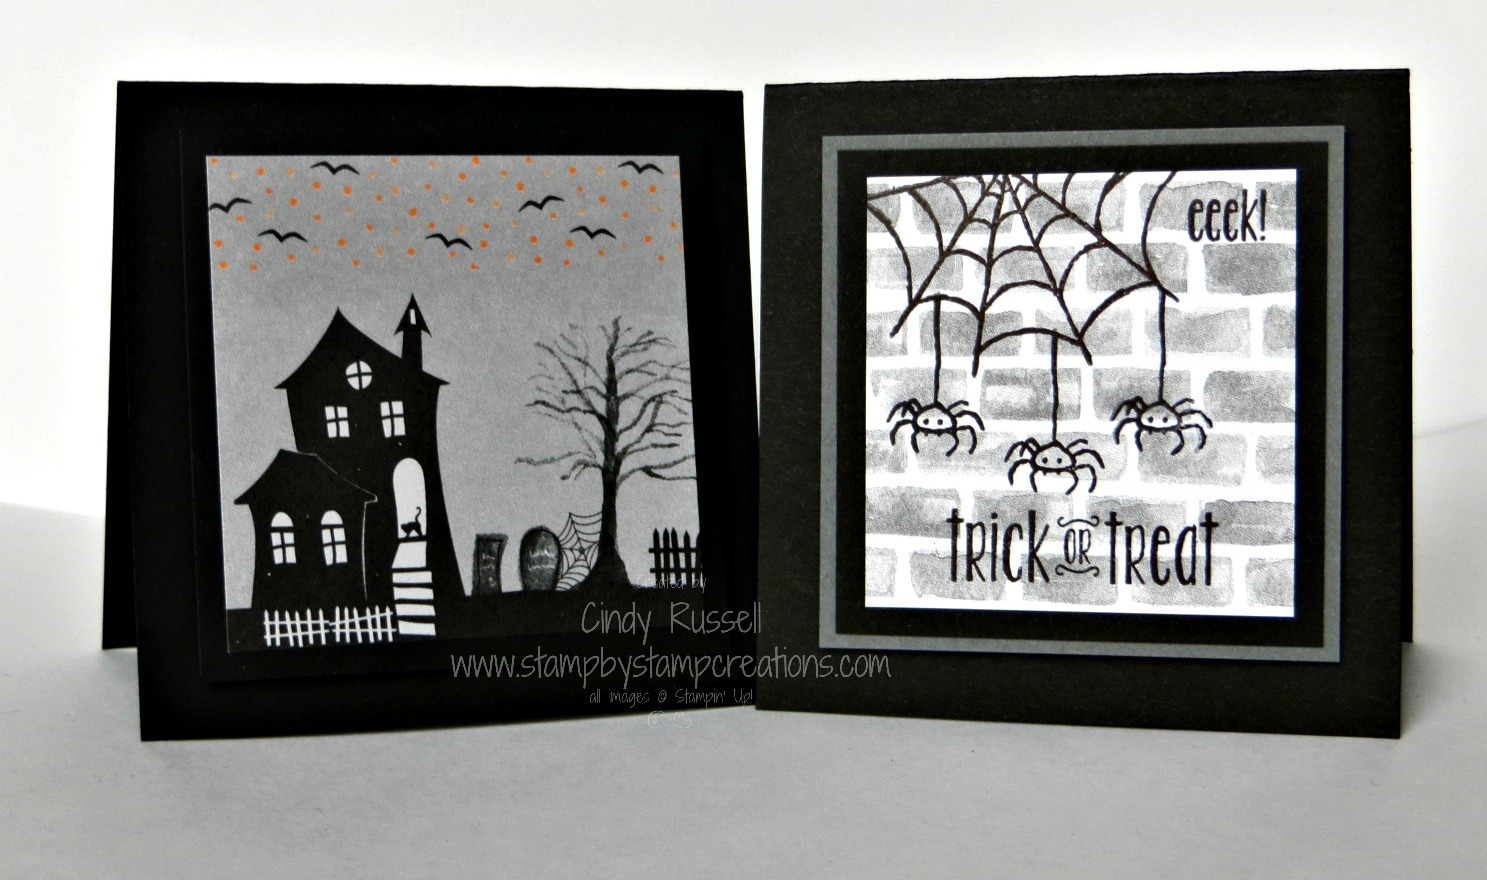
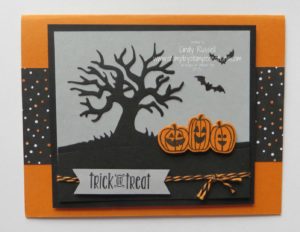
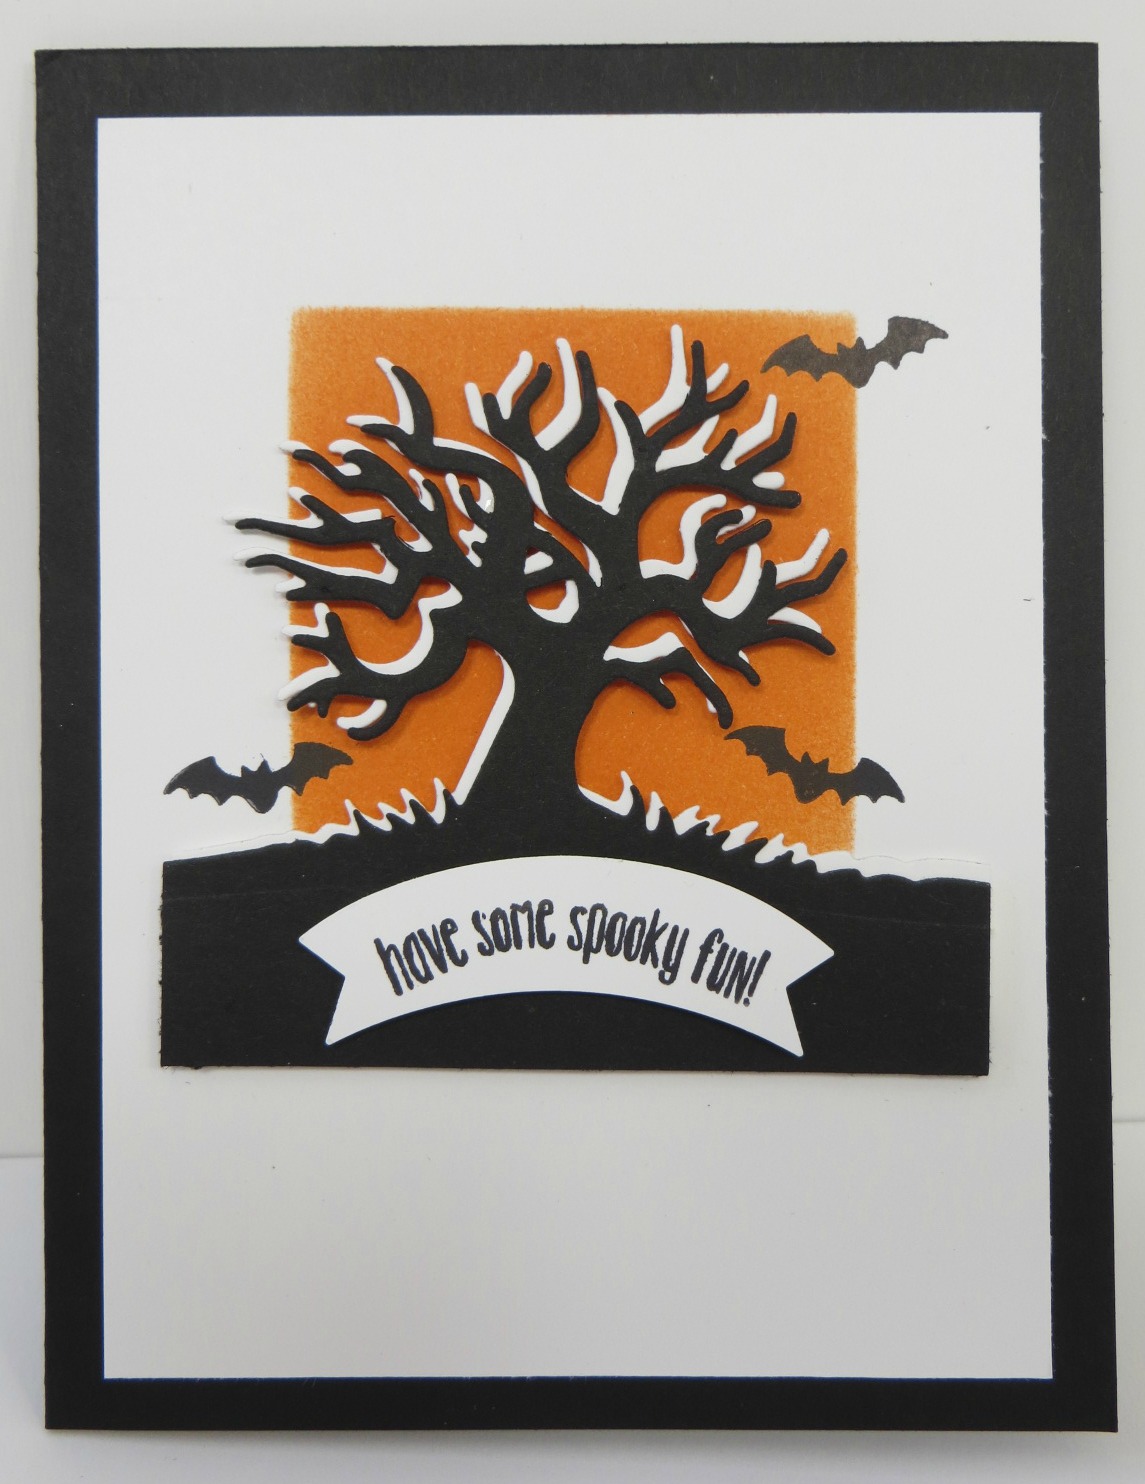
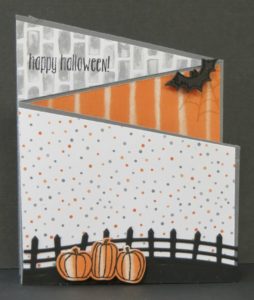
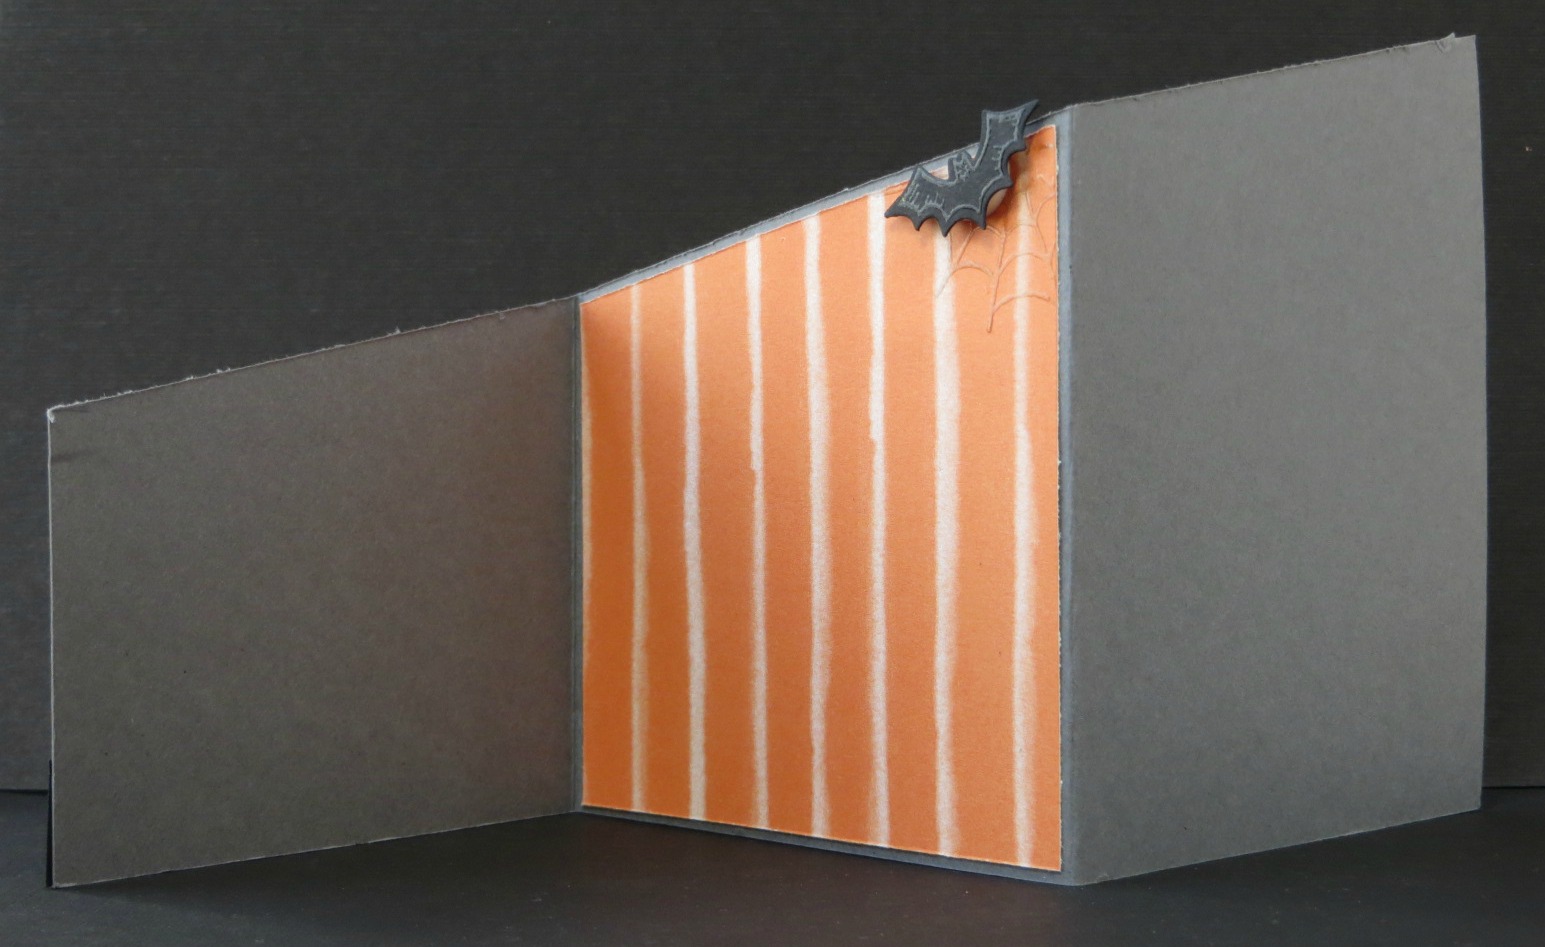
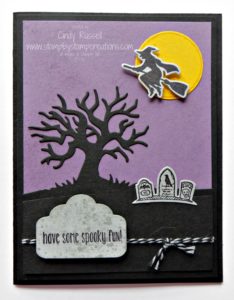
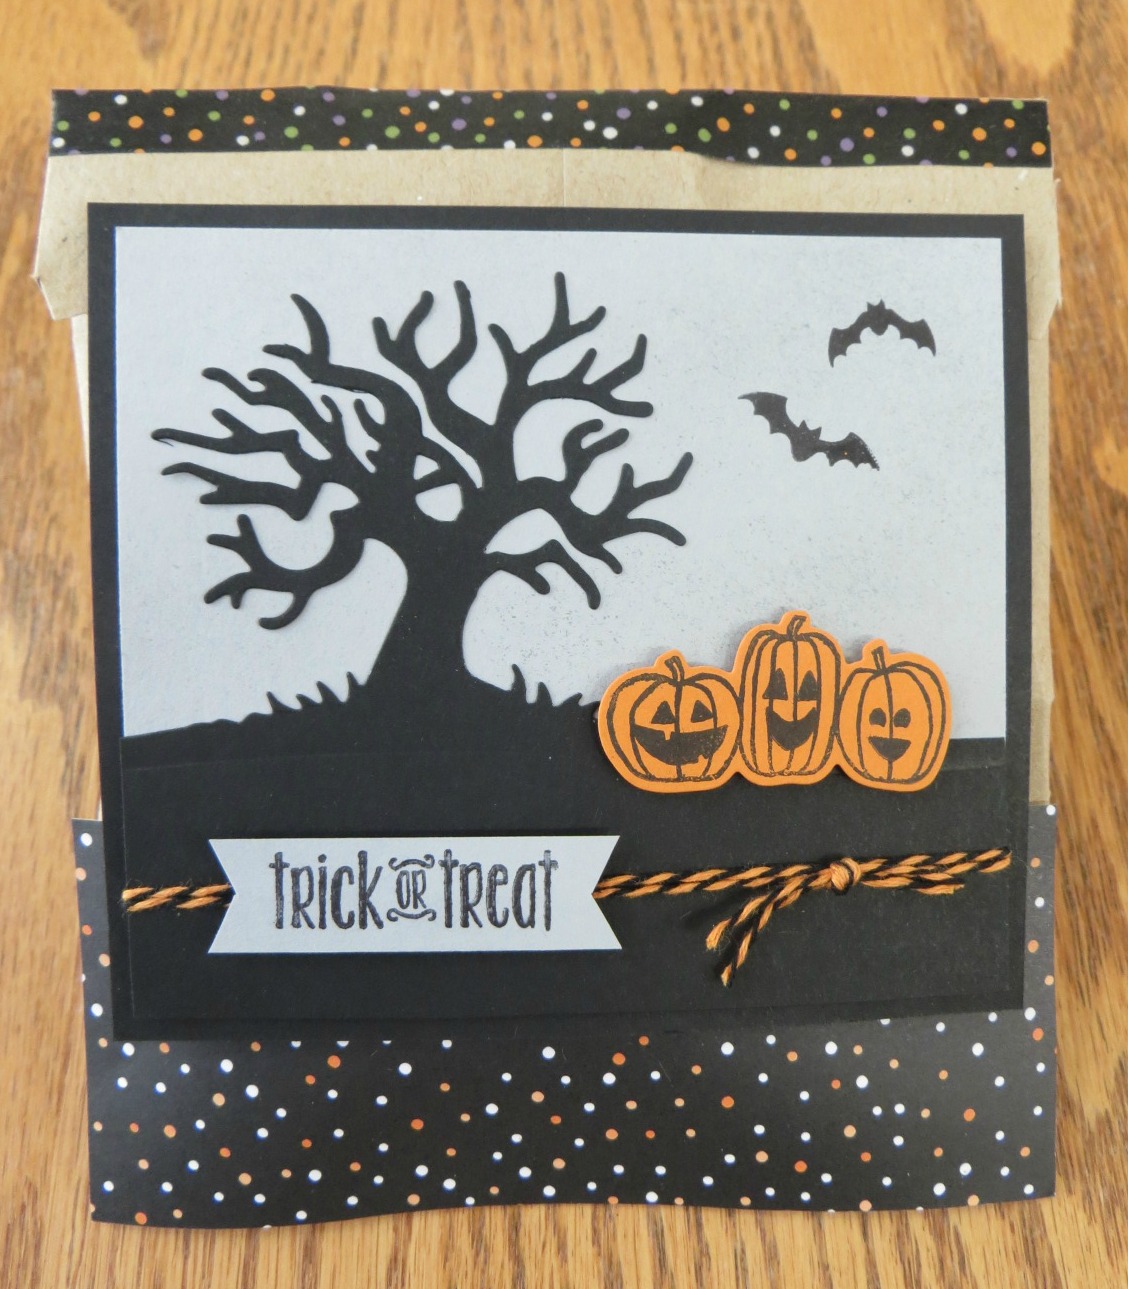 This Halloween card is the last one that we made in our Fall/Halloween class. I really like that spooky tree, don’t you? It’s the perfect background for the adorable pumpkins and the spooky little bats. The Halloween Scenes Edgelits are so fun and they coordinate with quite a few of the images from the Spooky Fun stamp set. You know how I love COORDINATION! 🙂
Halloween is coming up FAST! Yikes! I really want to play with all of my Halloween products more but I’m in the midst of planning Christmas classes! Ah….the work of demonstrator is never done. Ha!
I hope you have a spooky fun day! Take care and Happy Stamping!
 So…it’s actually Wednesday today. I had this post all ready to go for yesterday and managed to not actually schedule it to post. Sheesh! Well, now you can enjoy Technique Tuesday on Wednesday! 🙂
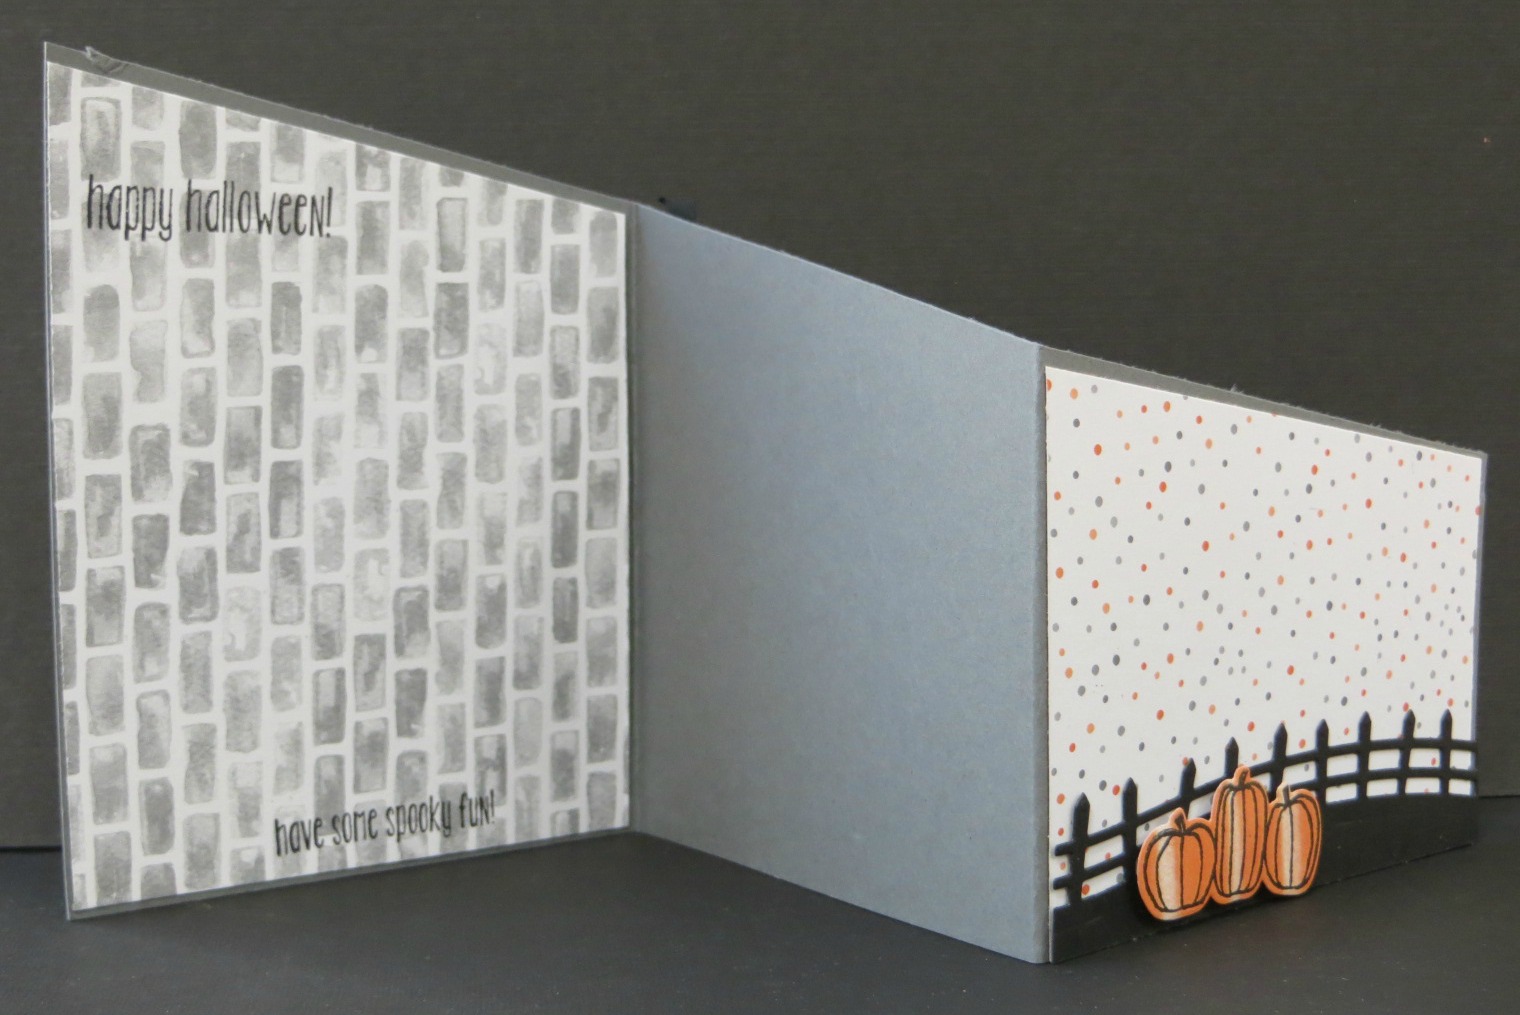
 Are you ready for Halloween? I’m not! It’s still over 6 weeks away! I do have to admit I’ve been hitting the Halloween candy aisle at the grocery store. No, I’m not trying to gain weight….I’m creating Halloween treat projects and for that I need Halloween candy. It is a no-win situation though because I don’t necessarily use all of the candy in a project and then there’s left overs that are calling my name. Can you feel my pain? I am a little disappointed though…I’ve been searching for Halloween colored M & M’s and I can’t find them. Crazy!