Traditional Sealed with Love Valentine

Sealed With Love.0117Yesterday I showed you not-so-traditional valentine so today it’s time for a traditional one.

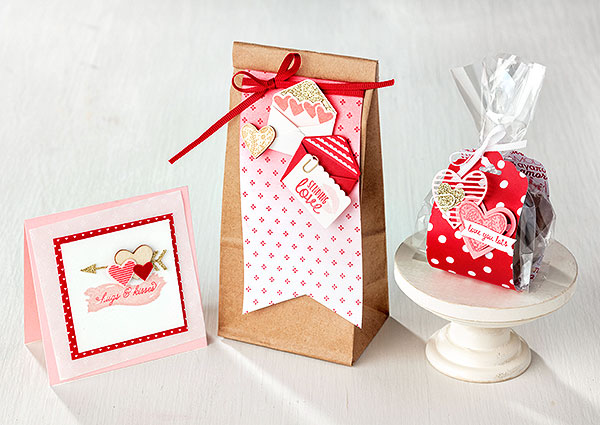
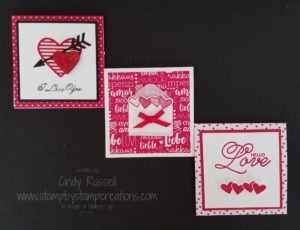
I actually made this card way back in December for a make-and-take project at my team’s Holiday Party.  Red and white….you can’t get a more traditional color combination for Valentines Day.  This is a little 4 1/4″ x 4 1/4″ square card.  I cut 3/8″ of an inch off the front of the card so that the die-cut heart edge would overlap the right edge of the card.

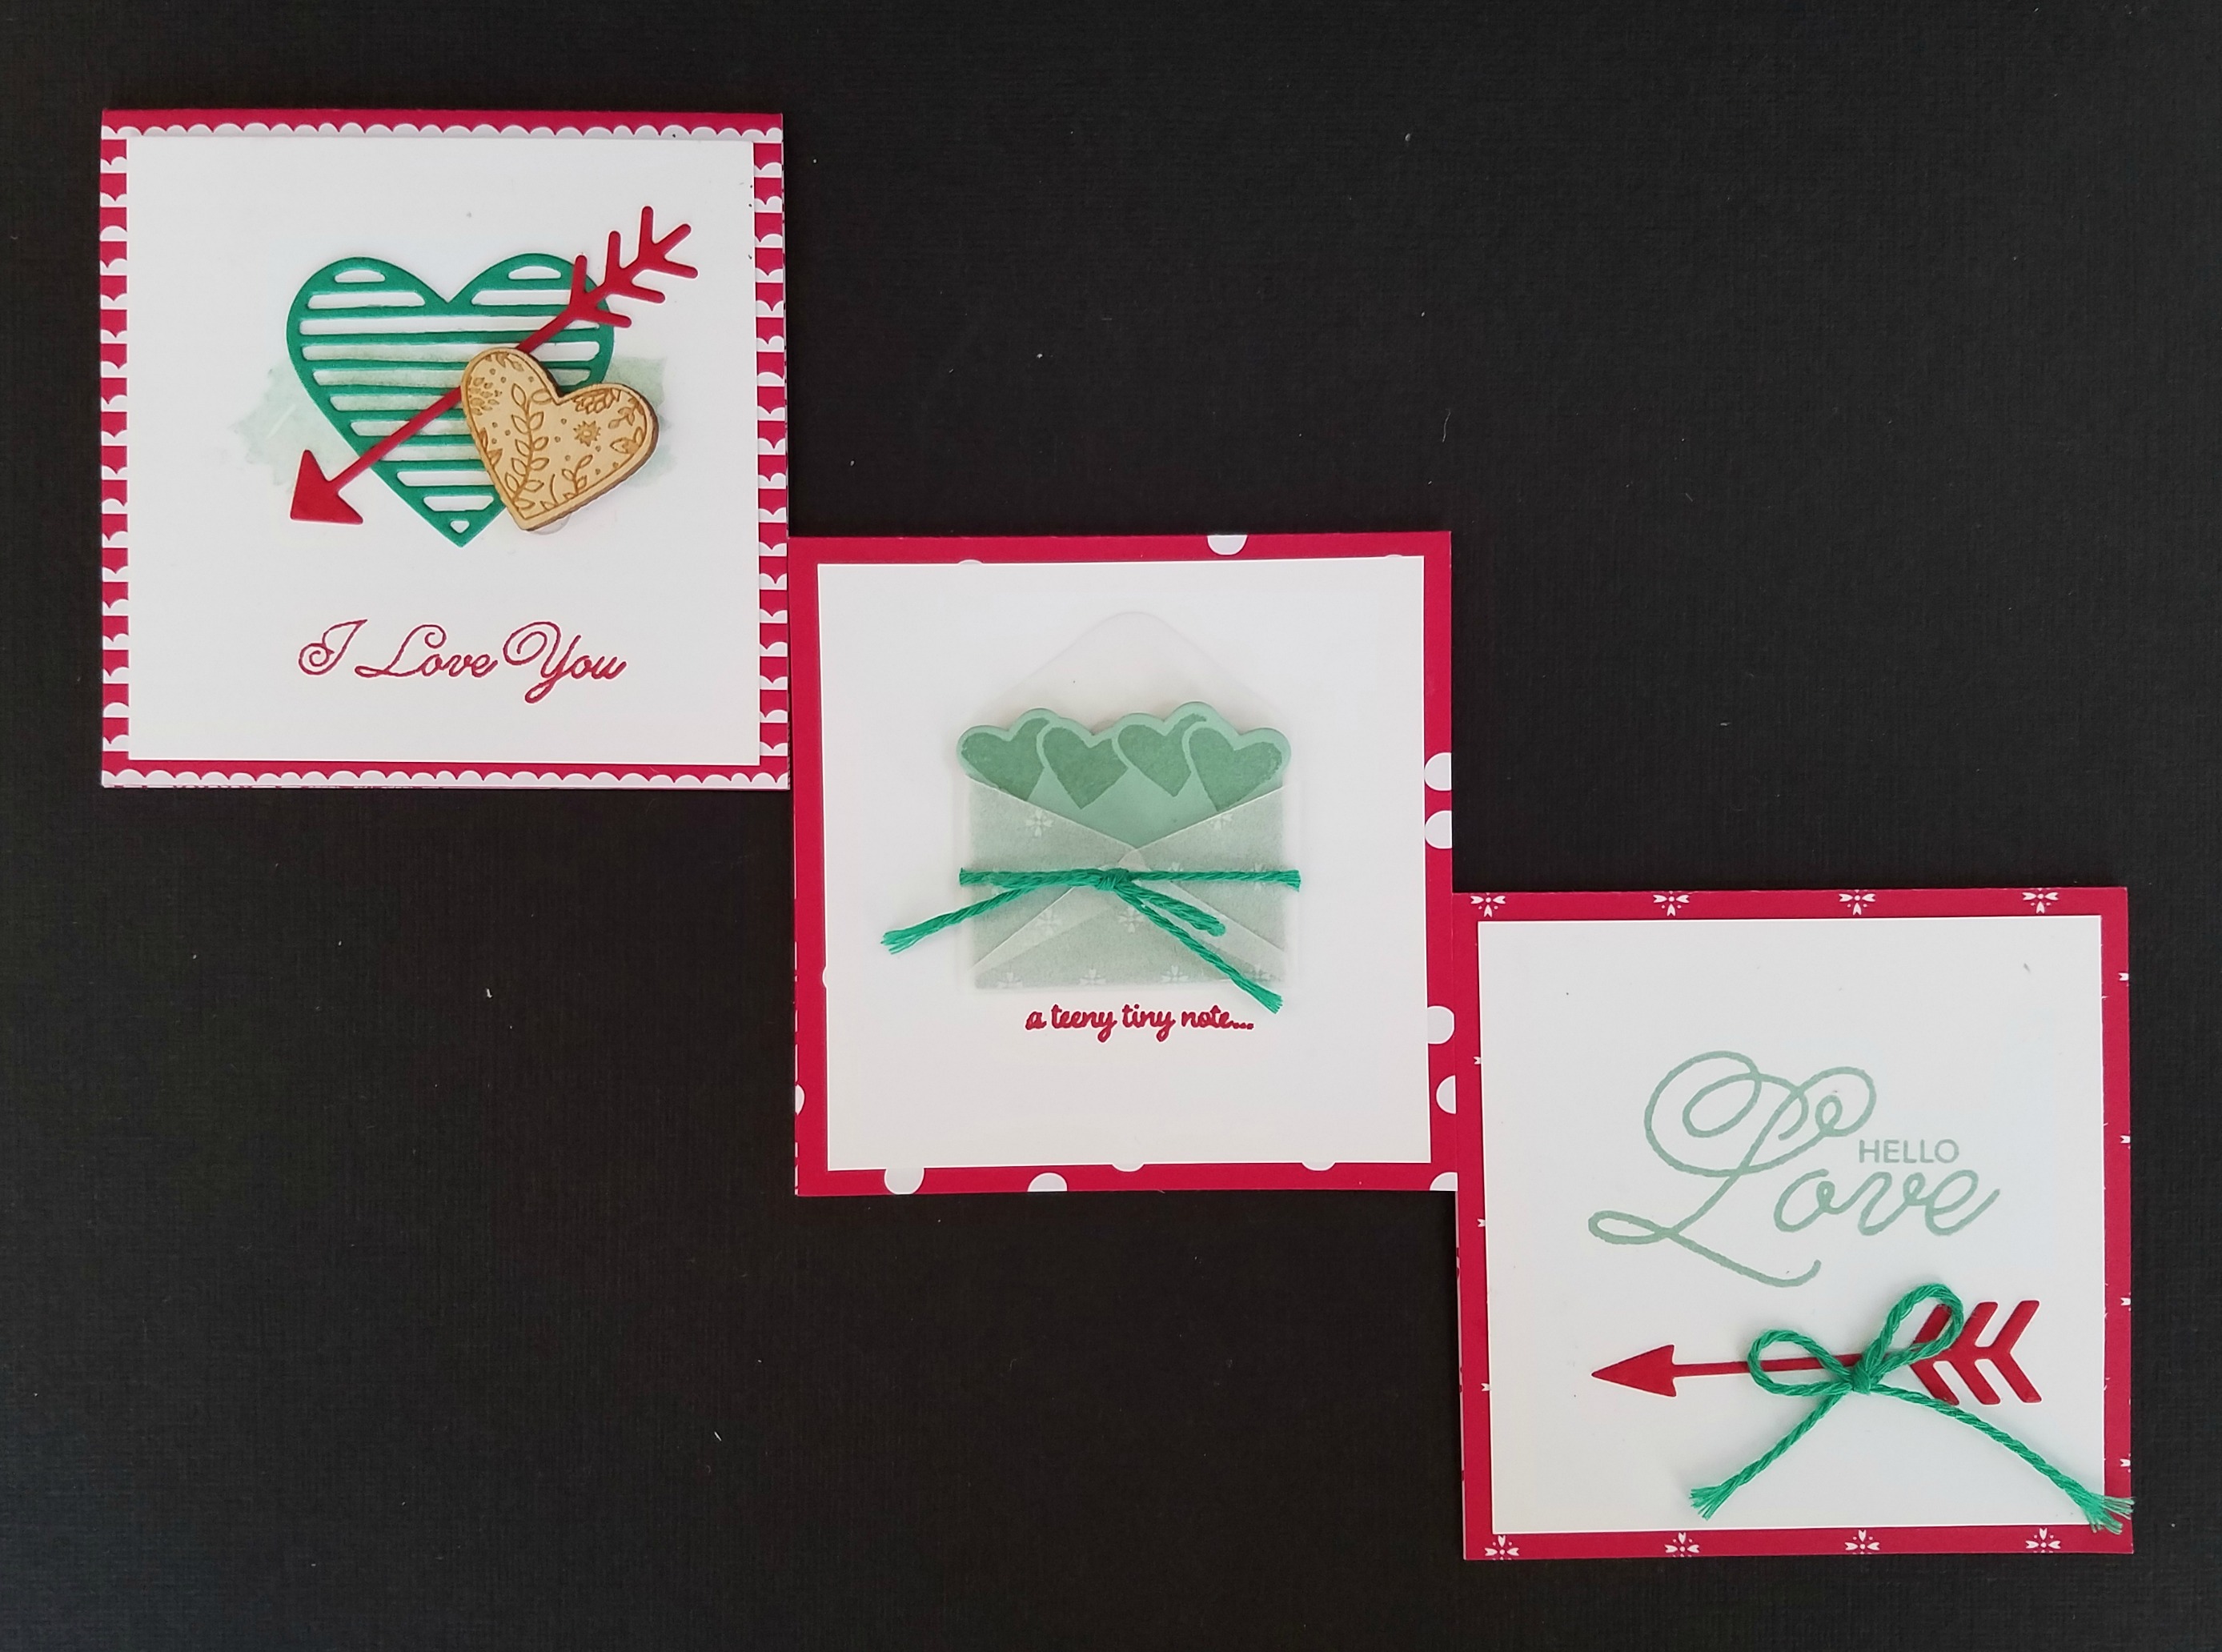
Can you tell that the little hearts kind of pop up?  The outside edges of the hearts are die cut but the very centers of the are attached.  They’re pretty cute.  The Sealed with Love stamp set is photopolymer so you can stamp perfectly in the little die cut areas of the hearts.

Have you played with the Stitched Shapes Framelits yet?  They are great and they add so much to a card!  They work wonderfully on my little valentine and layer perfectly with the Layering Circles Framelits!  You know me….I LOVE products that coordinate and work together!

Have a great day!  Take care and Happy Stamping!

Make it Mine Monday: Sealed With Love Notes

Sealed With Love.1It’s Monday!  Make it Mine Monday!  Woo Hoo!

It’s also time to start thinking about Valentines.  Yep, Valentines.  These cute little 3 x 3 notes are my take on the ones we made at Stampin’ Up!’s November On Stage event.  You can see the ones that Stampin’ Up! designed in the second picture.

The first thing I changed on my little cards Sealed With Love.2was to get rid of the color green.  I’m sorry….Valentines aren’t green.  Save the green for St. Patrick’s Day!  Ha!

Stampin’ Up! used the Sending Love Designer Series Paper for the bases of the cards but I used Thick Whisper White card stock on all of mine.  On the first and third cards I just cut a 3 x 3 piece of designer paper and adhered it to the front of the card.

On the card in the upper right it’s hard to tell from the picture but I colored the wooden Sending Love embellishment red by rubbing the Real Red ink on it with a Sponge Dauber.  Did you know that you could do that?  Yep.  Just make sure to heat set it so the ink dries before you handle it.

Don’t you love the little envelopes in the center cards?  They’re made from the Sending Love Glassine Sheets and the Love Notes Framelits.

Can you see how easy it is to start with something and just change it up a bit to make it your own?  I hope you’re enjoying my Make it Mine Mondays.  Let me know what you think.  Take care and Happy Stamping!

Sneak Peek: Sealed With Love

sealedwithlovesu-1216Christmas is just a few short days away but have you started thinking about Valentines Day yet?  Ha!  Of course you haven’t unless you’re a Stampin’ Up! Demonstrator and have a chance to play with some of the new products in the upcoming Occasions Catalog!  🙂

Stampin’ Up! posted this photo in our weekly email.  Aren’t these projects cute?  I have just a few more Christmas things to take care of this week and then I can sit down and play.  I do have my projects designed for my first two classes of 2017 but I’d like to just sit and make some cards for the fun of it!

The three projects in the photo use almost all of the products you can find in the Sending Love Suite.  There is an adorable stamp set with COORDINATING framelits, ribbon, embellishments and of course a Designer Series Paper Stack!  Plenty of fun products to make all of those Valentines you’re going to want to send out!  You can see them online starting on January 4th or let me know and I can pop a catalog in the mail for you now!  You’re going to love the new Occasions Catalog.  There’s a little something for everyone!

Have a great day!  Take care and Happy Stamping!