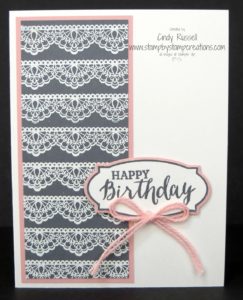
 Ah, so sweet. That’s what this color combination says to me. It’s soft and relaxing. The lace from the Sale-a-bration stamp set Delicate Details makes it sweet too.
Here again I stuck close to the original card keeping the basic layout. When I was making my card I tried all of the different designs on the same piece of card stock like the original but I just couldn’t get it to look right. That’s when I decided to stick with one pattern. Not only did I stick to one pattern of lace but I decided to take my card a step further and I embossed it! I really like the look of the embossed lace, don’t you?
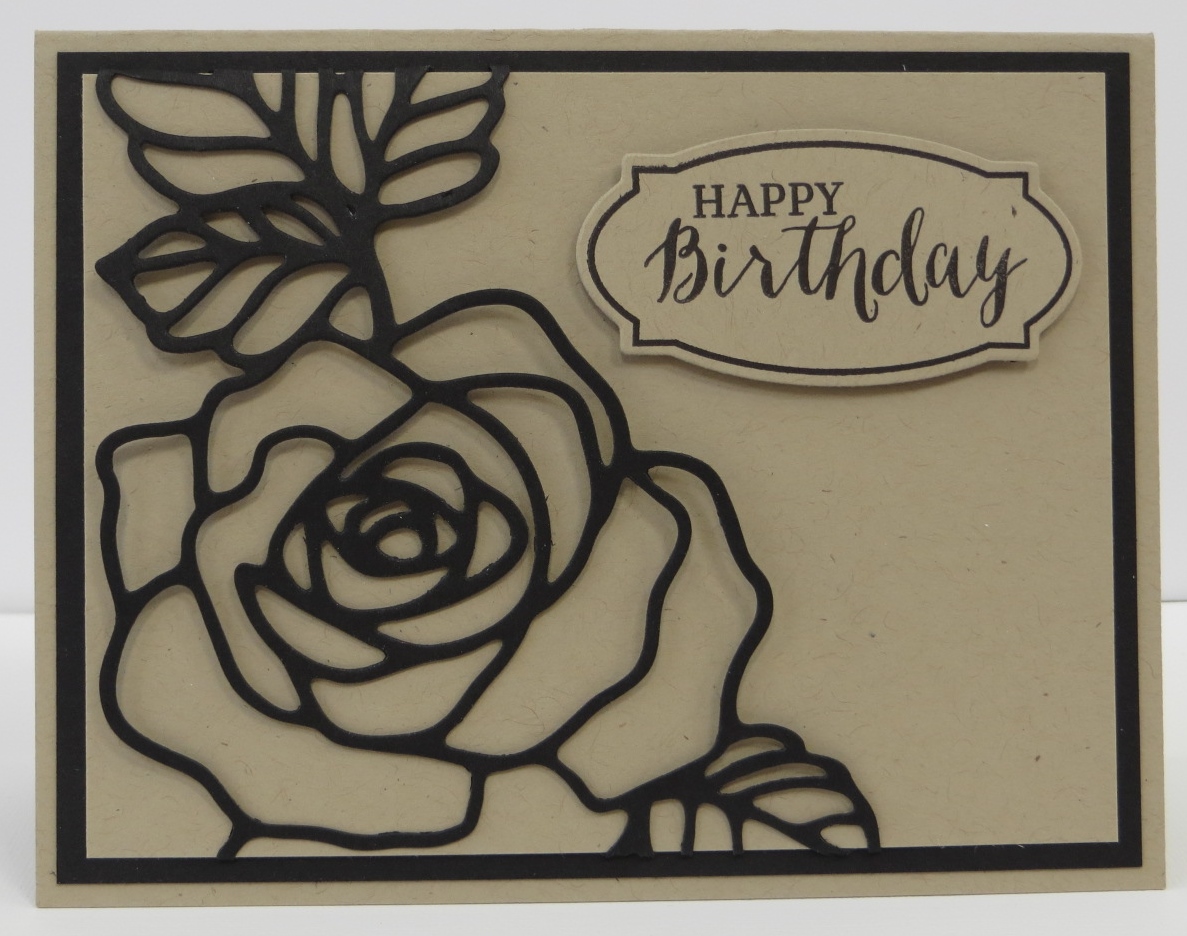
Once I had that piece taken care of it was on to the 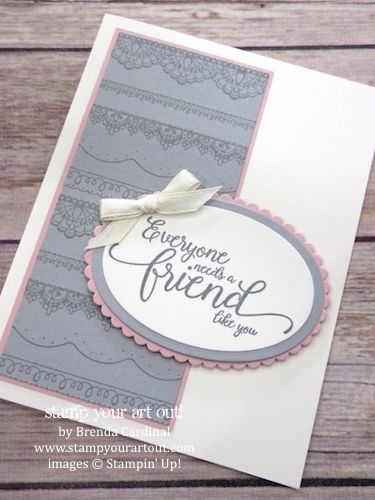 label. I could have just copied Brenda’s label because I do like it but I wanted something a little simpler. I opted to go with the little label and sentiments from the Rose Wonder stamp set. If you have used this stamp set and coordinating framelits you my be wondering how I got two different sizes of the labels. Well…I cheated. The Blushing Bride label is the size of the framelit. I stamped my label and sentiment and then simply cut the stamped label out with scissors right next to the stamped image. Pretty clever, huh? Not really, but it was a simple way to get the same shaped border. 🙂
Have you played with the Blushing Bride Baker’s Twine yet? You should. It’s so pretty and soft to touch.
As I mentioned before, the Delicate Details is a Sale-a-bration item. It’s one of the items you can choose for free when you place a $50 order. Have you placed your Sale-a-bration order yet?
Have a great day! Take care and Happy Stamping!