Simple Rose Card

IMG_7672
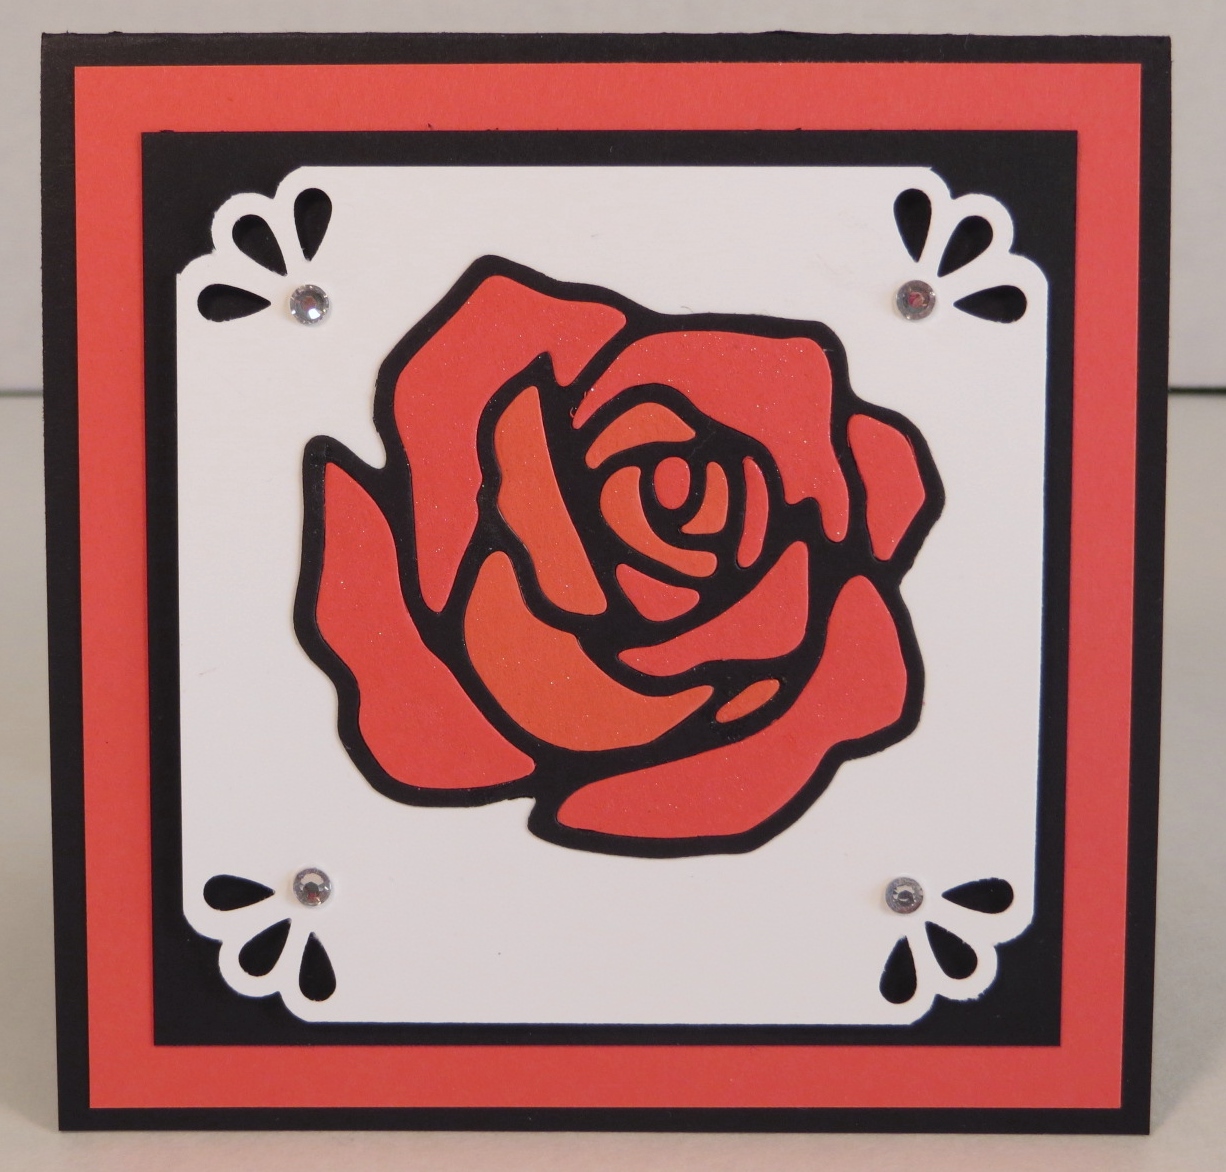
One last card from our Flower Power class a few weeks ago.  This card is simple, yet elegant.  One of my favorite kinds of cards.

When I say simple, I mean simple.  The hardest part of the card is die cutting the flower and then roller over the die with the Big Shot Die brush to loosen the paper from the die…..and if you’ve ever done that you know that it’s not hard!

You don’t even have to glue the die cut flower to the card stock!  Nope.  Just lay the flower where you want it, fold the pieces that over-hang to the back and use regular tape to adhere the pieces to the back of the card stock.  Easy-peasy!  Your card is practically done!

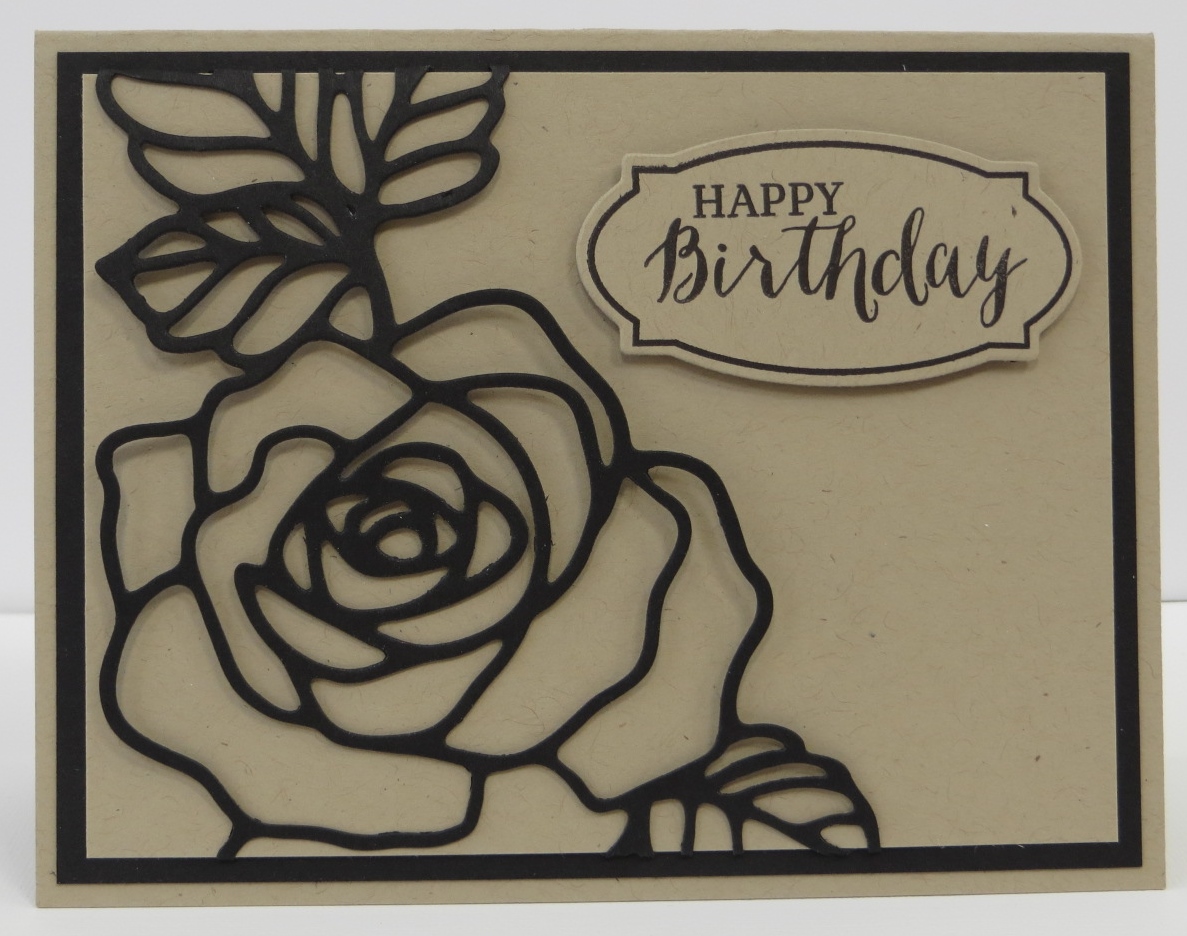
Besides being striking, this card is very versatile.  You can use any type of sentiment that you’d like!  The Rose Wonder stamp set comes with quite a few sentiments as well as the fun label.  Don’t you just love the font on this sentiment?  All of the sentiments in this set are written in this font.  Beautiful!  I made my card a birthday card but this card would work perfectly for a sympathy card too.

I think I’ve found a new favorite color combination.  I really like Crumb Cake and Basic Black together.   They really look sharp together.  Do you have a favorite color combination?  What is it?  Leave me a comment and let me know!

Have a great day!  Take care and Happy Stamping!

Technique Tuesday: Rose Garden Puzzle

IMG_7704It’s the second day of sun!  Woo Hoo!  The snow is gone and Spring is finally here (for now…)!  It’s time to celebrate with another flower card!

Not only do I have a flower card for you today but I also have a new technique and a little trick to make it easier for you.  I’m not sure of the official name (if there is one) for this little technique but I’ve heard it called the Puzzle Technique so that’s what I’m calling it.  🙂

If you look closely at the rose you can see that there are two different colors of petals.  (Yes….you need to look CLOSELY!)  I used Watermelon Wonder and Calypso Coral for my rose.  The first thing I did was die cut the rose from Basic Black card stock to get my outline.  Then I die cut the rose two more times from the Watermelon Wonder and the Calypso Coral and placed some pieces of each color in the black outline.  But wait….this is where the tip comes in…….

When making your “sandwich” on your Big Shot you want to place your card stock on a piece (the sticky side) of Glad Press ‘n Seal wrap (found at your local grocery store).  Now layer as usual and run through the Big Shot.   This little trick has (most of) your little pieces sticking to the Press ‘n Seal wrap in the shape of the flower.  This makes it much easier to know which piece goes where when you place them in the Basic Black outline flower.

IMG_7703Once you have your colored roses die cut it’s time to place the pieces in the black outline.  Here’s where things get totally random.  Yes, I know….I don’t do random well but I think I did ok on this flower.  Actually, the great thing about this technique is that you have enough pieces for 2 flowers!

This technique is really quite fun but you need a little patience and a pair of tweezers comes in handy for those little bitty pieces as does the Fine-Tip Glue Pen.  I would definitely give this technique a try sometime.

Oh…..if you like the designs on the corners of the Whisper White card stock you might want to run to my store and grab a Curvy Corner Trio Punch before they’re gone.  I’m so sad that this punch is retiring and won’t be in the new catalog on June 1st.  🙁

Have a great day!  Take care and Happy Stamping!