Fun Fold: Origami Treat Holder

Origami Treat Holder

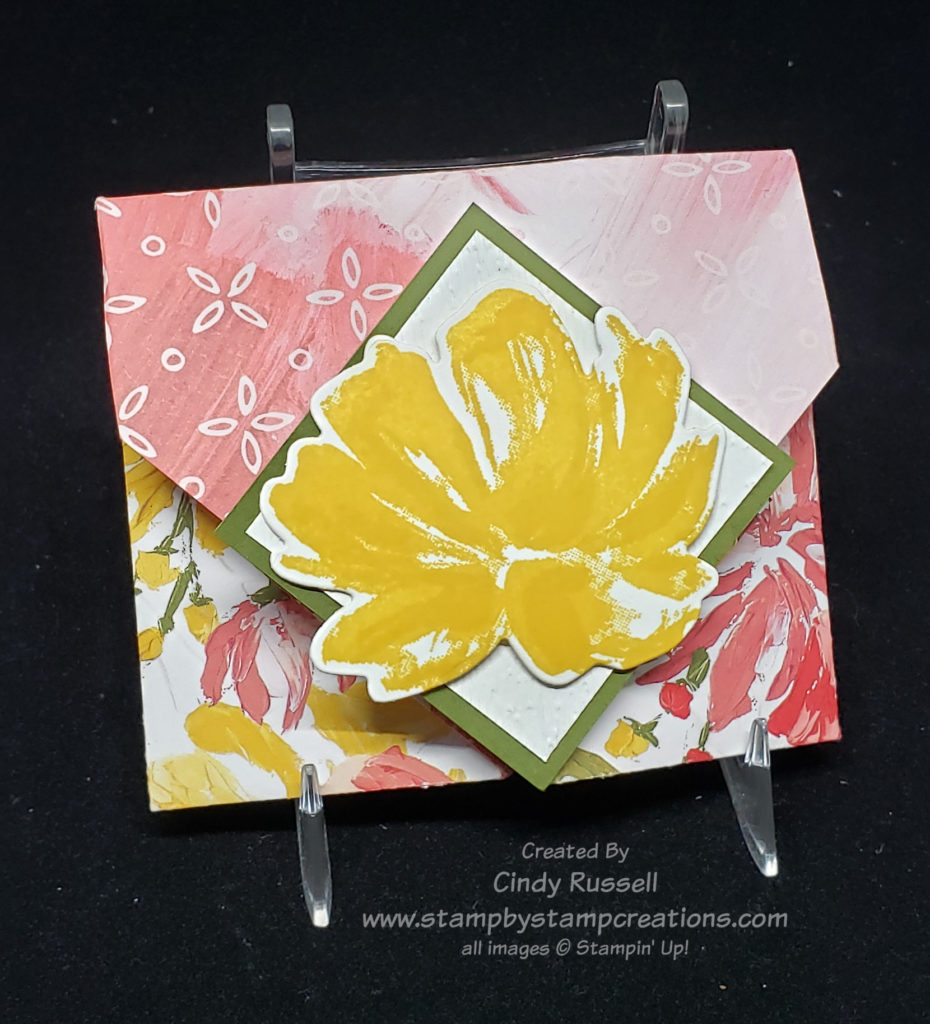
I wanted to share a Fun Fold Origami Treat Holder with you in time for Easter so I’m changing things up this week.   A Ghirardelli chocolate square fits in it perfectly.  I’m actually going to make these for my Easter table and put a couple of their little Easter chocolates in it.  So fun!

No adhesive is needed to make the treat holder itself.  The only adhesive you may need would be for your focal point on the front.  I’ve made a short video showing you how to make the treat holder.

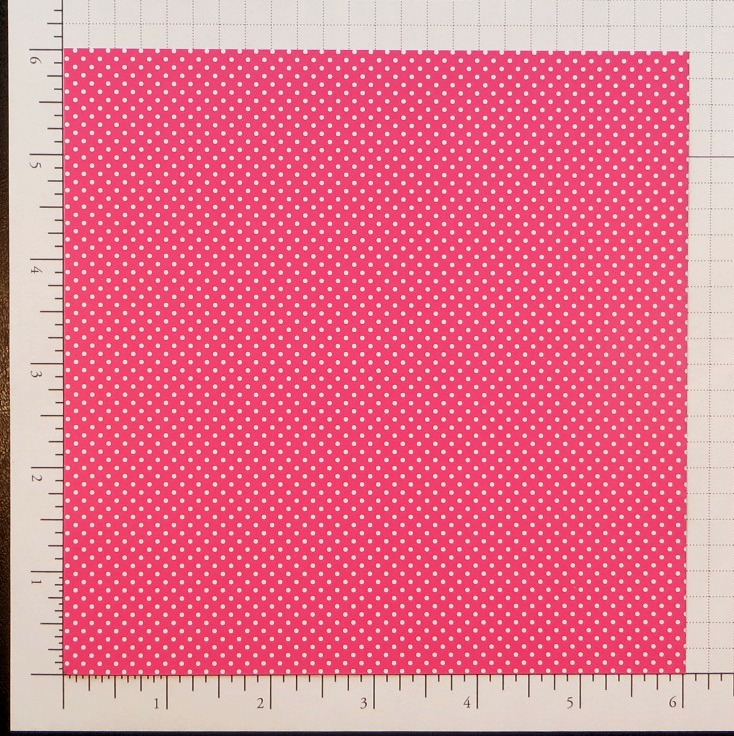
Here are the important measurements for you:

8 ½” x 8 ½” piece of designer paper

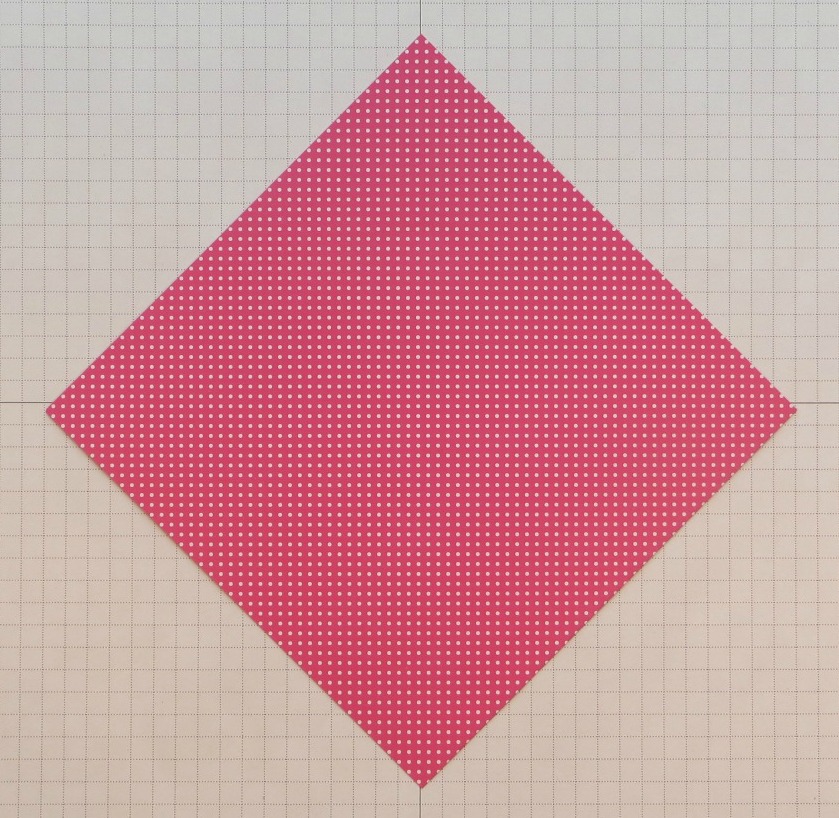
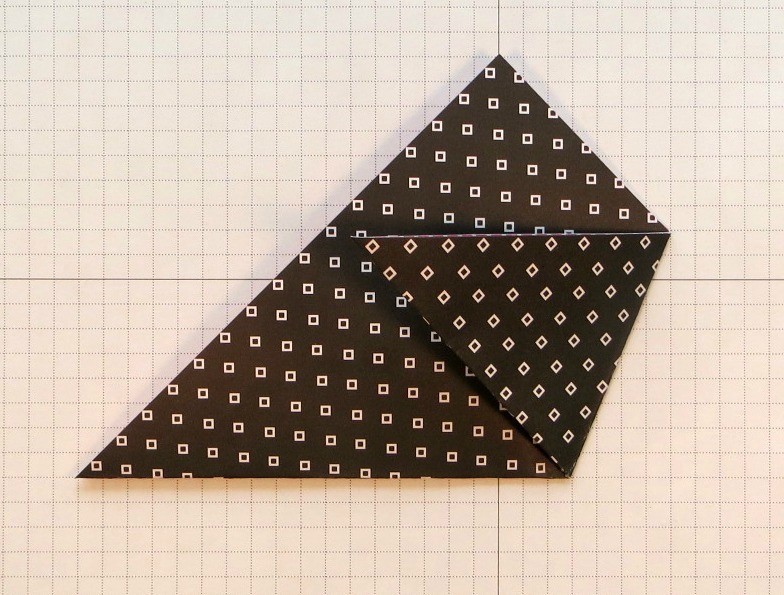
After folding designer paper in half diagonally, score along the long folded edge at 2 ½”, 4 ¼”, 7 ¾” and 9 ½”

Once you’ve made one or two of these they go pretty easily.  You can leave the treat holder plain or you can add a focal point if you’d like. 

Have a great day!  Take care and Happy Stamping!

Tutorial Tuesday: Origami Treat Holder

As I promised yesterday I have a quick tutorial for you on how to make the cute Origami Treat Holder I posted.  Four quick folds and you’re done!

Before I get started I need to apologize about my photos.  Not sure why they’re all different colors.  Hmmm…. I guess I better work on that.  Sorry!

Origami.1Start with a 6″ by 6″ piece of designer series paper.


Origami.2Turn your paper on the diagonal.  I found that making this treat holder on grid paper makes it so much easier.


Origami.3Take the bottom point of your diagonal square and fold it up to meet the top point so that you have a triangle.


Origami.4


This is the step where your grid paper really comes in handy.  Take the point on the right and fold it up to a point and the left leg of your triangle.  You’ll know you’re in the right spot when the top edge of the piece you’re working with is completely horizontal (line up perfectly with a grid mark) and parallel with the bottom edge of your triangle.


Origami.5Now take the left corner and fold it over so that the top edge will line up with the top edge of the right side and your point will meet at the point of the fold on the right.


Origami.6
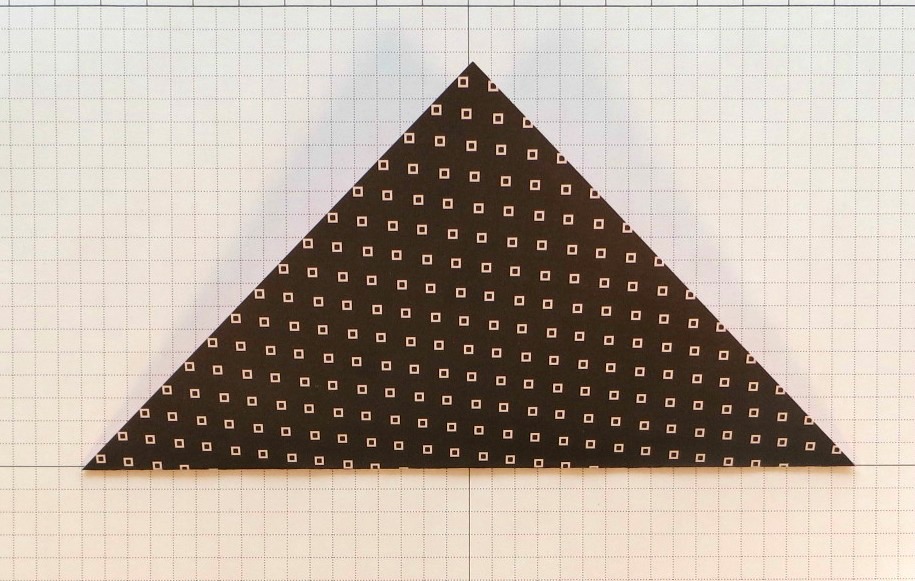
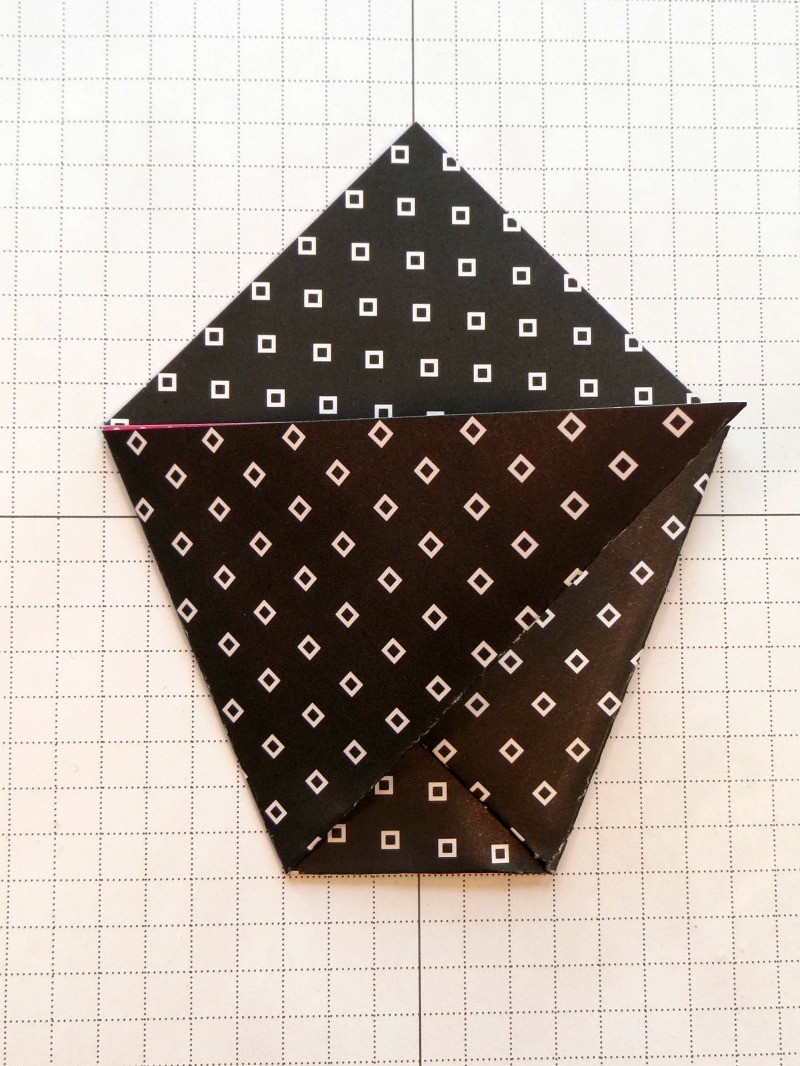
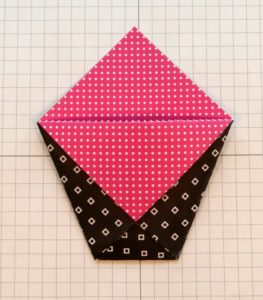
The final step is to take the top point and fold it towards the bottom edge of your treat holder along the top horizontal edge.

That’s it!  Now you can decorate as you please!  I did find that it wants to unfold so what I do is just stick my fingers in the opening and kind of flex the front out a little and it should stay folded.  Easy Peasy!

Have a great day!  Take care and Happy Stamping!