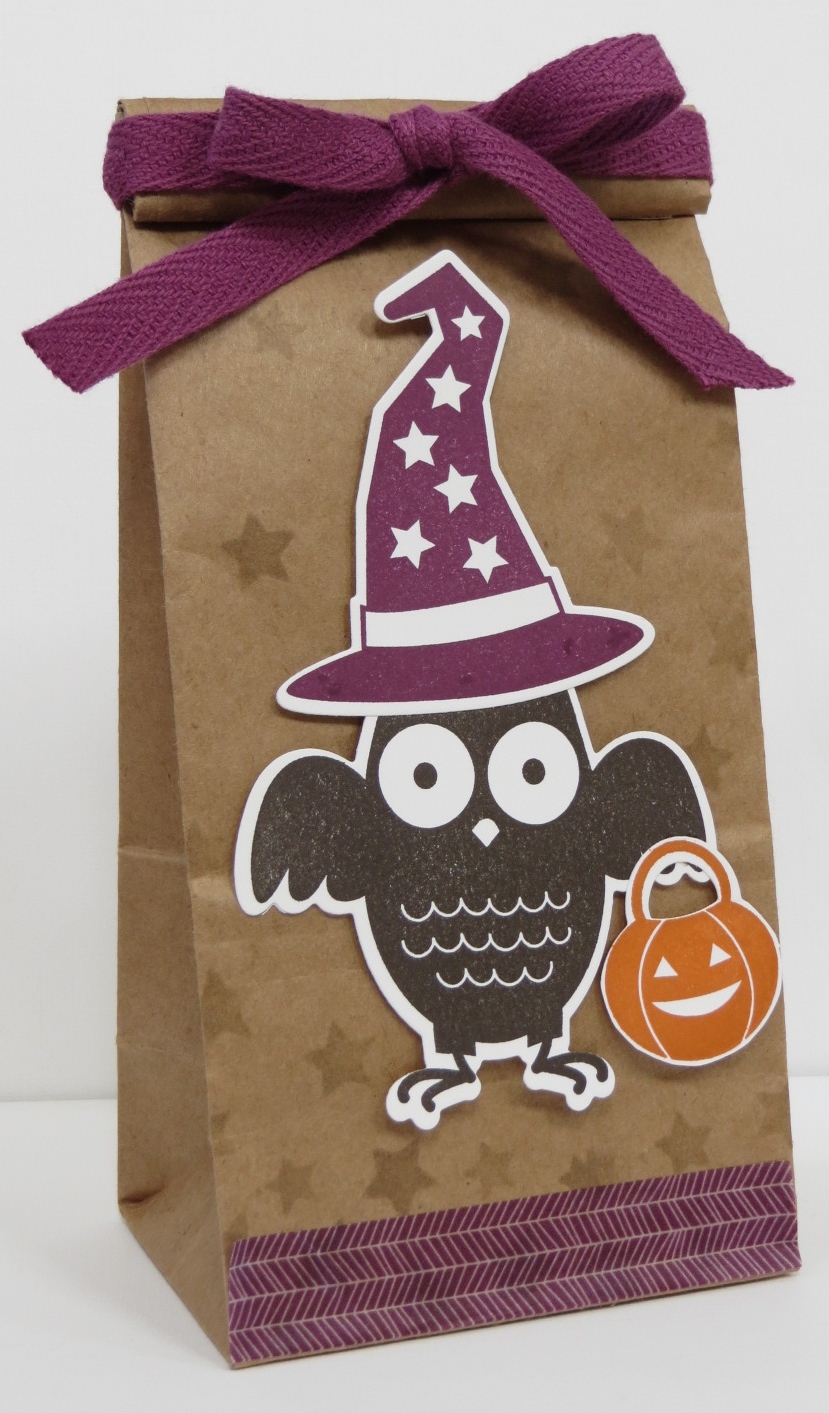
 One more fun Halloween project! This treat bag turned out pretty darn cute if I do say so myself. These Petite Café Gift Bags are cute themselves but add the adorable owl and….oh, my! 🙂
Confession….this was the first time I used my Hearts & Stars Decorative Masks. I have them sitting on my shelf, I just don’t think to use them. They’re very easy to use though. Just place them on your project, ink up a Sponge Dauber and daub away!
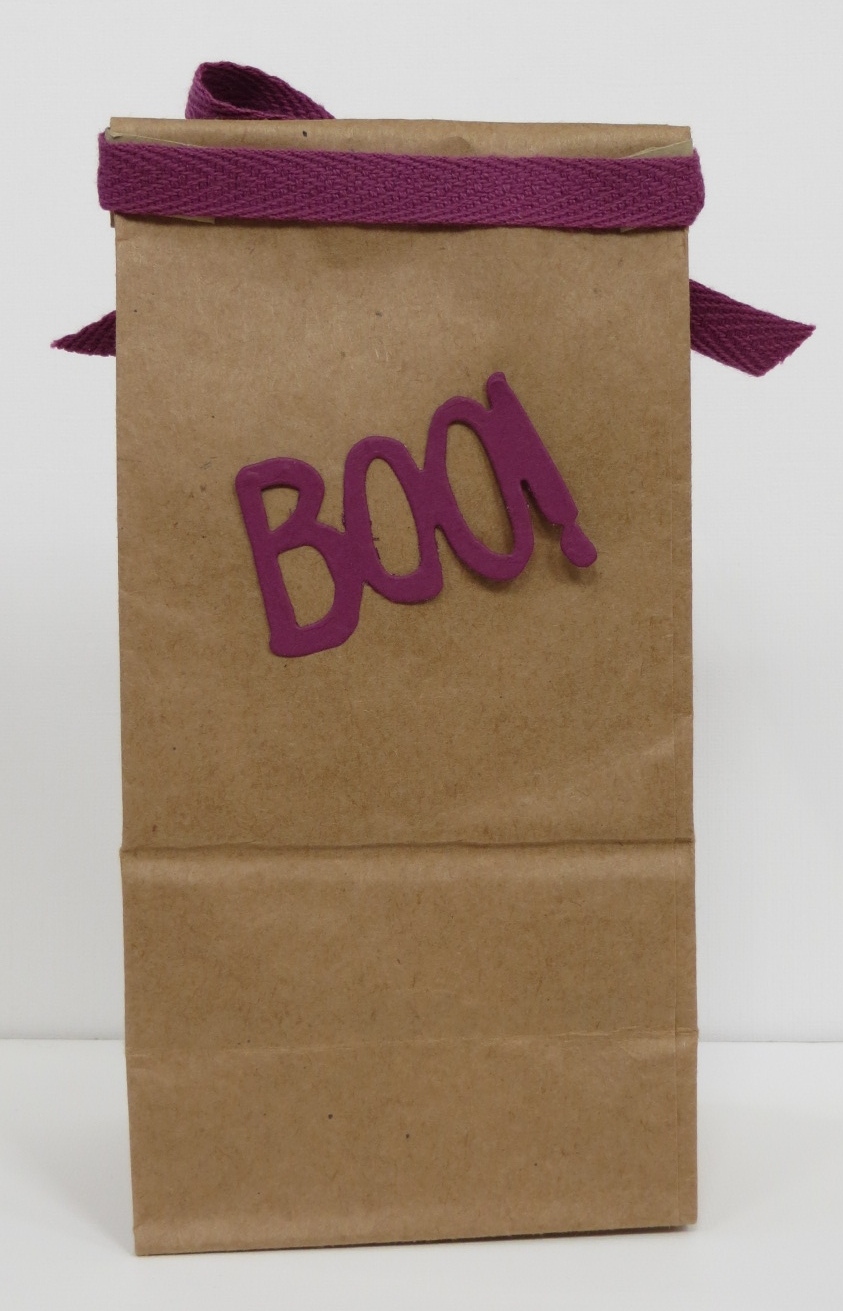
Did you check out the second photo? I actually did a little something to the back of the bag. I guess I could have sponged some more stars on the back too but I just didn’t want to get carried away. Ha!
 I usually don’t end up using a lot of the 3D projects I create. (OK….let’s be honest….I don’t actually even send many cards even though I love to create them!) I do want to let you know though that I did use this one. I had a little workshop on Friday and I filled this adorable treat bag with Halloween candy and gave it to the hostess. That was quite a big step for me…using something I had on hand. I’m usually trying to figure out a hostess gift at the last minute.
Don’t forget about the BIG SALE! 15% off all stamps! It only lasts a week….don’t miss out! Shop now!