 Check out this FUN birthday card that I made for my niece Abbey’s 16th birthday! Didn’t it turn out cute? 🙂
This was one of those cards that makes you smile when you are finished with it. I was pretty pleased with how it turned out.
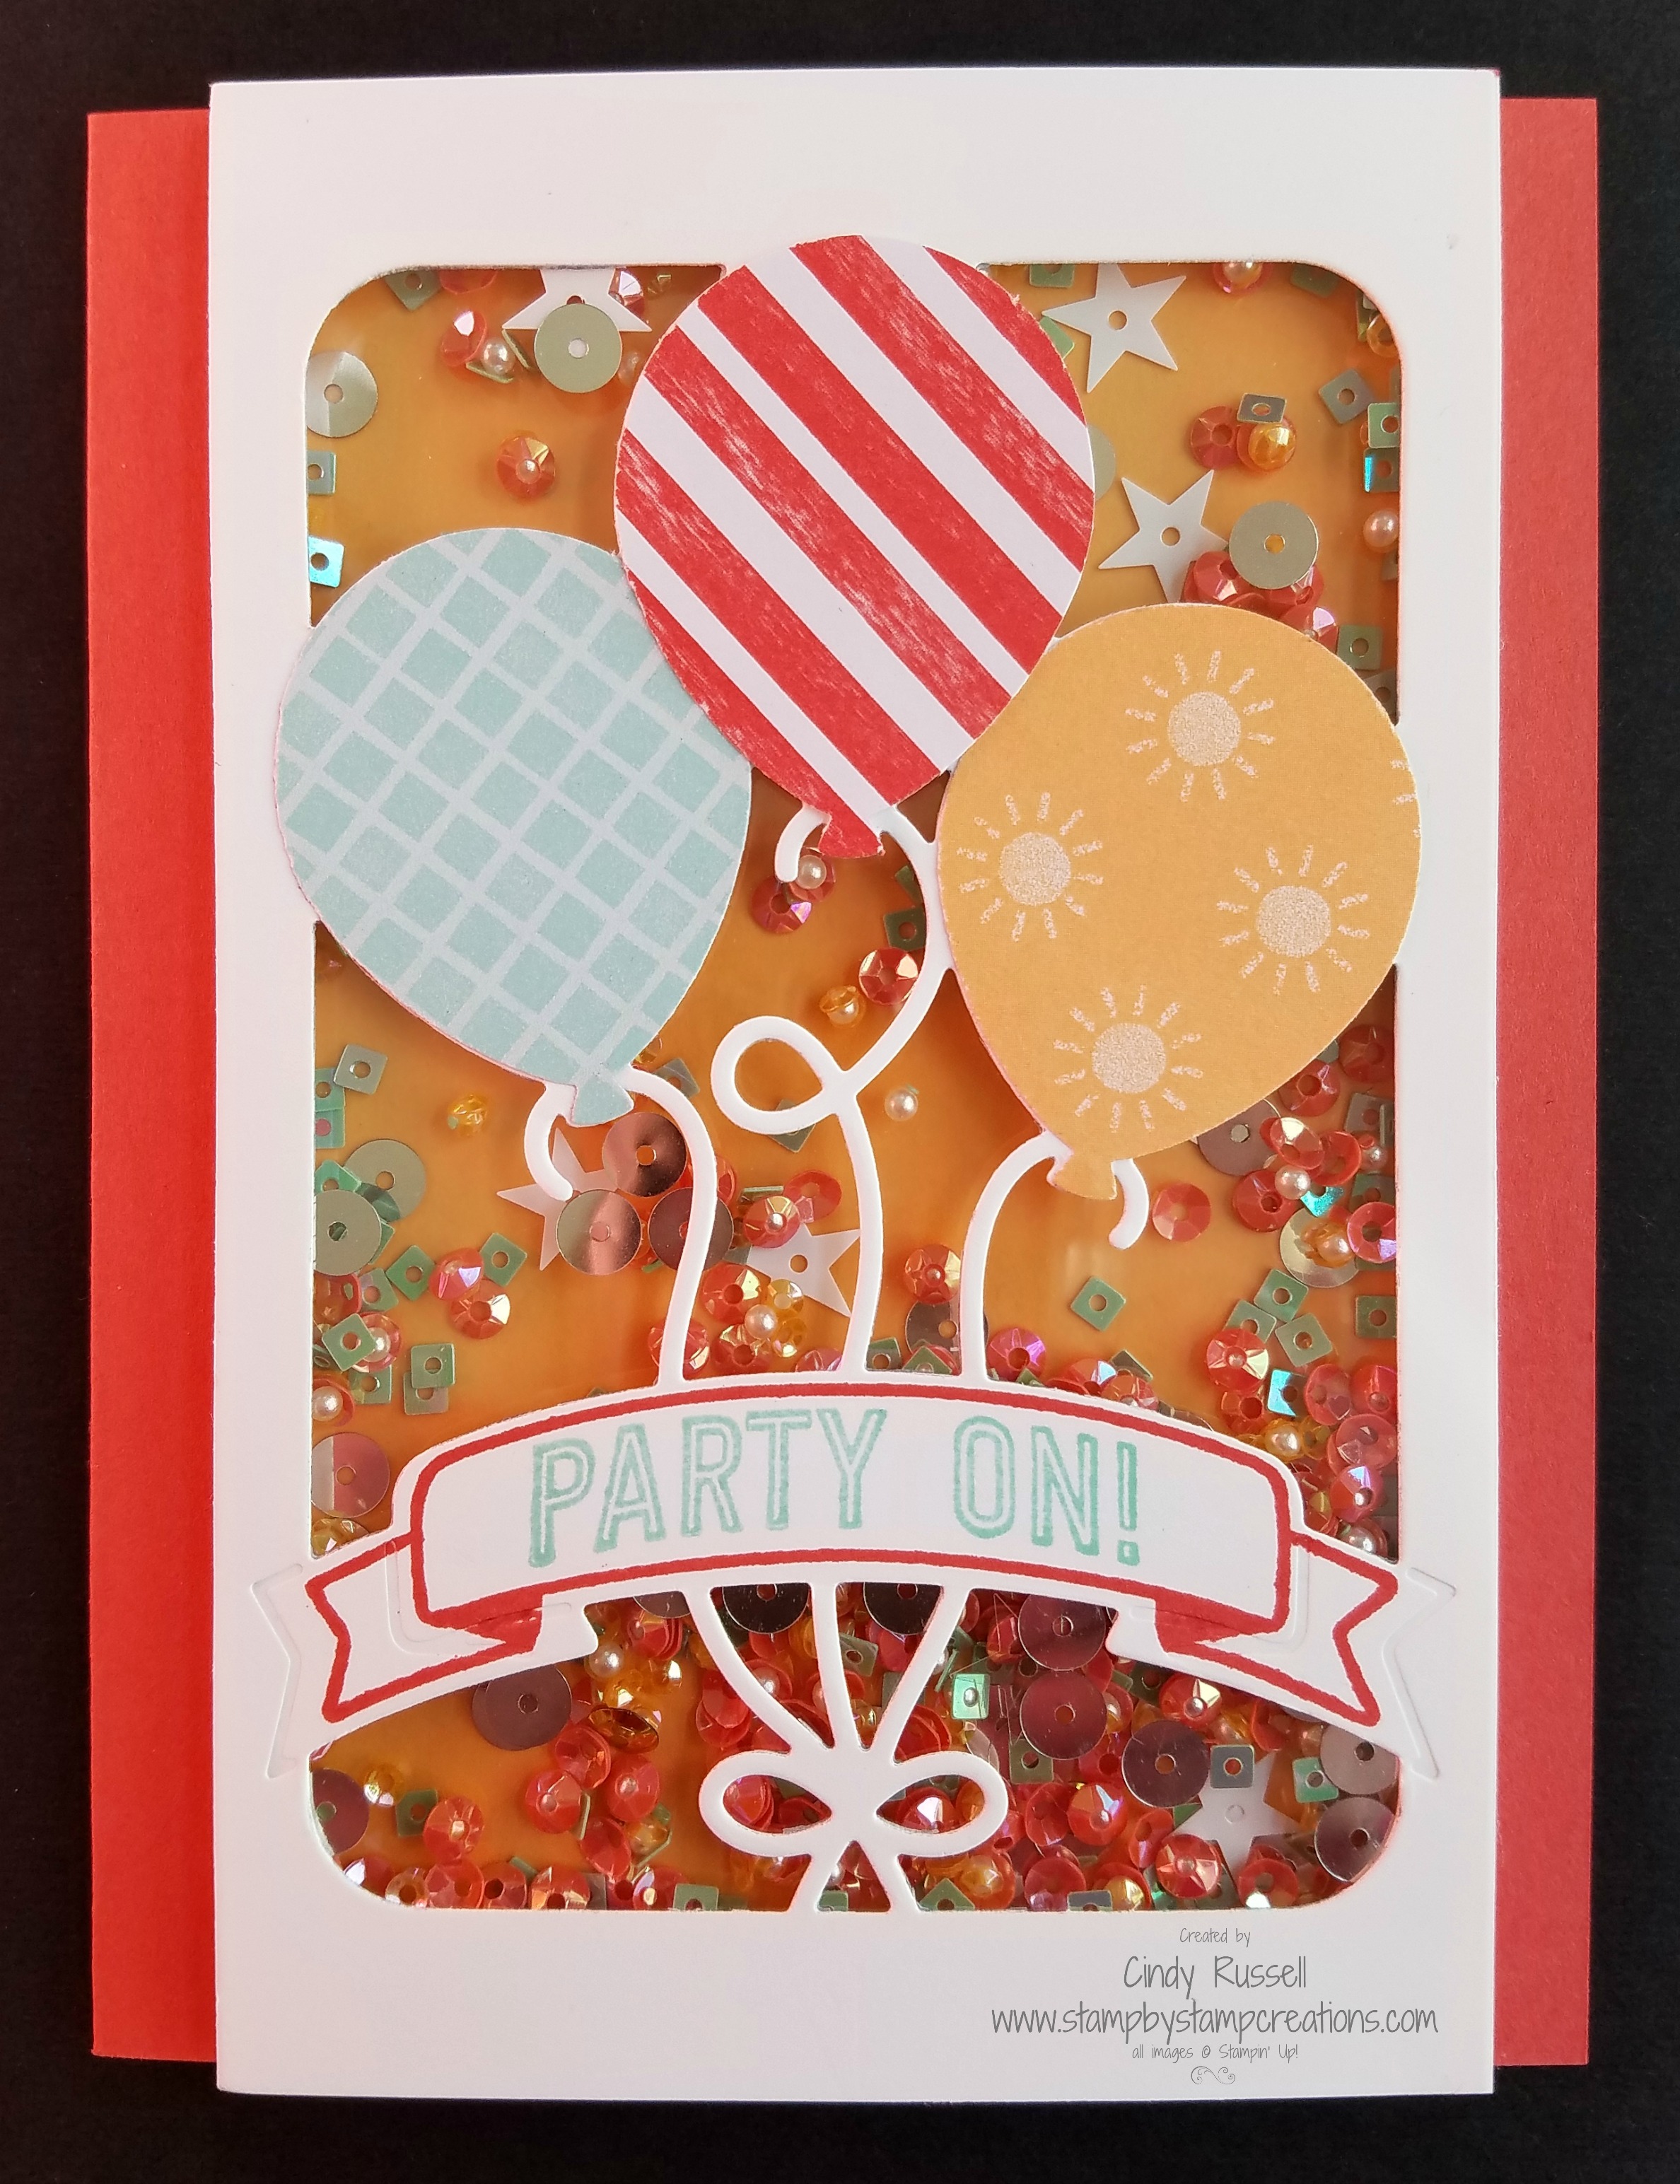
It really wasn’t difficult to make either. The first step I had to figure out was my color palette. If you’ve read my blog much or been around me you know that many times I determine my color palette by what ribbon I want to use on the card. In this case I don’t even have ribbon on the card (What?!) so I started with stuff I wanted to put in my shaker card! How crazy is that? I knew I wanted fun shakery (?) stuff in my card so I went with the Sprinkles Embellishments from the Cool Treats Suite in the Occasions Catalog. All sorts of pretty colors: Peekaboo Peach, Pool Party and Watermelon Wonder….and that’s where my color palette for the card came from!
Seeing as I had used the embellishments from the Cool Treats Suite I knew I had to the COORDINATING designer series paper! Now all of the hard work was done!
I used just a portion of the balloon pop-up die to make the focal point of my card. I cut my card stock the exact size of the die. I did have to trim the top and the bottom a bit to fit on my card front.
I punched out my balloons from the Tasty Treats Specialty Designer Series Paper, added my sentiment from the Balloon Adventures stamp set and the front of my card was done! I just needed to make the shaker portion.
Making a shaker card is pretty easy. I cut a piece of Window Sheet the same size as I used for my balloon focal point and adhered it to the back of the focal point with Tear & Tape Adhesive. On the back of the focal point I then added my foam adhesive strips around the edges. When you do this step you want to make sure you have no gaps at all between the strips because you don’t want your “shakery stuff” to be able to escape! Now you want to add all of your “shakery stuff” to the area enclosed by the foam strips. Once you have added as much “shakery stuff” as you want to your card you will then remove the backing of your foam strips and adhere a piece of card stock which is the same size as your balloon focal point. Now you have the shaker portion of the card done! Add it to the front of the card and ta-da….you have a beautiful shaker card.
I did add a couple of extra items to the Sprinkles Embellishments to make my “shakery stuff”. I added a few silver sequins from my roll of Silver Sequin Trim and I also picked out a few white stars from my container of Metallics Sequin Assortments. All in all a VERY fun card. Let me know if you have any questions on how I made it.
Have a great day! Take care and Happy Stamping!