
 Yesterday’s card was sparkly, today’s is shiny.
I’m loving the Red Foil Sheets. Gorgeous! I’ve used the silver and gold foil sheets in the past and liked them but there’s something about the red. Love it! I’ve actually designed a valentine card using the red foil that I’ll share with you later this week. I know….it’s not even Thanksgiving and I’m talking about valentines! Well, on Wednesday I’m heading to Dallas for a Stampin’ Up! event and the valentine is my swap card. I could have designed a swap using one of the stamp sets in the Holiday Catalog but I just wanted to do something a bit different.
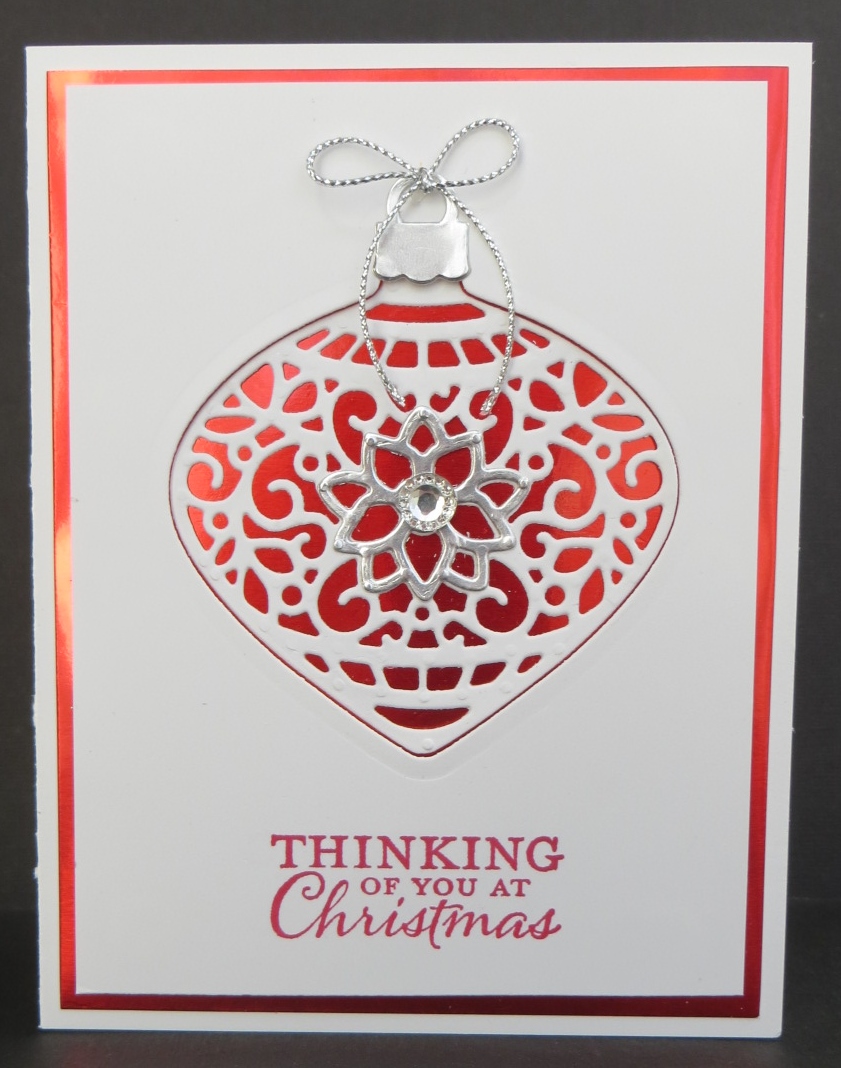
So, I love this card too, just not as much as yesterday’s card. I’ll be making some of these for my Christmas cards too. Isn’t this detailed ornament beautiful? So intricate. This card really wasn’t difficult. I die cut the ornament directly out of the piece of Whisper White that has the sentiment on it. That sheet is adhered to the red foil with Stampin’ Dimensionals. Then I adhered the ornament directly to the foil so it looks set it in.
So, how do you die cut the ornament without having to poke out all of those little bitty pieces? Here’s my secret….dryer sheets. Yep. Dryer sheets. Regular old dryer sheets. Here’s the order of all the pieces and parts: 1. magnetic platform 2. cutting pad 3. dryer sheet 4. card stock 5. wax paper 6. die 7. cutting pad.
This technique is great. Most of the little bitty pieces stick to the dryer sheet and the wax paper prevents the ornament itself from sticking in the die. You really need to try this. It works great!
Have you started your Christmas cards yet? What stamp set are you using?
Have a great day! Take care and Happy Stamping!