
 Hello! Isn’t this the perfect card just to send someone to let them know you’re thinking about them? I received the original of this card at convention. I didn’t change it too much but I did have to add another layer or two! 😉
That’s the great thing about participating in swaps. You get so many great ideas to use as is or just as a starting out point for your own idea.
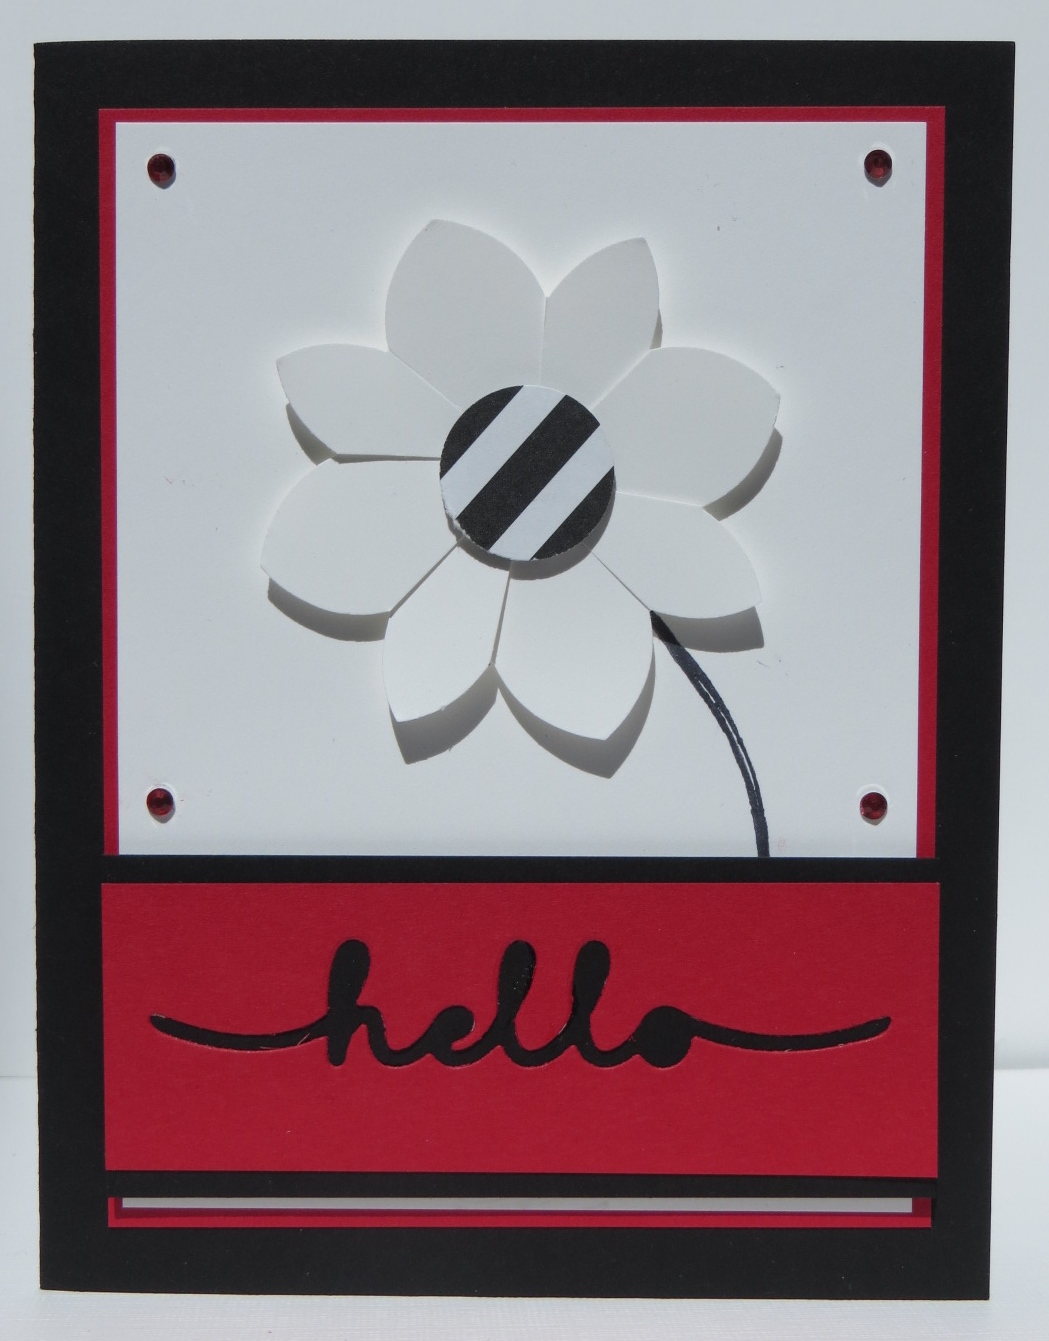
Have you tried out these fun new Greetings Thinlits yet? They’re perfect for adding a little greeting to your card. You can’t tell from the picture but on this card I actually die cut the “hello” out of the red card stock so that see through to the black. What a fun idea!
When you use these Thinlits the best way to cut them out is to use wax paper and a dryer sheet. Place the bottom cutting pad on the Magnetic Platform. Now place your dryer sheet, card stock, wax paper and then finally your Thinlit before adding the top cutting pad. Run through the Big Shot and you ta-da! Your greeting should pop right out. No poking through all of the little holes to get the card stock unstuck from the Thinlit. I love this little hint!
Don’t forget to use the fabulous new Fine-Tip Glue Pen to adhere your greetings to your project. Have you tried this new adhesive? I LOVE it! It makes adhering small things to your projects a snap! The great thing about this pen other than the wonderfully fine tip is that the lid has a pin in it so that the tip never gets clogged! Check out this Stampin’ Up! video for more tips on this great new product.
Here’s another fun little tip I used on this card. I actually colored my Basic Rhinestone Jewels with a red Sharpie marker! Yep…you can color both the rhinestones and the pearls. A great way to match the colors on your cards.
So much information for you! Ha! Have a great day! Take care and Happy Stamping!