
Hello! I’ve been here in the MN Homeland for a few days visiting and just hanging out. Today I pick up my CO friends Jan and Janet from the airport to begin our pre-On Stage festivities. The Minneapolis is airport is right by the Mall of America so that’s where we’ll be headed this afternoon as neither of “the J’s” has been there before and I haven’t been there for years. It should be fun.
We’re all pretty excited about Stampin’ Up!’s On-Stage event on Saturday. We get to see the new catalog! Woo Hoo!
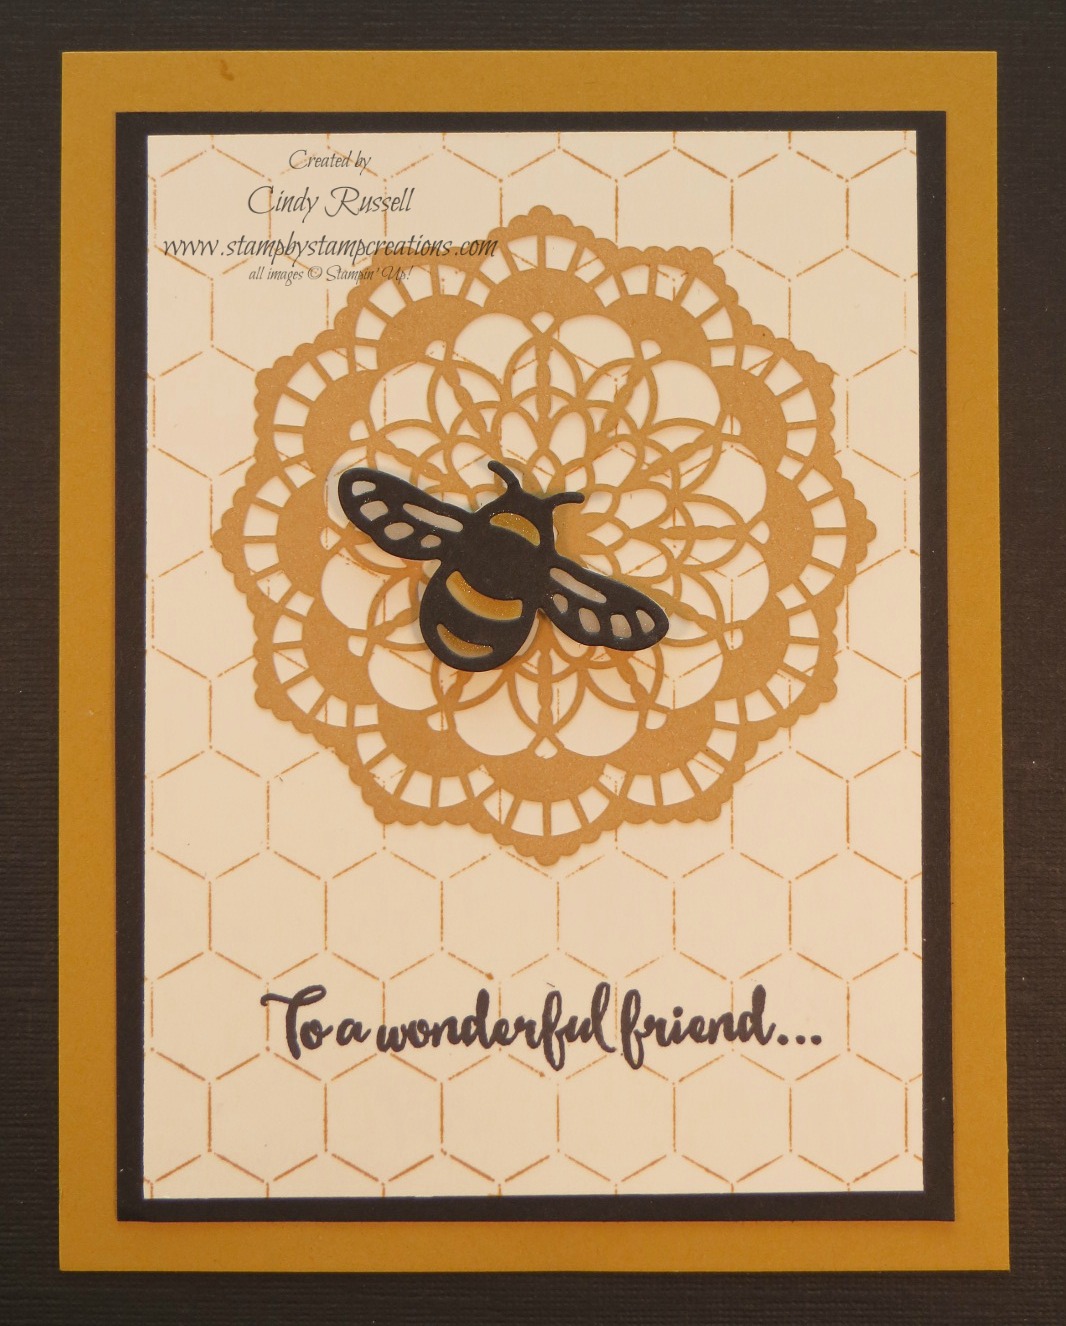 You can’t have a Stampin’ Up! event with swapping. Today’s card is my swap for the event. I have a thing about this little bumble bee from the Dragonfly Dreams Bundle. He’s so darn cute. I really like the dragonfly too. I’m so glad that this bundle will be in the new catalog! Oops! Did I give something away? 🙂
Are you curious as how I got the honeycomb background on the card? Well, let me tell you! I started with my Hexagons Dynamic Textured Impressions Embossing Folder, a sponge brayer and the Delightful Dijon ink pad. I sponged the ink onto the raised side of the embossing folder, put my paper in, closed the embossing folder and then evenly pressed down on all areas of the folder. You can use this technique with any of your embossing folders. It’s great!
I colored one of the Lace Doilies with the Delightful Dijon ink pad and sponge brayer just like I did on this card. I’m loving the lace doilies and this little technique! I sure hope they carry over into the new catalog! I guess I’ll find out on Tuesday! 🙂
It’s hard to tell from the picture but after I die cut the little bee I glued him to a piece of vellum and cut out around the outside of the bee. Then I took by Clear Wink of Stella Glitter Brush and the Gold Wink of Stella Glitter Brush and colored the back side of the vellum to add a little sparkle to my bee. It turned out pretty cute! At first I tried coloring in the little areas on the front side. This worked but was pretty tedious and I kept getting glitter pen o the die cut bee. I did figure out how to remove the excess glitter pen though! I simply took the white eraser on the end of my mechanical pencil and “erased” the glitter! It worked like a charm!
Have a great day! Take care and Happy Stamping!