Positively Chevron

021
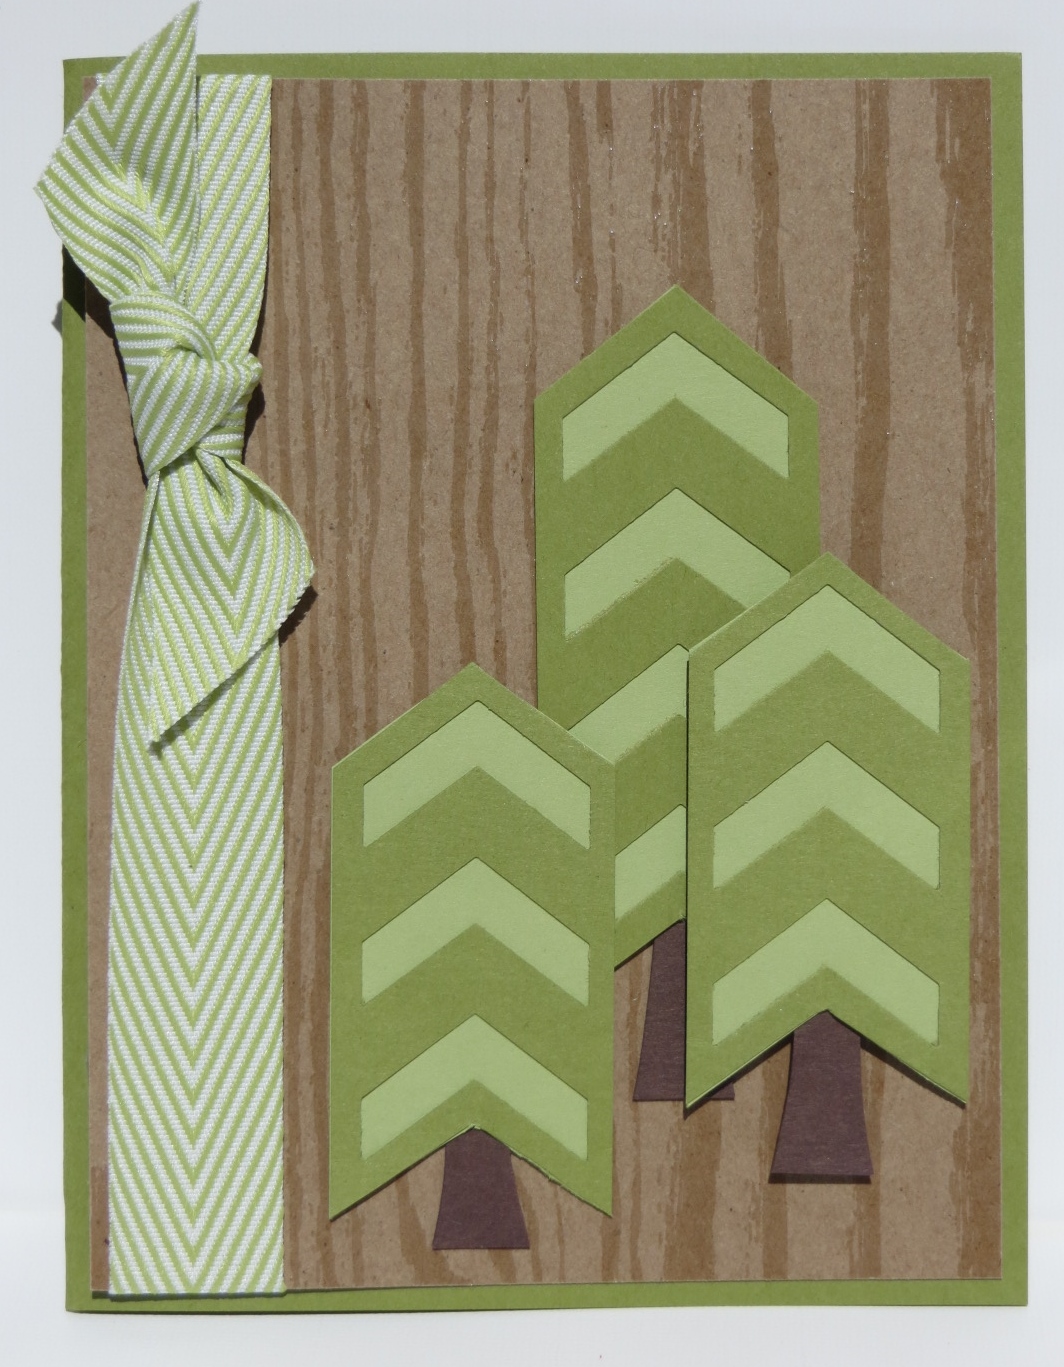
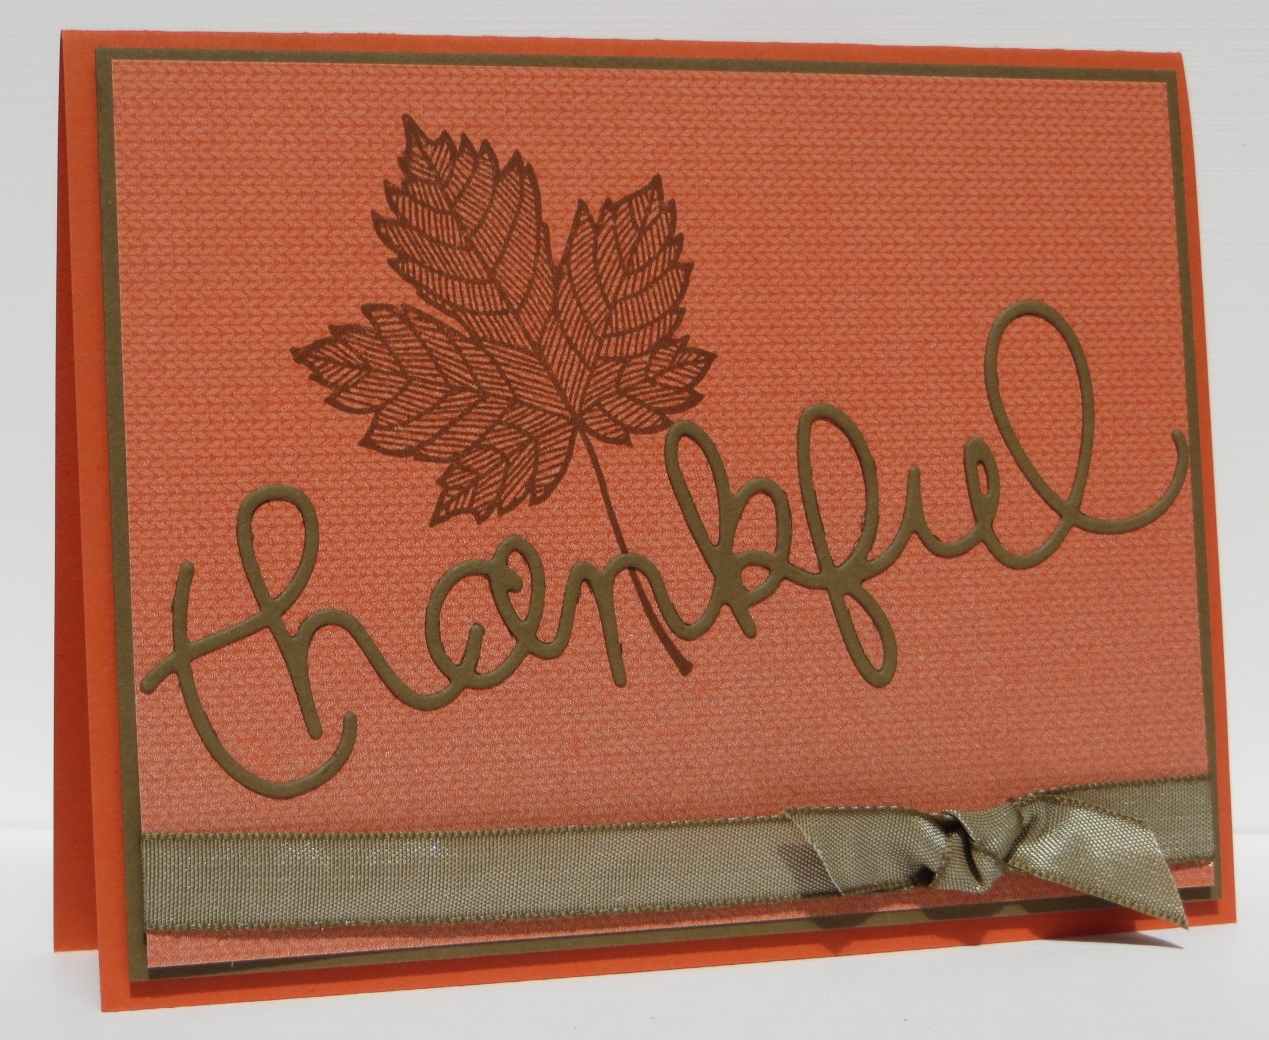
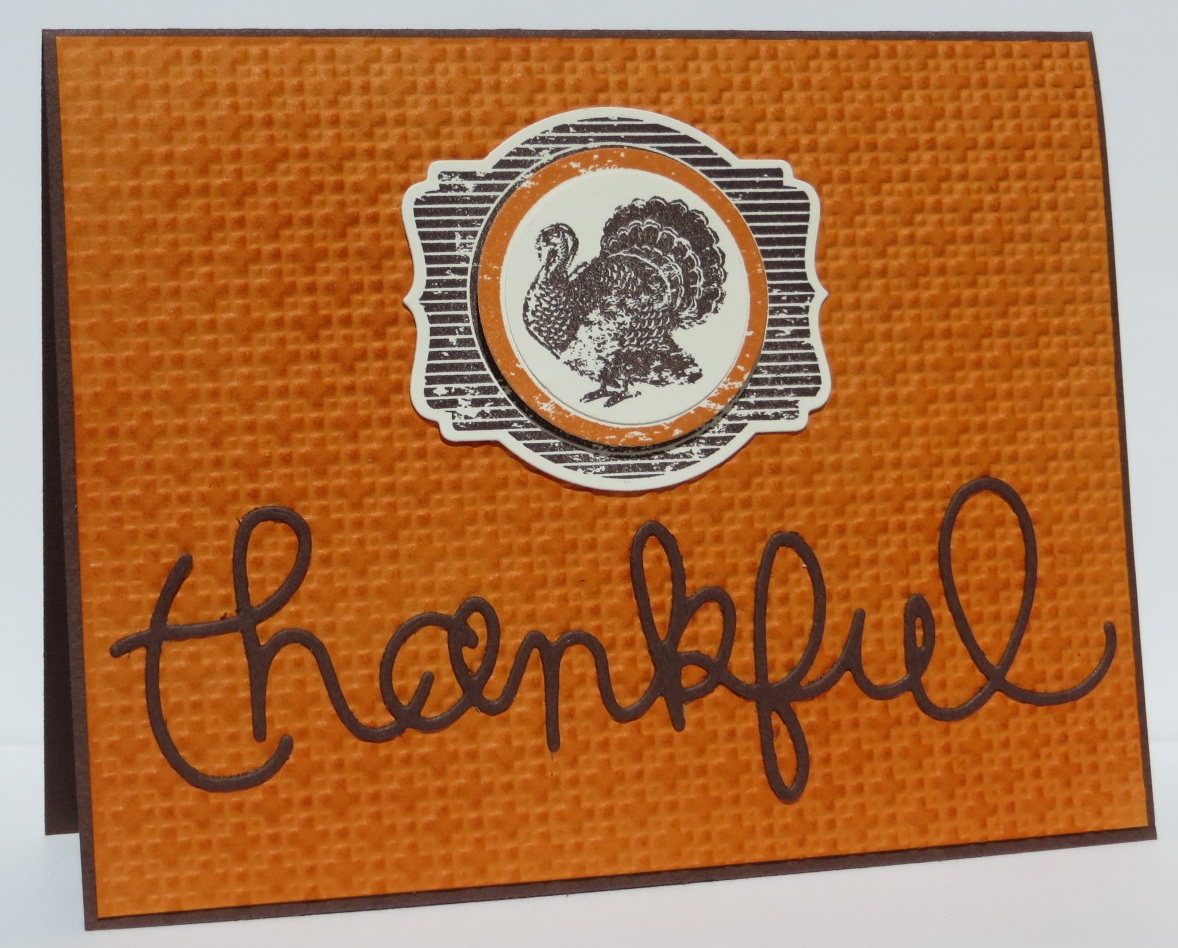
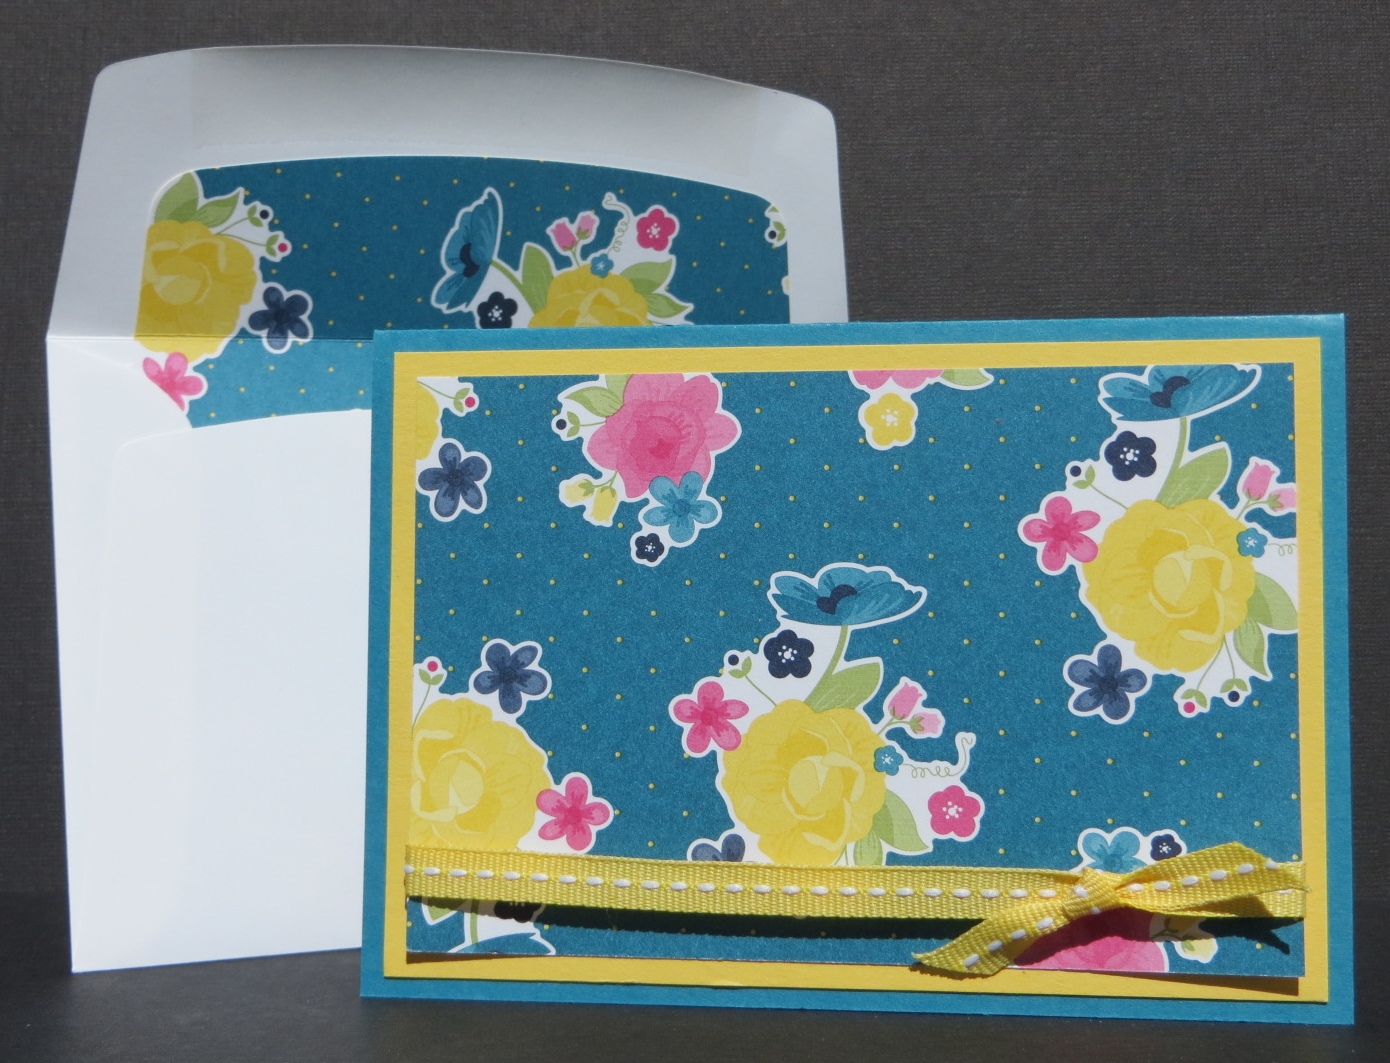
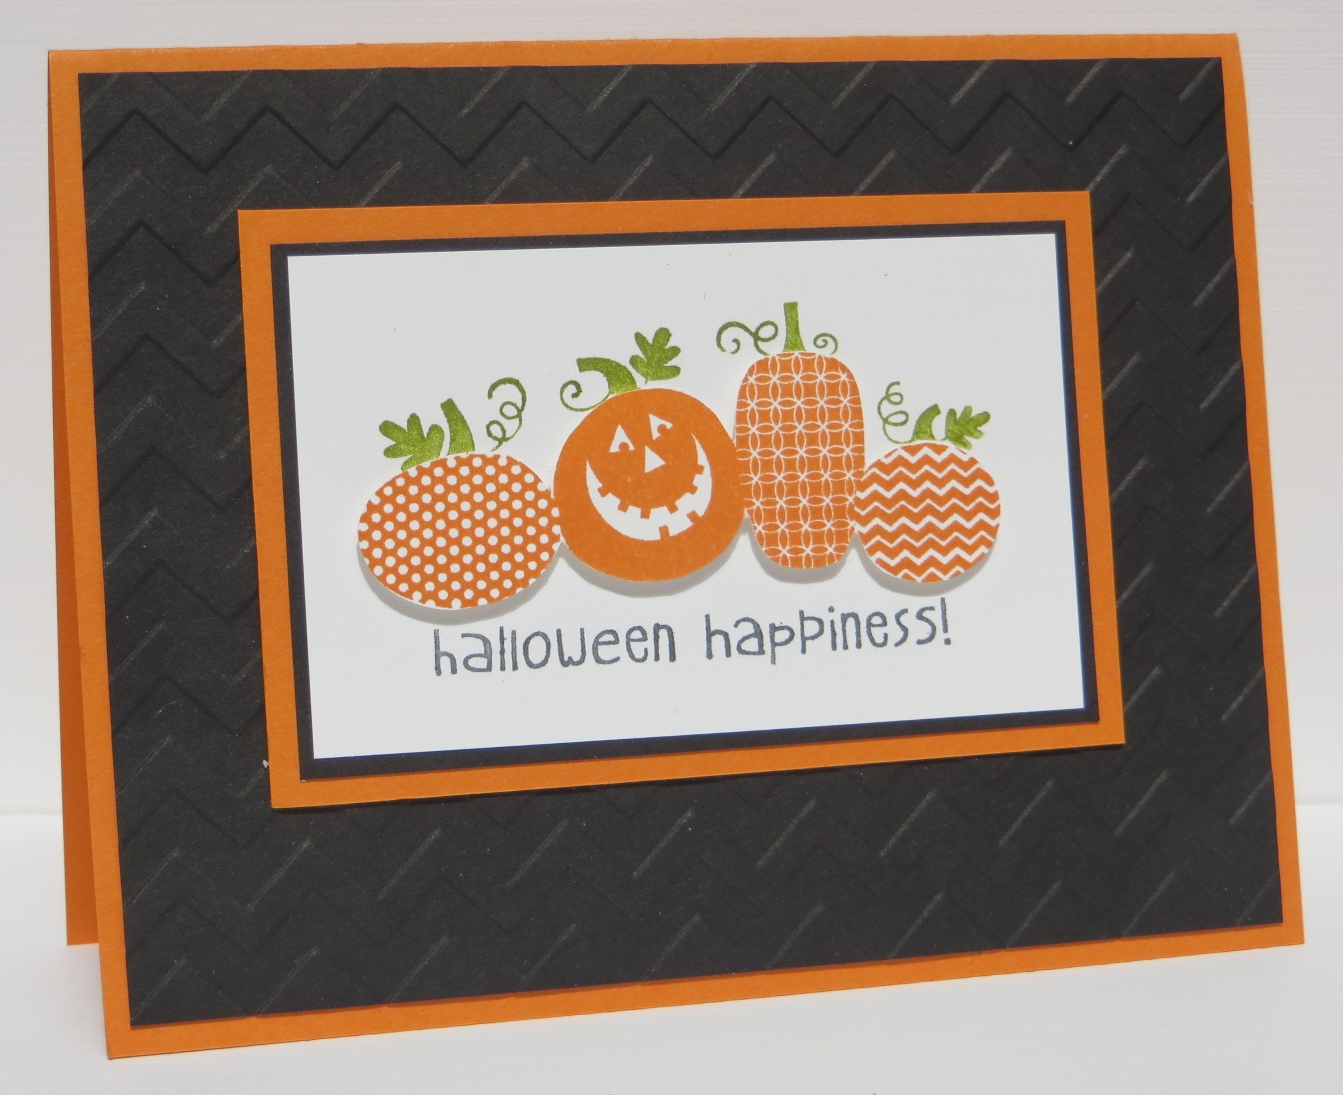
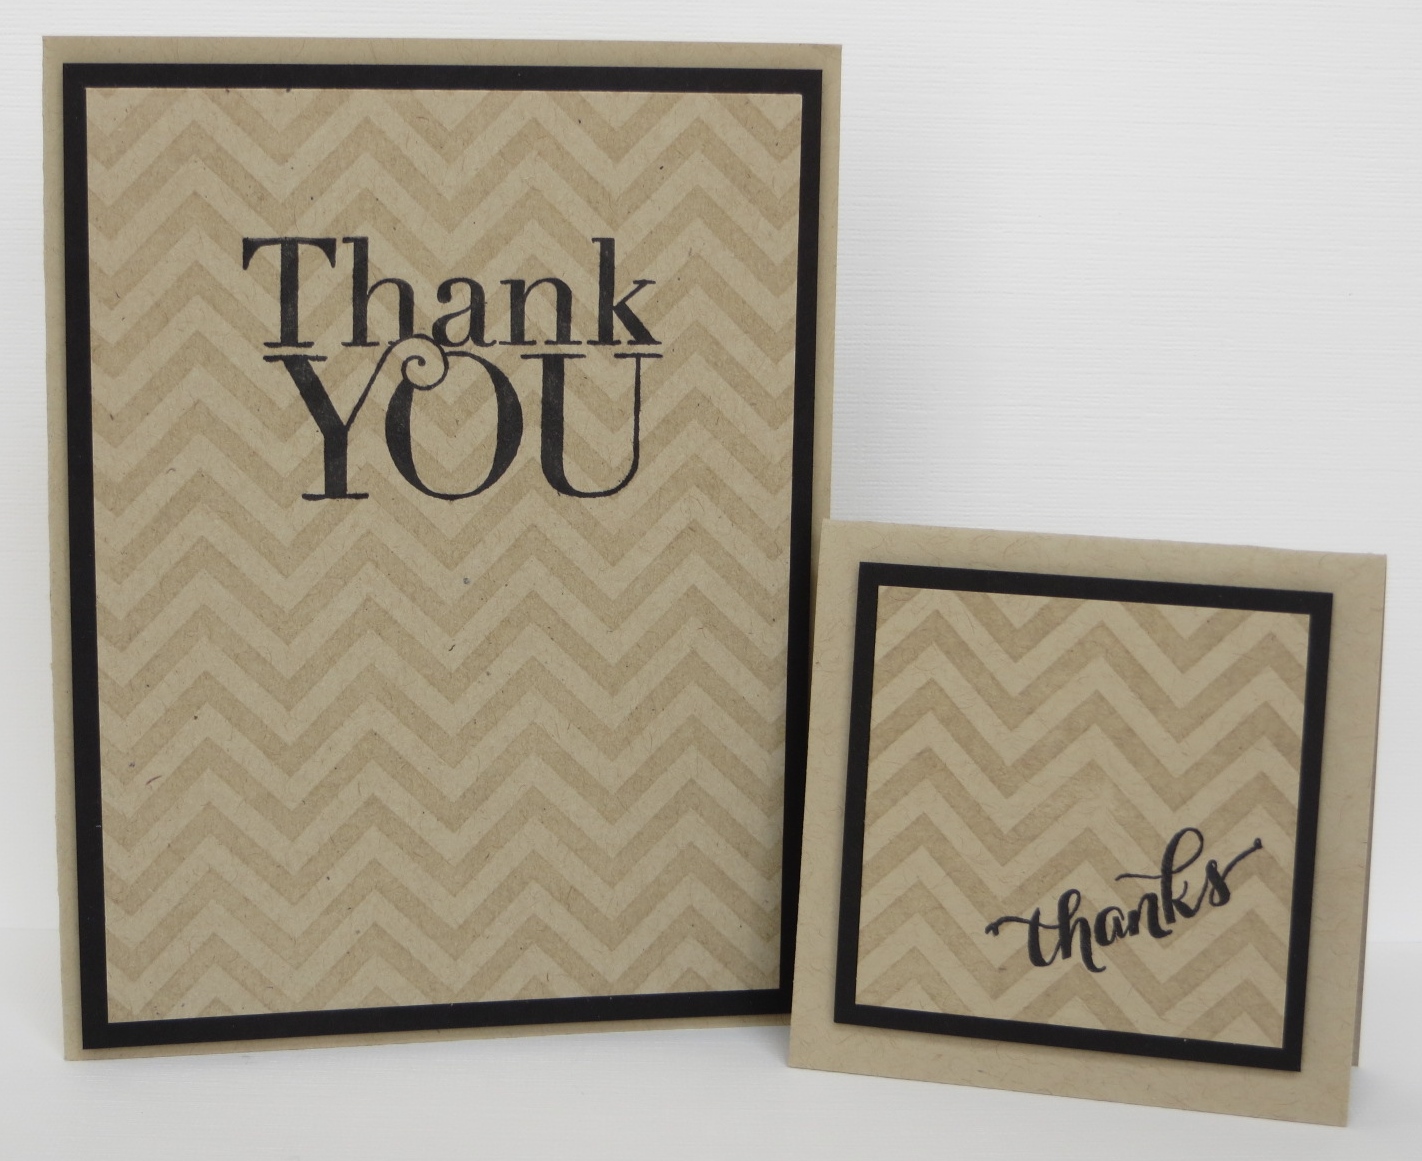
The other day I showed you the adorable wedding programs from my son’s wedding.  Today I have a few projects that those programs inspired.  I’m just loving that chevron!  How about you?  This Positively Chevron makes the perfect fun background.  The sentiments are from the new photopolymer stamp set Another Thank You.

My week of recovery (from the wedding!) is over and it’s time to get back to work.  I was such a slug that I read three books in five days!  It was kind of nice.  Back to stamping though!  I have projects designed for my next few classes and I’d love to have projects designed for my classes though the end of December done in the next few weeks.  It would be great to get ahead of the game for the hectic schedule of the holidays sneaks up on me!

Have a great day!  Take care and Happy Stamping!

Truly Grateful

013November is the month of thanks and thanksgiving.  No matter our situation, we all have something to be grateful for.  My list is long but I’ll start by thanking you for sticking with me and my blog through vacations, family weddings and just plain old being a slug!  Thank you!

I’m also thankful for Stampin’ Up!.  They’ve given me a second family.  I can’t imagine my life without the many friends I’ve made by being a Stampin’ Up! demonstrator.

Truly Grateful is one of the new fall sets in the Holiday Catalog.  I love the images in this set….perfect for fall and Thanksgiving.  I ran my Early Espresso Core’dinations Card Stock through the Big Shot with the Woodgrain Embossing Folder.  It made the perfect background for this card.  Don’t you just love the Burlap Ribbon?  Too fun!

What are you grateful for?  Leave a comment and let me know!  Have a great day!  Take care and Happy Stamping.

The Chevron Punch: Trees!

005No, I haven’t fallen off the face of the earth…yet!  Things are starting to pick up around here with my son’s wedding just one week away.  Did I say one week?  Yikes!

I have the dress, the shoes, the jewelry, the purse and the spanx!  The nail appointment is made as is the hair appointment.    I’m ready to go so now I just need to help the bride with all of the crafty things she wants to get done this next week.  Wish us luck!

I made this card back in August for my Holiday Catalog Open House.  I had seen a similar card and knew I had to get out my new Chevron Punch and give it a try.  The new Chevron Punch is pretty darn fun!

I punched my Old Olive card stock with the Chevron Punch, trimmed it to look like a tree and layered it on Pear Pizzazz card stock.  I added a trunk and had a tree.  Too darn cute not to copy.

Have you played with the Chevron Punch yet?

I’m not sure you’ll hear from me again before the wedding.  I’ll give it a try but don’t hold your breath!  I’ll tell you all about it after the 26th!

Have a great day!  Take care and Happy Stamping!

Sweater Weather Thankful

020This card was pretty easy to make.  I stamped the Magnificent Maple on a piece of designer paper from the Sweater Weather designer paper pack, added a piece of ribbon, a couple of layers and finished it off with the Thinlit “thankful”.

These Thinlit Expressions dies add so much to a card.  Be sure to check out Tuesday’s post for a tip on using these thinlits.

What are you thankful for?

Have a great day!  Take care and Happy Stamping!


Tip of the Day Tuesday: Thinlits

001I know, I know….it’s not even Halloween yet and I’m showing you Thanksgiving cards.  You can never be to ahead of the game though!

I made this card using the Harvest of Thanks stamp set and the Expressions Thinlits Dies.  I just love these new Thinlits….especially since I now know the secret to them!  Do you want to know?  Of course you do!  😀

The secret to getting the die-cut image out of the Thinlit easily is using wax paper and a toothpick!  Just place a piece of wax paper between your card stock and the die.  It makes the card stock slip right out of the die.  If it doesn’t simply fall out just use a toothpick in the little holes found on the die to give the card stock a little poke.  If you use anything sharper like a paper piercing tool you make leave a little hole in the card stock.  That is your tip of the day:  wax paper and a toothpick!  Don’t you love it when you can use everyday things found in your home!

Have a great day!  Take care and Happy Stamping!

Simple Saturday: Calm Christmas

007Hello!  I’m back from the MN Homeland once again.  It sure is nice being able to go back and visit whenever we want.  Ah….the life of the semi-retired!  😀

It’s Simple Saturday today and I thought a Christmas card would be appropriate since it is pretty darn cold here in Denver and there were light snow flurries on my way home from the airport yesterday!  Brrr….!

This is one of the cards we’re making this week for our Christmas Card Stamp-a-Stack.  Simple, yet elegant.  I used the Calm Christmas stamp set from the Holiday Catalog and stamped it with Island Indigo ink.  Quite pretty if you ask me!  😉  Of course, I had to pop it up with Stampin’ Dimensionals!  Just three little layers, that’s it!  Simple!

Have a great day!  Take care and Happy Stamping!

Simple Saturday!

014So, you can’t get much simpler than this!  Designer Paper, card stock and a little ribbon!  Sure is cute though!  Ha!

I made this little card for my open house last month.  I wanted to show how you can coordinate your envelope with the card when you use the new Envelope Liner Framelits.   This envelope is from the Notecards & Envelopes.

The liners are so fun and simple to use.  OK….I did have a little trouble adhering the liner in the envelope.  I had adhesive all over the back side of the liner and then tried sticking it in the envelope.  Not so easy.  Then about a week later I was talking to one of my customers about the liners and telling her of my woes and she’s like “why not just put adhesive on the top part?”  Duh!  Why do I have to make things so difficult all the time?!  That makes much more sense!  The bottom part of the liner isn’t going anywhere!

Back to the card for Simple Saturday…I just used some of the adorable Gingham Garden Designer Paper and added a few layers and some ribbon.  Simple!  😀

Have a great day!  Take care and Happy Stamping!

Washi Tape Wednesday: Halloween!

009Have you checked out the adorable Witches’ Brew Washi Tape?  I love it!  But then, I love all washi tape!  😀

Isn’t this a fun layout?  A little washi tape on the diagonal, a fun (but sadly, retired) embossed spider web, ribbon and a fun tag!  I was all set to make this card for a swap and then realized that the darn spider web embossing folder was retired.  🙁  I probably could have used it anyway but I wanted to stick with current products.  Can you see a little shimmer to the spider web?  I lightly brushed some Illuminate Ink over the embossed web with a Sponge Dauber.  It really added a lot to the card.

The tag is from the Tags 4 You stamp set in the Holiday Catalog and it’s punched out with the coordinating Label Bracket Punch.  I love things that coordinate!  😀  I made the Pumpkin Pie layer to my tag by punching out two Label Bracket tags, cutting them in half and just layering them to the outside edges of the stamped tag.  Check out this post for the details on how to do that.

Have a great day!  Take care and Happy Stamping!

A Halloween Hello

012Boo!  How can you be scared of this adorable little skeleton guy?  The Halloween Hello stamp set is way too cute!  My favorite images are probably this little guy and the stinkin’ cute bat.  I’m going to need to design a card now just for the bat!  Ha!

Layers, a little designer paper (Witches’ Brew), a little ribbon and a popped up little skeleton.  That’s it!  Too stinkin’ cute!  Halloween images are so much fun!  What’s your favorite Halloween set from the Holiday Catalog?

Have a great day!  Take care and Happy Stamping!

A Hexagon Halloween!

018I’ve been having an awful lot of fun making Halloween cards lately!  This one was especially fun although it was like working a puzzle trying to figure out where to place all of the different pieces.

I punched out a bunch of hexagons from the Witches Brew Designer Paper.  Then I stamped a few images from the Halloween Hello stamp set and punched them out with the hexagon punch.  I pieced my puzzle on Basic Black card stock and then layered it on Pumpkin Pie card stock.  The end!  Ha!  It is rather busy isn’t it?  But fun!

Have a great day!  Take care and Happy Stamping!

Simple Saturday: Another Wedding Card

011OK…I got carried away making simple cards with the Best of Brides and Babies stamp set.  It just worked!  😀

I had originally stamped the image directly on the notecard but it was a little too sparse so I layered the image and popped it up with Stampin’ Dimensionals.  I also added a little bit of color with some markers.

How are you liking Simple Saturday?  Leave a comment and let me know!  Have a great day!  Take care and Happy Stamping!

Halloween Witch Hats

022It’s hard thinking about Halloween when the temperature is in the mid 90’s….especially having grown up in Minnesota where there’s been a blizzard or two on that date!

I used the fun Best of Halloween stamp set on this card.   Have you seen all of the cute images in this set?  They’re pretty fun.  I saw this cute card online and had to copy it.  Naturally, I had to add a couple of layers since a card isn’t really complete without at least 3 or four of them!  Ha!  Have you started thinking about Halloween yet?

Have a great day!  Take care and Happy Stamping!

Halloween Happiness!

016Yes, I know….Halloween is over two months away but it’s never too early to start getting ready is it?  I actually made this card last month in July!  I made it for a swap I hosted.  Isn’t it cute?

I used the new stamp Halloween Happiness.  This was the first item from the Holiday Catalog that I just had to have!  Too stinkin’ cute!

I colored the stems and the sentiment with my markers and stamped them on the small piece of Whisper White card stock.  Then I inked the whole image in Pumpkin Pie ink, stamped it on a piece of scrap paper, cut it out and adhered it with Stampin’ Dimensionals.  That’s it!  I ran the background piece through the Big Shot with the Chevron Embossing Folder, added all my layers and I was done!  A cute and fun Halloween card.

Have a great day!  Take care and Happy Stamping!

Technique Tuesday: Rolled Ribbon Flower

050It’s Technique Tuesday and I have a fun and easy technique for you.  Check out the flower on the card.  Beautiful, isn’t it?

I started by punching four flowers from vellum card stock with the Pansy Punch and adhering them together with Mini Glue Dots.  Then I took a piece of Crisp Cantaloupe 3/8″ Ruffled Stretch Trim about 10″ long.  I stuck a Mini Glue Dot on one end and just started rolling.  When I came to the end of the 10″ I stuck on another Mini Glue Dot to hold it together.  I stuck some more Mini Glue Dots on one of the flat sides and stuck it to my punched flower.  Smoosh it a little and you have a gorgeous rolled ribbon flower!

The sentiment is from the new A Dozen Thoughts stamp set and it’s die cut with one of the Chalk Talk Framelits.  Fun, simple and beautiful all in one!

Have a great day!  Take care and Happy Stamping!

Secret Garden Gingham Garden

045I can’t seem to get enough of this Gingham Garden Designer Series Paper.  It just makes me happy.  Or if you’re a Duck Dynasty fan like I am….”Happy, Happy, Happy”.  Love that show!

I digress…

This designer paper works so well with the Flower Shop stamp set and the Pansy Punch but it works equally well with the Secret Garden stamp set and it’s coordinating Framelits!  I was excited to finally get to use my Really Good Greetings stamp set.  I love this little saying because you know (especially if you’ve ever been to convention with me) that it really is all about me.  Ha!

Have a great day!  Take care and Happy Stamping!