Happy Birthday to Me!!!!

Build a Birthday.1.0615Yep!  It’s that time of the year again.  Cindy is having yet another birthday.  We all get older so we may as well embrace it and enjoy it!  Right?  🙂

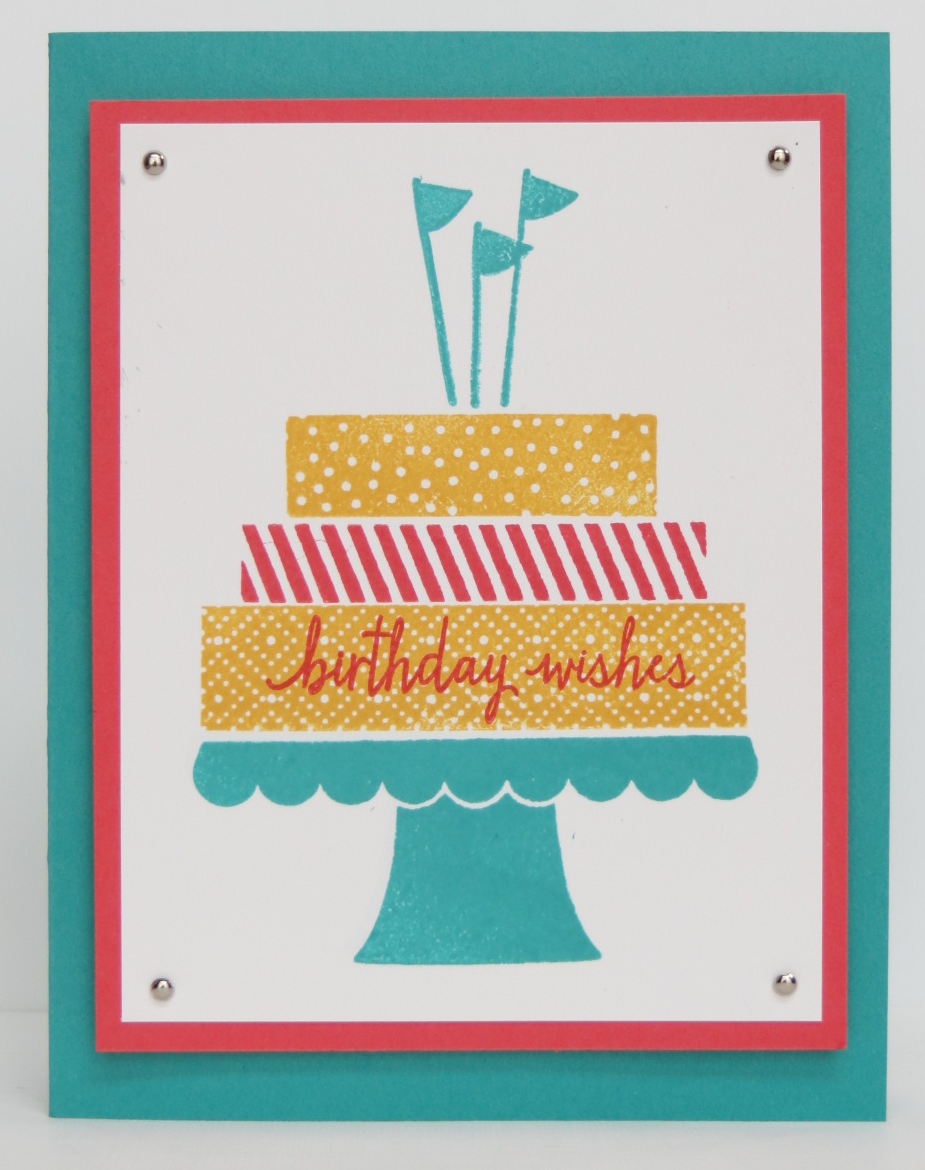
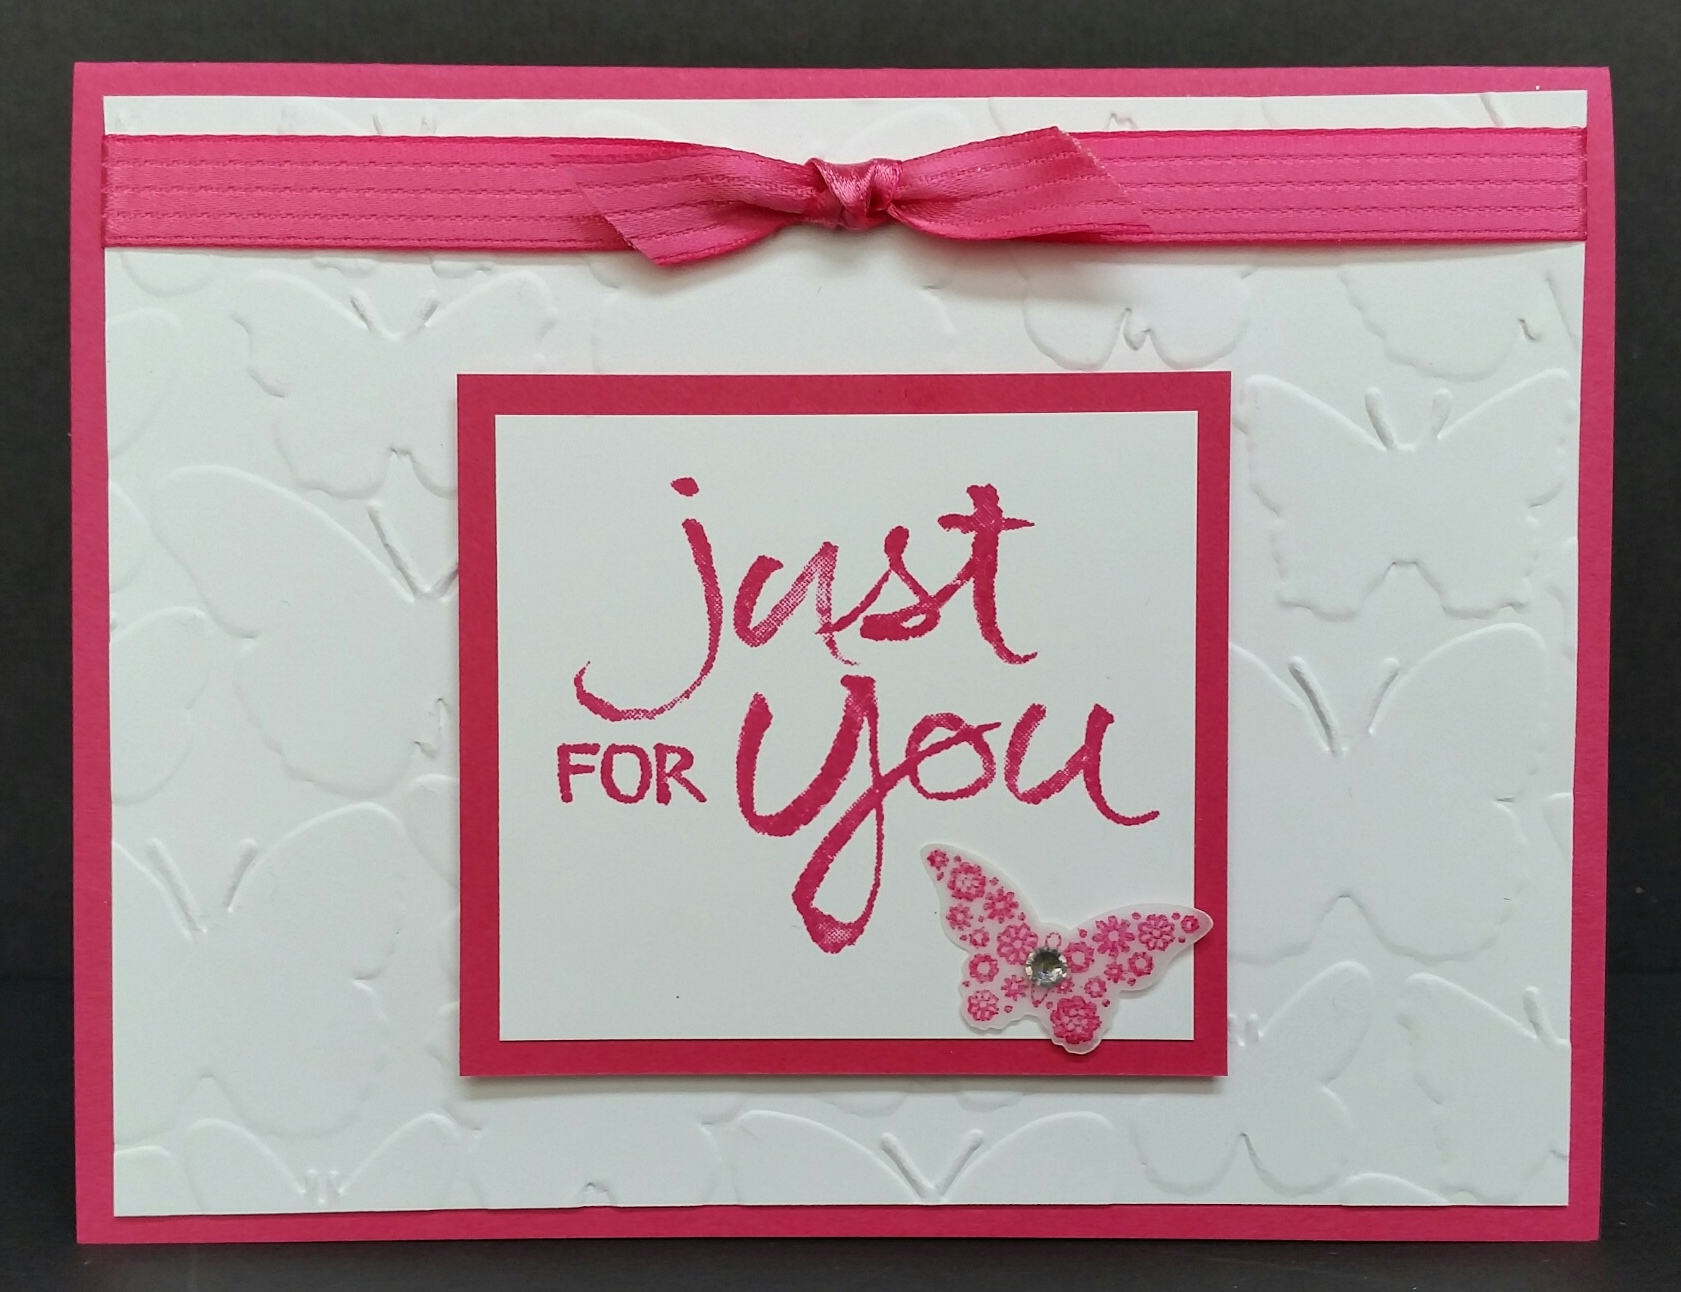
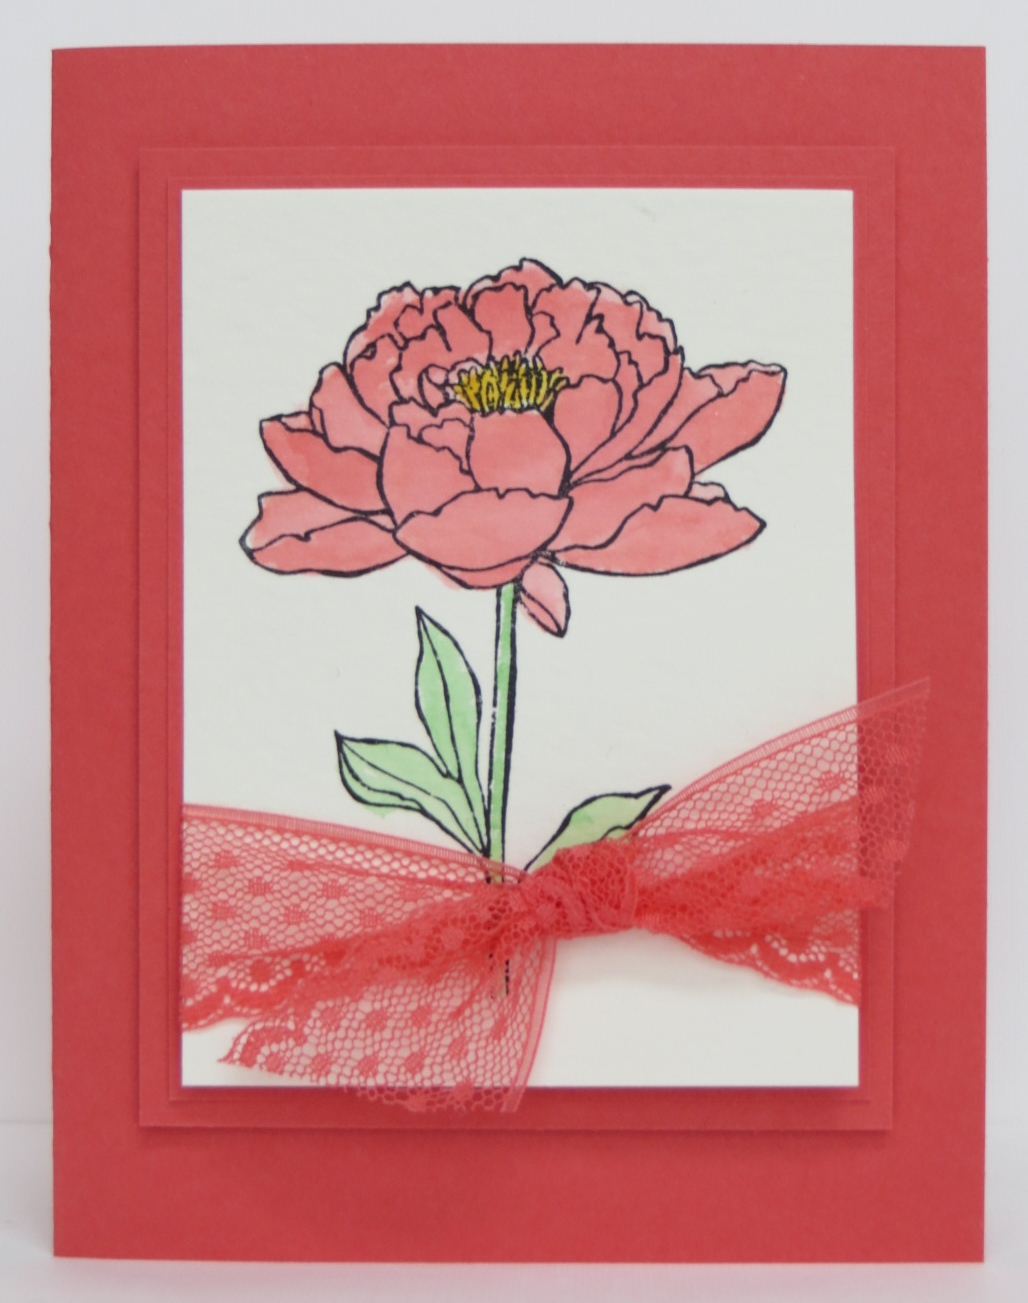
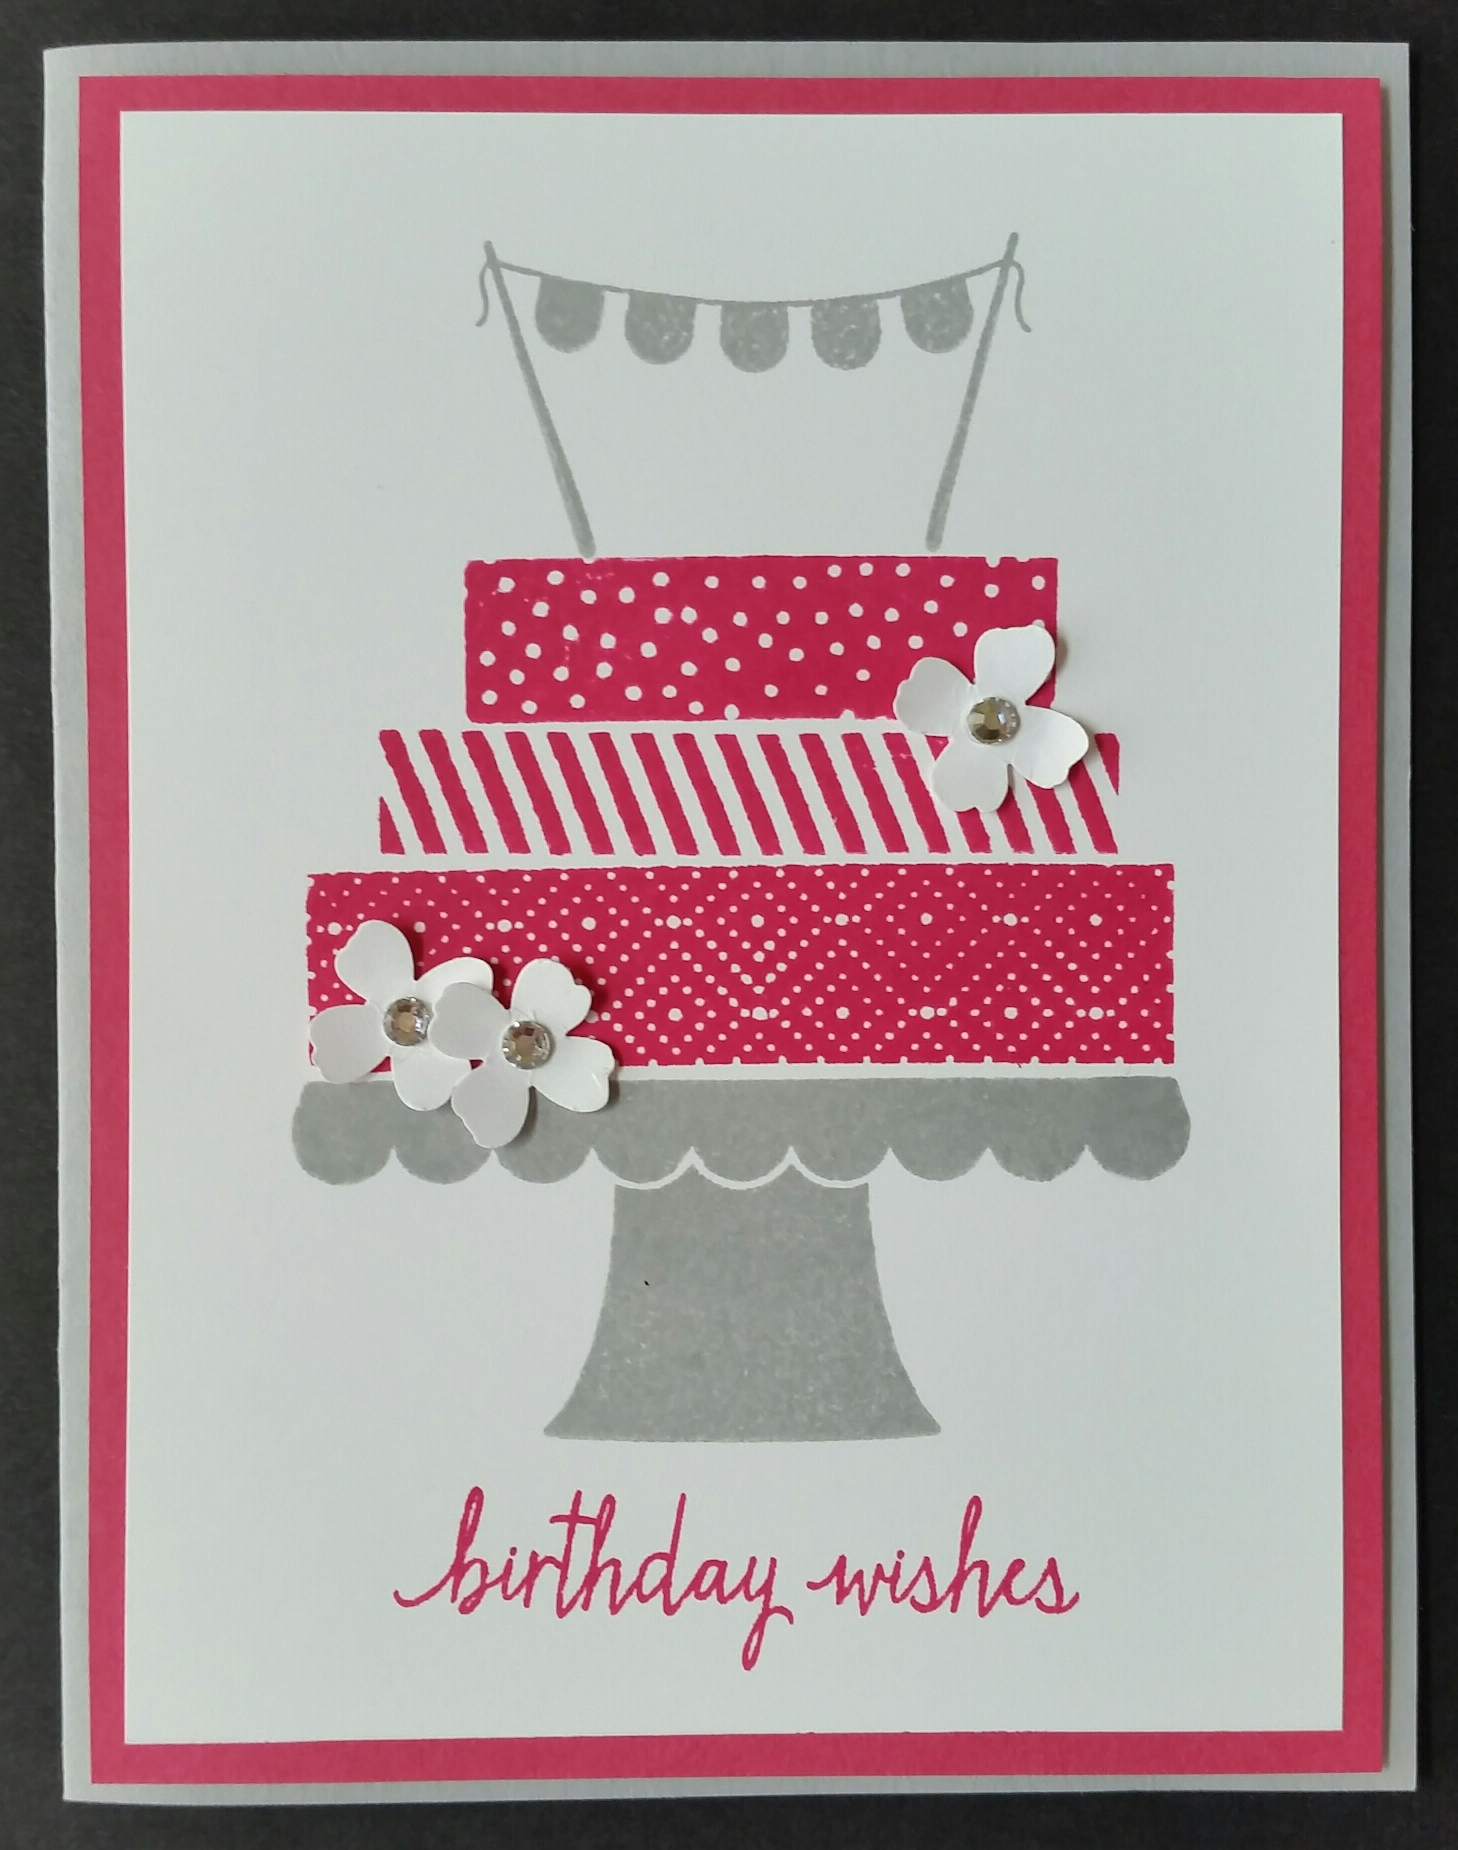
I designed this card (ok…I CASEd it!) for a class but it’s the perfect card to send to ME for my birthday.  It’s PINK!!!  I love this color combination of Melon Mambo and Smoky Slate.  It’s so happy!

There were a number of years in a row that I got to celebrate my birthday during convention.  That was always a blast.   This year we don’t leave for convention until tomorrow but don’t worry…..I’ll make sure we celebrate my birthday while we’re in Salt Lake City.  It’s all about me, right?  Ha!  There was a while that it really was all about me.  I’d be the one to always win a door prize or I’d be the one chosen to do something special.  It got to be a running joke.  My luck has run out but I’m still pretty good at being the center of attention.  Ha again!

I don’t have any big plans today other than making sure I have everything ready for convention and having lunch with a friend.    Have a great day!  Take care and Happy Stamping!

Built for Free Using: My Stampin Blog

Summery Sprinkles of Life

Sprinkles of Life.0615Do you have the Sprinkles of Life stamp set yet?  If not, you  really should!  Its a great, versatile stamp set AND there’s a COORDINATING punch!  How great is that?  I know I mentioned before that this stamp set is this year’s Ronald McDonald Charities stamp set.  This stamp set is probably one of my all time favorites.  Last year’s Flamingo Lingo set is definitely at the top of the list though since I have this thing for flamingos.  🙂

I CASEd this card from my friend Laura and then of course had to change it.   I can’t just copy something exactly.  That would be way too easy!  Ha!

The focal point is straight from Laura’s card but I changed up the rest of the colors and the sentiment.

With the coordinating Tree Builder Punch I was able to punch out both the bunch of leaves in the basket and all of the little flowers.  I stamped my flowers in Real Red and then used my Blender Pen to color them in.  The teeny tiny pearls for the centers of the flowers really make them pop.

I need to get to work on setting up my retired products sale.  I’m having it a few days after convention so I want to get as much done as I can before I go.

Have a great day!  Take care and Happy Stamping!

Built for Free Using: My Stampin Blog

Remarkable You Sympathy

Remarkable You.0615Today’s card is a lovely yet easy sympathy card.  These flowers were so simple to color.  I just took a little Smoky Slate to the shadows, some Pear Pizzazz to the stems and a little Crushed Curry around the centers.  Easy Peasy and my card is almost done!

The paper piercing really adds to the card don’t you think?  The card would be a little too plain without it.  I really need to get my paper piercing tools out a little more.  I especially want to use the templates that coordinate with stamps.  I usually just do borders or corners like this and there’s so much more that you can do!  Do you paper pierce much?  If so, send me a picture of your card.  I’d love to see it!

Convention is just a few days away and I can hardly wait!  Woo Hoo!  My little group is heading out on Wednesday for our wild little weekend.  Ha!  We always have such a fun time!

Have a great day!  Take care and Happy Stamping!

Built for Free Using: My Stampin Blog

Award Winning Barnyard Babies

Barnyard Babies.0615I told you I loved these 4 1/4″ x 4 1/4″ cards!  They’re so stinkin’ cute!  I can’t get enough of them!

Same goes for the Barnyard Babies stamp set.  All of these critters are absolutely ADORABLE!  I’m not sure I can narrow my favorite down to one of them.  They’re all equally adorable.  Which one is your favorite?

I stamped Molly Moo (that’s what I named her) on watercolor paper with the Black StazOn ink and colored her in with my ink pads and Aquapainter.  That’s about it.  A little stamping of blue ribbons for the background, a couple of layers and my card is done!  🙂

I’ve also made these fun 4 1/4″ x 4 1/4″ cards with the cute pig and the fun little duck.  Of course you’re going to have to wait to see them!  Stay tuned!

Speaking of staying tuned….don’t forget to follow me on Facebook to keep tabs on all the antics of my SASsy Stampers group at convention next week!  We get a little crazy…..just sayin’!

Have a great day!  Take care and Happy Stamping!

Built for Free Using: My Stampin Blog

Build a Birthday

IMG_6052Happy Birthday!

I know tons of people who have birthdays in July (including me!)  Do you?  🙂

This is a fun and easy birthday card that I can send out.  Actually, I will probably send it to my son!  Whew…I have the card, now I just need to figure out what to get him for a gift!

This cake on a pedestal is SO easy to stamp because the stamp set is photopolymer.  Not sure what photopolymer is?  Think CLEAR!  Yep!  You can see exactly where to place all those layers!

I think I’ve mentioned before that Watermelon Wonder is my favorite new In-Color.  If I haven’t, now you know!  I love how perfectly it goes with Bermuda Bay.  It’s definitely a fun and festive color combination!

I thought there was a little too much excess white space on the card so I decided to add the mini brads.  Candy Dots would look great too but we made this card in a class and I would have had to buy quite a few packages of Candy Dots for all three of my classes.  Mini brads were definitely the cheaper choice.

Have a great day!  Take care and Happy Stamping!

Built for Free Using: My Stampin Blog

Garden In Bloom

Garden In Bloom.0615I’m exhausted!  I’ve been cleaning like a fiend.  My cousin’s daughter is moving to Denver from Chicago and is going to stay with us until she can find an apartment.  Since she could be with us for a month or so I had to clean out the closet and the dresser in the extra bedroom.  It was rough.  Those areas haven’t been looked at since my son moved out almost four years ago.

I feel pretty good about it though.  I’ve been on a mission this year to go through every room in the house and this room just ended up getting to the top of the list faster.  I’ve got a charity pick-up coming today and our garbage collector is in for a little more work today too.

On to the card!  It’s Pink!  How can I not love it? Ha!

Garden In Bloom was one of the first stamp sets I had to get.  I’m in love with the soft watercolor look.  There’s quite a few with this soft look and I have them all!  Yes, I’m a hoarder which makes my mission I told you about above a little more difficult.  My Big Sale is on the 28th and I’m pricing my retired things to go.  I have to get them out of my house!

I can’t help it.  I can’t get enough of the 4 1/4″ x 4 1/4″ card.  For some strange reason I want to make all my cards this size.  It is a nice size though.  Especially when you have smaller focal points.  This card could have probably been made into a full size card but it’s so cute and compact this way.  I know….I’m a little weird.  That’s why you love me though!  🙂

Have a great day!  Take care and Happy Stamping!

Built for Free Using: My Stampin Blog

New In-Color Watercolor Wings

Watercolor Wings.0615

One last butterfly card from the All About Butterflies Class.  This one is pretty much CASEd (Copy And Share Everything) from Stampin’ Up!.  Isn’t it great?  I love all of the layers and of course the new butterfly from Watercolor Wings is gorgeous…..even in Tip Top Taupe!

In my class my customers had a choice of any of the five new In-Colors.  We had to use the In-Colors so we could use the fun little In-Color Blossom Accent on the card.  🙂

The doily on the card is actually the back side of one of the new Metallic Foil Doilies.  Pretty clever, huh?  It’s hard to see in the photo but I die cut a small butterfly from Vellum Card stock that is on top of the large butterfly.  There is also some of the fun new Metallic Thread squiggled underneath the little butterfly.  Click on the picture and you’ll be able to see it much larger.  You’ll get a better idea of all of the details on this fun card.

As with most of the die-cut or punched butterflies I put on a card I only put the adhesive on the body so that the wings will pop up a little bit.  I usually either just fold the wings up a little or curl them slightly with my bone folder.  (Think curling paper ribbon with your scissors).

This is it for the recent butterfly cards.  I hope you’ve enjoyed them.  Have a great day.  Take care and Happy Stamping!

Built for Free Using: My Stampin Blog

Papillon Potpourri

Papillon Potpourri.0615I think this is actually one of my favorite butterfly cards of all the ones I’ve been sharing.  I can’t quite put my finger on why I like it so much but I do.  What do you think about it?

I made a little template with my 2 1/2″ Circle Punch to stamp the Hardwood design through.  It’s hard to tell from the picture but I also stamped the Hardwood design on the front of the card.

I used sponge daubers to dab the color on butterfly before punching it out and I only put glue on the body of the butterfly to adhere it to the card.  I did this so that the wings would pop up a little.  And of course I had to a bling to the card to finish it off!  🙂

Have a great day!  Take care and Happy Stamping!


Built for Free Using: My Stampin Blog

Butterfly Basics Collage

Butterfly Basics.1Hello!  It’s another butterfly card!  So many butterflies. So little time. Ha!

This is actually one of the first cards I made with the Butterfly Basics stamp set way back when it was in the Occasions Catalog.  I really like this color combination of Soft Suede and Bermuda Bay.  What do you think?  When I originally made the card I used  Coastal Cabana and Baked Brown Sugar but I think this new combination is a little more vibrant.

I didn’t think that butterflies were really my thing but I’ve been having a lot of fun making cards with butterflies on them.  I may actually have to make more.  I do love this butterfly framelit.  It’s so delicate looking and really makes a statement on the card.  Do you have a favorite butterfly product?  Let me know what you think?

Have a great day!  Take care and Happy Stamping!


Built for Free Using: My Stampin Blog

Watercolor Words Butterflies

Watercolor Words.0615

Today I have a simple but pretty card for you.  I just had to try out the new Fluttering Embossing Folder with all those butterflies on it and my All About Butterflies class was the perfect chance!  So many butterflies!

It’s hard to tell from the picture but the little butterfly is embossed on Vellum Card Stock using the Melon Mambo ink and the Iridescent Ice Embossing Powder.  The card needed a little sparkle!  🙂

Can you guess what my favorite part of this card is?  Yep!  It’s PINK!!!!!

I had a pretty fun time putting this class together.  I hadn’t realized how many butterflies I had to choose from in the catalog!

Have a great day!  Take day!

Built for Free Using: My Stampin Blog

Simple Swallowtail

Swallowtail.0615A few weeks ago I offered an All About Butterflies Class.  Each of the five cards we made featured a butterfly.  That tells you how many butterfly products are available in the new Stampin’ Up! Catalog!  🙂

This card is simple but very striking.  I saw it online and knew it had to be one of our cards for class.

The secret to this card is stamping the butterfly BEFORE you fold the card stock.  What you can’t see in this picture is that the part of the butterfly you can’t see on the left is actually on the BACK of the card!  How fun is that?

Then of course there’s the fussy-cutting you have to do on the right side of the card.  This is so you can see the little speckles that you stamp on the inside of the card.  Awesomely simple or simply awesome.  Those are the words I’d use to describe this card.

Hey!  Check out the items at the bottom of this post!  I’ve made it easy to recreate this card.  All of the supplies I’ve used can be found below!  To purchase an item just click on it and it will take you directly to my online store!

I hope you have a simply awesome day!  Take care and Happy Stamping!

Built for Free Using: My Stampin Blog

Thank You! Thank You! Thank You!

Newport4header_newport_July1914_smThank you!  Thank you!  Thank you!

In case you missed the news the other day on my Facebook Page, I’ve earned Stampin’ Up!’s Getaway Incentive Trip!  Woo Hoo!  I couldn’t have done it without you, my loyal and fabulous customers and friends!  Thank you!

In September my husband and I will be heading to Newport Beach, CA for a 3 night getaway!  Did I say Woo Hoo!?  Hopefully we’ll be able to extend the trip a little because my son and his wife live in LA and we haven’t seen their new place yet.

I earned this same trip a few years ago when it was in San Diego and my hubby and I had a wonderful time.  I’m sure we will again this year.  Thank you!

If you haven’t done so already be sure to follow me on Facebook!  Have a great day!  Take care and Happy Stamping!

Happy Independence Day!

4thHappy 4th of July!

Yes, it’s been awhile.  Not sure where I’ve been or what I’ve been doing but I need to get back to blogging!  I know you guys are missing me, right?  🙂

This card is actually a take on the baby card found on page 36 of the catalog using the Sweet Li’l one stamp set.  I just fell in love with this card when I saw it.  I wanted to make a patriotic card for today and this card is the first one that came to mind.

I started by making a template with the Circle Framelits on a piece of paper the same size as my Whisper White.  Then I stamped the red spots and blue stars through my punched out circle onto my Whisper White card stock.  Like the sample in the catalog I then layered the small silver doily (love these!) and a punched Washi Label.  I then colored a star from the “Be the Star” stamp set and die cut it with a Stars Framelit.  Layer, layer, layer.  That’s my motto!  🙂

I’m pretty pleased with the way this turned out.  Especially since it’s still early on a Saturday morning!  Ha!

Have a wonderful, safe holiday!  Happy Stamping!  God Bless America!

Bravo!

Bravo.0615Bravo!  This is such a fun stamp set.  There are all kinds of encouraging stamps in it.  I used the congratulations stamp because I had to make a graduation card this weekend.  I managed to forget about the open house so I’ll be popping this card in the mail this morning.

Do you love Pinterest?  I do!  I get so many of my card ideas from it.  Most of the time I start with the card I am copying and make it my own with different colors and tweaking the design a bit.  On this card however….I copied it directly.  I didn’t change a thing?  Why reinvent the wheel, right?  🙂

I used the fabulous Confetti Stars Border Punch on the left side and then saved some of the stars to glue on to the sentiment.  How fun is that?  Simple and fun.  It doesn’t get any better than that.

Have a great day!  Take care and Happy Stamping!

You’ve Got This Watercolor

You've Got This.1Watermelon Wonder is definitely my favorite new In-Color.  What’s your favorite new In-Color?  Mint Macaron?  Tip Top Taupe?  Delightful Dijon?  Or is it my second favorite new In-Color, Cucumber Crush?  Can you tell that the brighter colors appeal to me a little more than the softer ones?

This card turned out quite pretty if I do say so myself.  It would be even better if I could actually water color!  Ha!  I can use the Aquapainters to get the color onto the watercolor paper but I don’t quite have the skills for the shading and such yet.  Maybe some day…..I’ll just have to keep practicing!

It’s hard to tell from the picture but there is a thin border of Watermelon Wonder around the watercolor paper before the wider layer that you can see.  I’m kind of liking this look of multiple layers in the same color.  Don’t be surprised if you see quite a bit of it in the near future.

Don’t you just love the new Lace Trim?  It’s so soft and easy to use.  If you haven’t tried it yet you really should.  I just wish it came in more colors!  🙂

Have a great day!  Take care and Happy Stamping!