Easy Christmas Pines

christmas-pines-0916I designed this card for my first Card Buffet class a few weeks ago where you could come and make as many cards of any design as you like.  It’s a simple card but it’s one of my favorites of all the Christmas cards I’ve designed this fall.

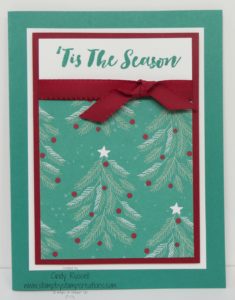
The Presents & Pinecones Designer Series Paper works perfectly for the card.  There is a holly design that works too.  Designer paper, sentiment, ribbon and layers.  That’s all you need to whip up this beautiful and simple card.

The Cherry Cobbler layer is popped up with Stampin’ Dimensionals to give the card a little added dimension.  Have you started (finished?) your Christmas cards yet?  If not this one will take you no time at all.  You can check out the products I used below.  Last night and this morning I had my Christmas Tags class so while my guests were working on their tags I was working on Christmas cards.  I didn’t design a special card to send out.  I just cut extra cards from all of my Christmas card classes this fall and now I’m stamping them and putting them together.  I’m off to a good start.  How about you?

Have a great day!  Take care and Happy Stamping!

Last Day!

onlineex_shareable-2_nov2116_na

Today’s the last day!  Don’t miss out!  There are some really great deals out there!  Since it’s the last day of the sale there are some new items that are only available today!  Check out the picture below:onlineex_flash-shareable_nov2816_na

flurry-of-wishes-1116
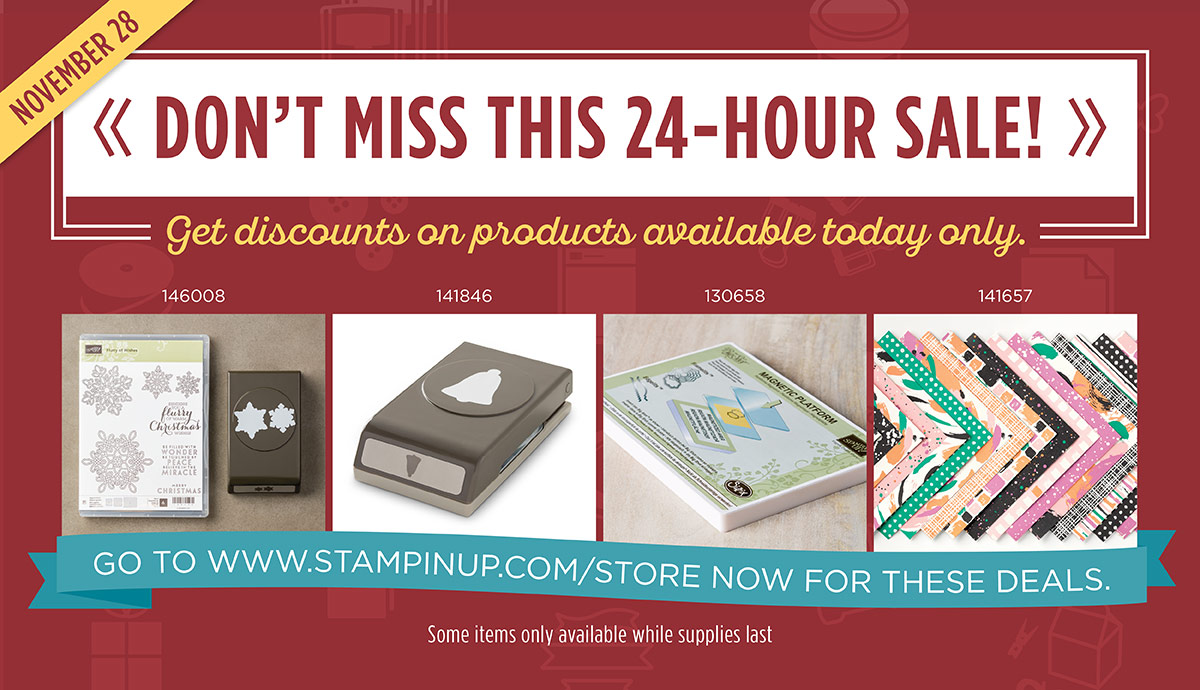
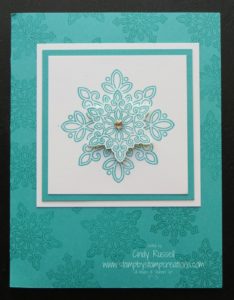
Here’s a gorgeous card that’s made using the Snow Flurry Bundle (stamp set and COORDINATING punch!) that’s on sale TODAY!  Get on over to my Online Store and get these products while they’re on sale!  If you’d like to recreate this card just check out the supplies below.

I’ve got my order all ready to put in today.  Do you?

Happy Cyber Monday!  Have a great day!  Take care and Happy Stamping!

Seasonal Bells

seasonal-bells1-1116
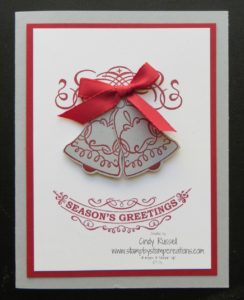
Silver Bells….Silver Bells….It’s Christmas time in the city…..

Sorry…I’m one of those people who will start singing a song when they hear words that can be lyrics to songs.  I can’t help myself.  I love to sing!

But I digress….I wanted to tell you about this beautiful Christmas card.  It’s made with the Seasonal Bells stamp set and the COORDINATING Bell Punch!  Woo Hoo!  COORDINATION!  My favorite word when it comes to crafting!

All of the stamped images you see on the card are from the Seasonal Bells stamp set.  I love all the swirly designs.  There are actually four different bell images in the stamp set.  There are even sentiments/images to make wedding cards!  Versatility!  My second favorite word when it comes to crafting!

So what are your favorite words when it comes to crafting?  Leave a comment and let me know!

I’m off to get ready for our annual Thanksgiving Leftover Night.  We usually do it on the Saturday evening following Thanksgiving but a few of our regulars had plans so we moved it to Sunday this year.  We’ll eat early enough so that we can watch the Denver Broncos football game on Sunday Night Football.  I can’t think of a better way to spend my Sunday evening.  Can you?

Have a great day!  Take care and Happy Stamping!

Jolly Friends Christmas Moose

jolly-friends-swap
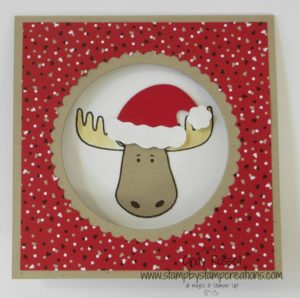
Thanksgiving is over.  Black Friday is over and I guess it’s time to really start thinking about Christmas.

If you need a smile this moose will do it.  He’s so stinkin’ cute!  I bought the Jolly Friends stamp set just for the moose….really, I did!  Then you put the Santa hat on him and you’ve got ADORABLE!  🙂

I CASEd the idea for this card from the internet.  The original was a regular size card but I made mine into a 4 1/4″ x 4 1/4″ card.

jolly-friends-swap-2First you die cut the scallop circle in the designer series paper.  Adhere it to the front of the card and then you die cut the circle in the front of the card.  This way everything is all lined up.

I adhered a piece of Whisper White card stock to the inside of the card and then, with the card closed, I stamped the moose onto the white card stock through the die cut circle.  I used my blender pen and So Saffron ink to color the antlers.  Then I stamped another moose on Crumb Cake card stock, cut it out (no antlers) and adhered it over the stamped image inside jolly-friends-swap-3the card.

Punch out a hat with the Jolly Hat Builder Punch, put it together and put it on your little moose head.  Ta Da!  You have an adorable card!  🙂

Have a great day!  Take care and Happy Stamping!

Cookie Cutter Halloween for Fall!

cookie-cutter-halloween-treat-1116When I saw this cute treat holder online I wanted to try to recreate it for my Thanksgiving table.  The original (from the talented Lori Heiling) was a Christmas design.  I searched my stamp sets for something that said Thanksgiving or Fall and finally decided on the adorable little scarecrow from the Cookie Cutter Halloween stamp set.

The little treat holder is SO simple.  Just start with a piece of card stock that is 2″ x 8″.  Score at 3 1/4″ and 4 3/4″ and then punch the ends with your Scallop Tag Topper Punch.  Fold along the score lines and add some ribbon to keep it closed!  That’s it!!! So simple.  So cute!  🙂

I wrapped my Hershey nuggets with the Petals & Paisley Designer Series Paper.  I put down a little strip of Tear & Tape and then placed two Hershey Nuggets side by side on the bottom of the treat holder (vertically).  Then I put a little piece of Tear & Tape on the bottom of a third Nugget and placed on top of the other two going in the other direction (horizontally).

To tie my wrapped Nuggets in with the focal point I punched out a 1 3/4″ circle of the same designer paper and adhered it to the front of my treat holder.  Then it was time to stamp, color and punch out my adorable little scarecrow with the Cookie Cutter Builder Punch.  The little crow finishes the project off perfectly, although I did have to fussy cut him!  🙂

So not that I’ve shared this adorable little treat holder with you I have to confess that I’m not using him on my Thanksgiving table.  I’ll show you that tomorrow.

cookie-cutter-halloween-1116But look!  I used the same design on a card!  I sent this card to some of my team members who helped with Stamp Camp last month.  Simple and cute!  My favorite type of card to mass produce!

Have you checked out Stampin’ Up!’s Online Extravaganza yet!  Oh my!  So many fabulous products on sale and so little time!  You better get that order in soon so you don’t miss out!  🙂

Have a great day!  Be Thankful!


Simple Joy

joyful-nativity-1016
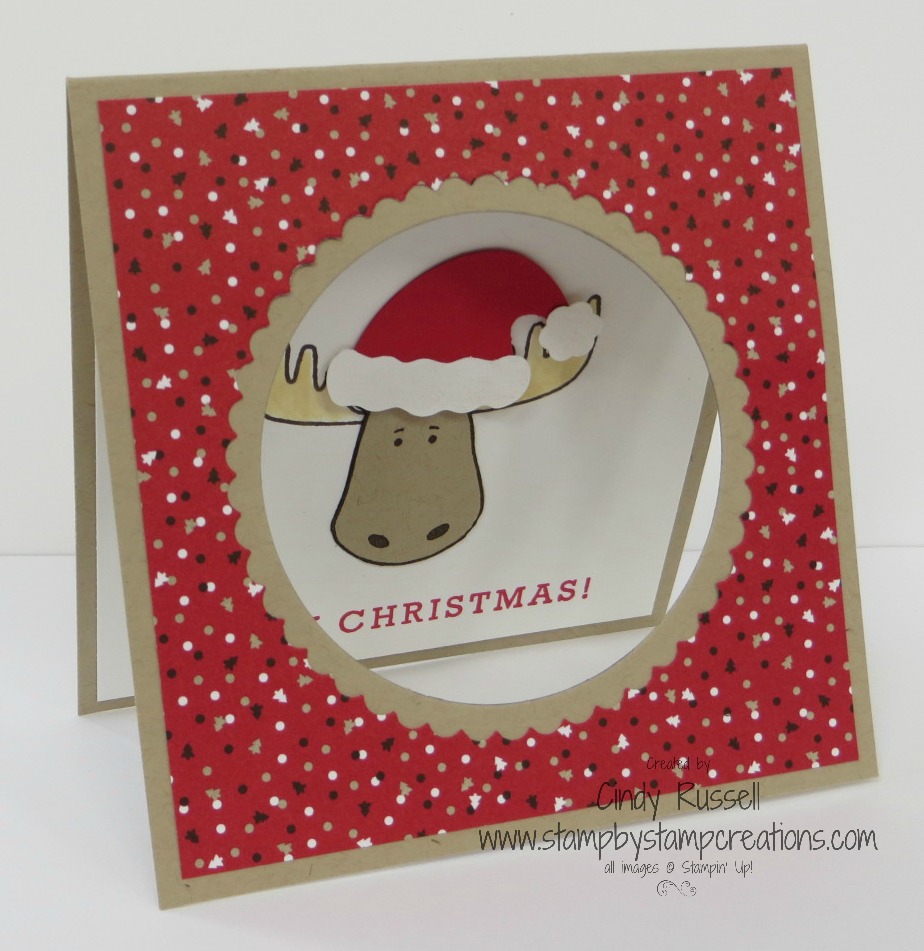
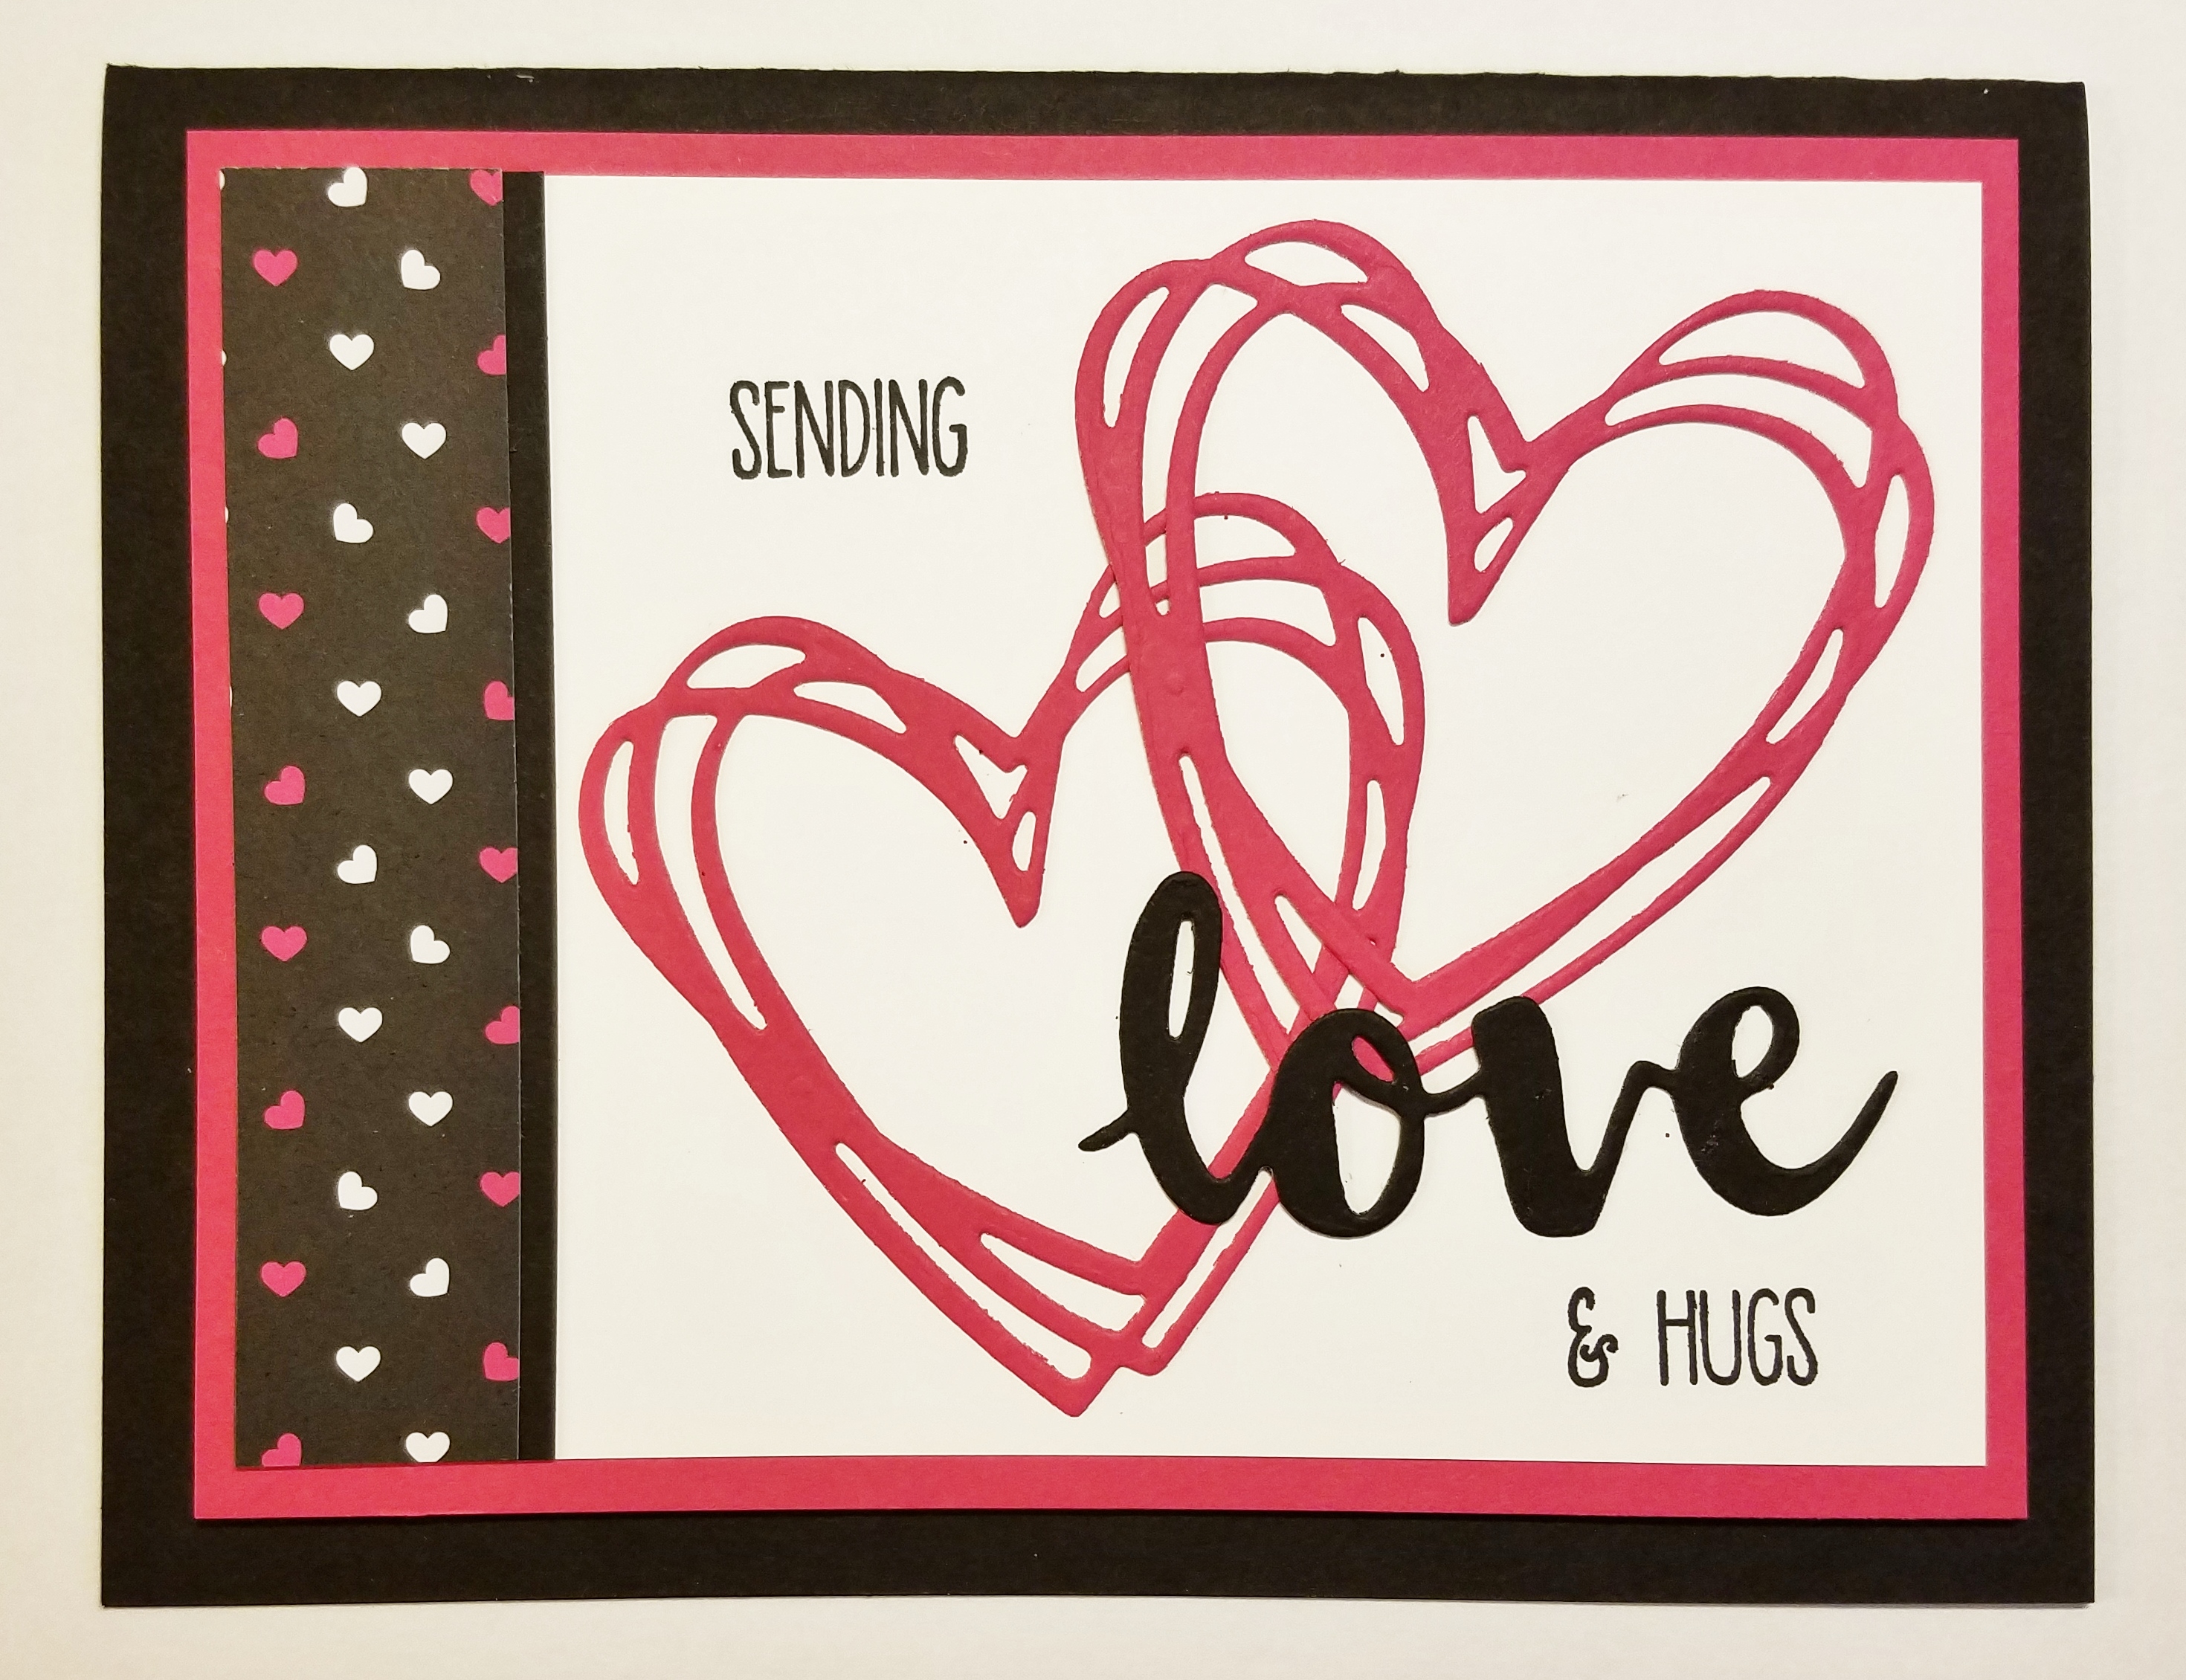
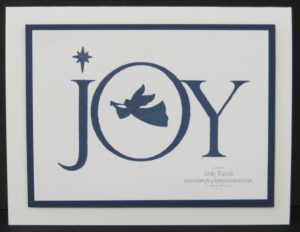
Are you still looking for ideas for this year’s Christmas card?  Here’s a simple card perfect for the season.

I designed this card a while ago.  It’s quick, it’s easy and it describes the season perfectly.  It’s the season of joy!  We all need to remember that while we’re rushing around getting ready for the holidays.  Stop.  Breathe.  Remember that this is suppose to be the season of joy.  Don’t stress.  If that batch of cookies don’t get made or you’re a few minutes late for something just remember that life will go on.

I’ve barely thought about Thanksgiving (which is in just a few days!  Yikes!) and I know everything will be fine.  I don’t need to impress anyone.  The people that will be joining me are friends and family and I’m pretty sure they’ll love me even if I forget to put something on the table or make it at all!  OMG!  That reminds me of a funny story….my dear friend passed away this fall and after the service we all gathered at the house.  One of the things I brought was spinach dip….not one person bothered mentioning that I had forgotten to actually put the spinach in the spinach dip!  Yikes!  I didn’t even realize it until I got home and was putting the leftovers in the refrigerator.  Too funny!

So, just remember that this is the Season of Joy!  Keep things simple like this card I made using the Joyful Nativity stamp set.   A couple layers and some blue ink was all I needed.  OK….I’ll admit it….I needed to spice it up a little so I went over the stamped images with my Wink of Stella Glitter pen! 😉

Have a wonderfully simple day!  Take care and Happy Stamping!

Christmas is Coming

greeting-from-santa-0816
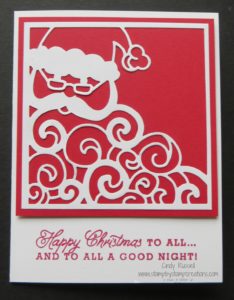
Yep.  Even though it still doesn’t feel like it here in Colorado I do believe that Christmas is on it’s way.  Since it’s coming despite what the thermometer says I guess I need to start sharing more Christmas projects!  🙂

This is a fun and easy card using Greetings from Santa stamp set and the Detailed Santa Thinlits.  Isn’t this intricate Santa gorgeous?  He’s really easy to cut out…especially if you’re using the correct “sandwich” on your Big Shot.

You definitely want to use the Precision Base Plate when using intricate dies like this one.  When you use the Precision Base Plate you exchange it for the bottom clear Standard Cutting Pad.  So your “sandwich” would be:  platform, Precision Base Plate, paper, intricate thinlit, clear Standard Cutting Pad.

I think that the hardest part of using the Big Shot is figuring out what your “sandwich” should be.  I had a class a few weeks ago and on every card we used the Big Shot at least once and I swear that each time someone came up to use the Big Shot it was a different “sandwich”.  I definitely had to supervise the Big Shot on that day.  It was a little crazy.  Of course the cards were all fabulous!  🙂

Have a great day!  Take care and Happy Stamping!

It’s Time to Color!

dragonfly-dreams-onstage
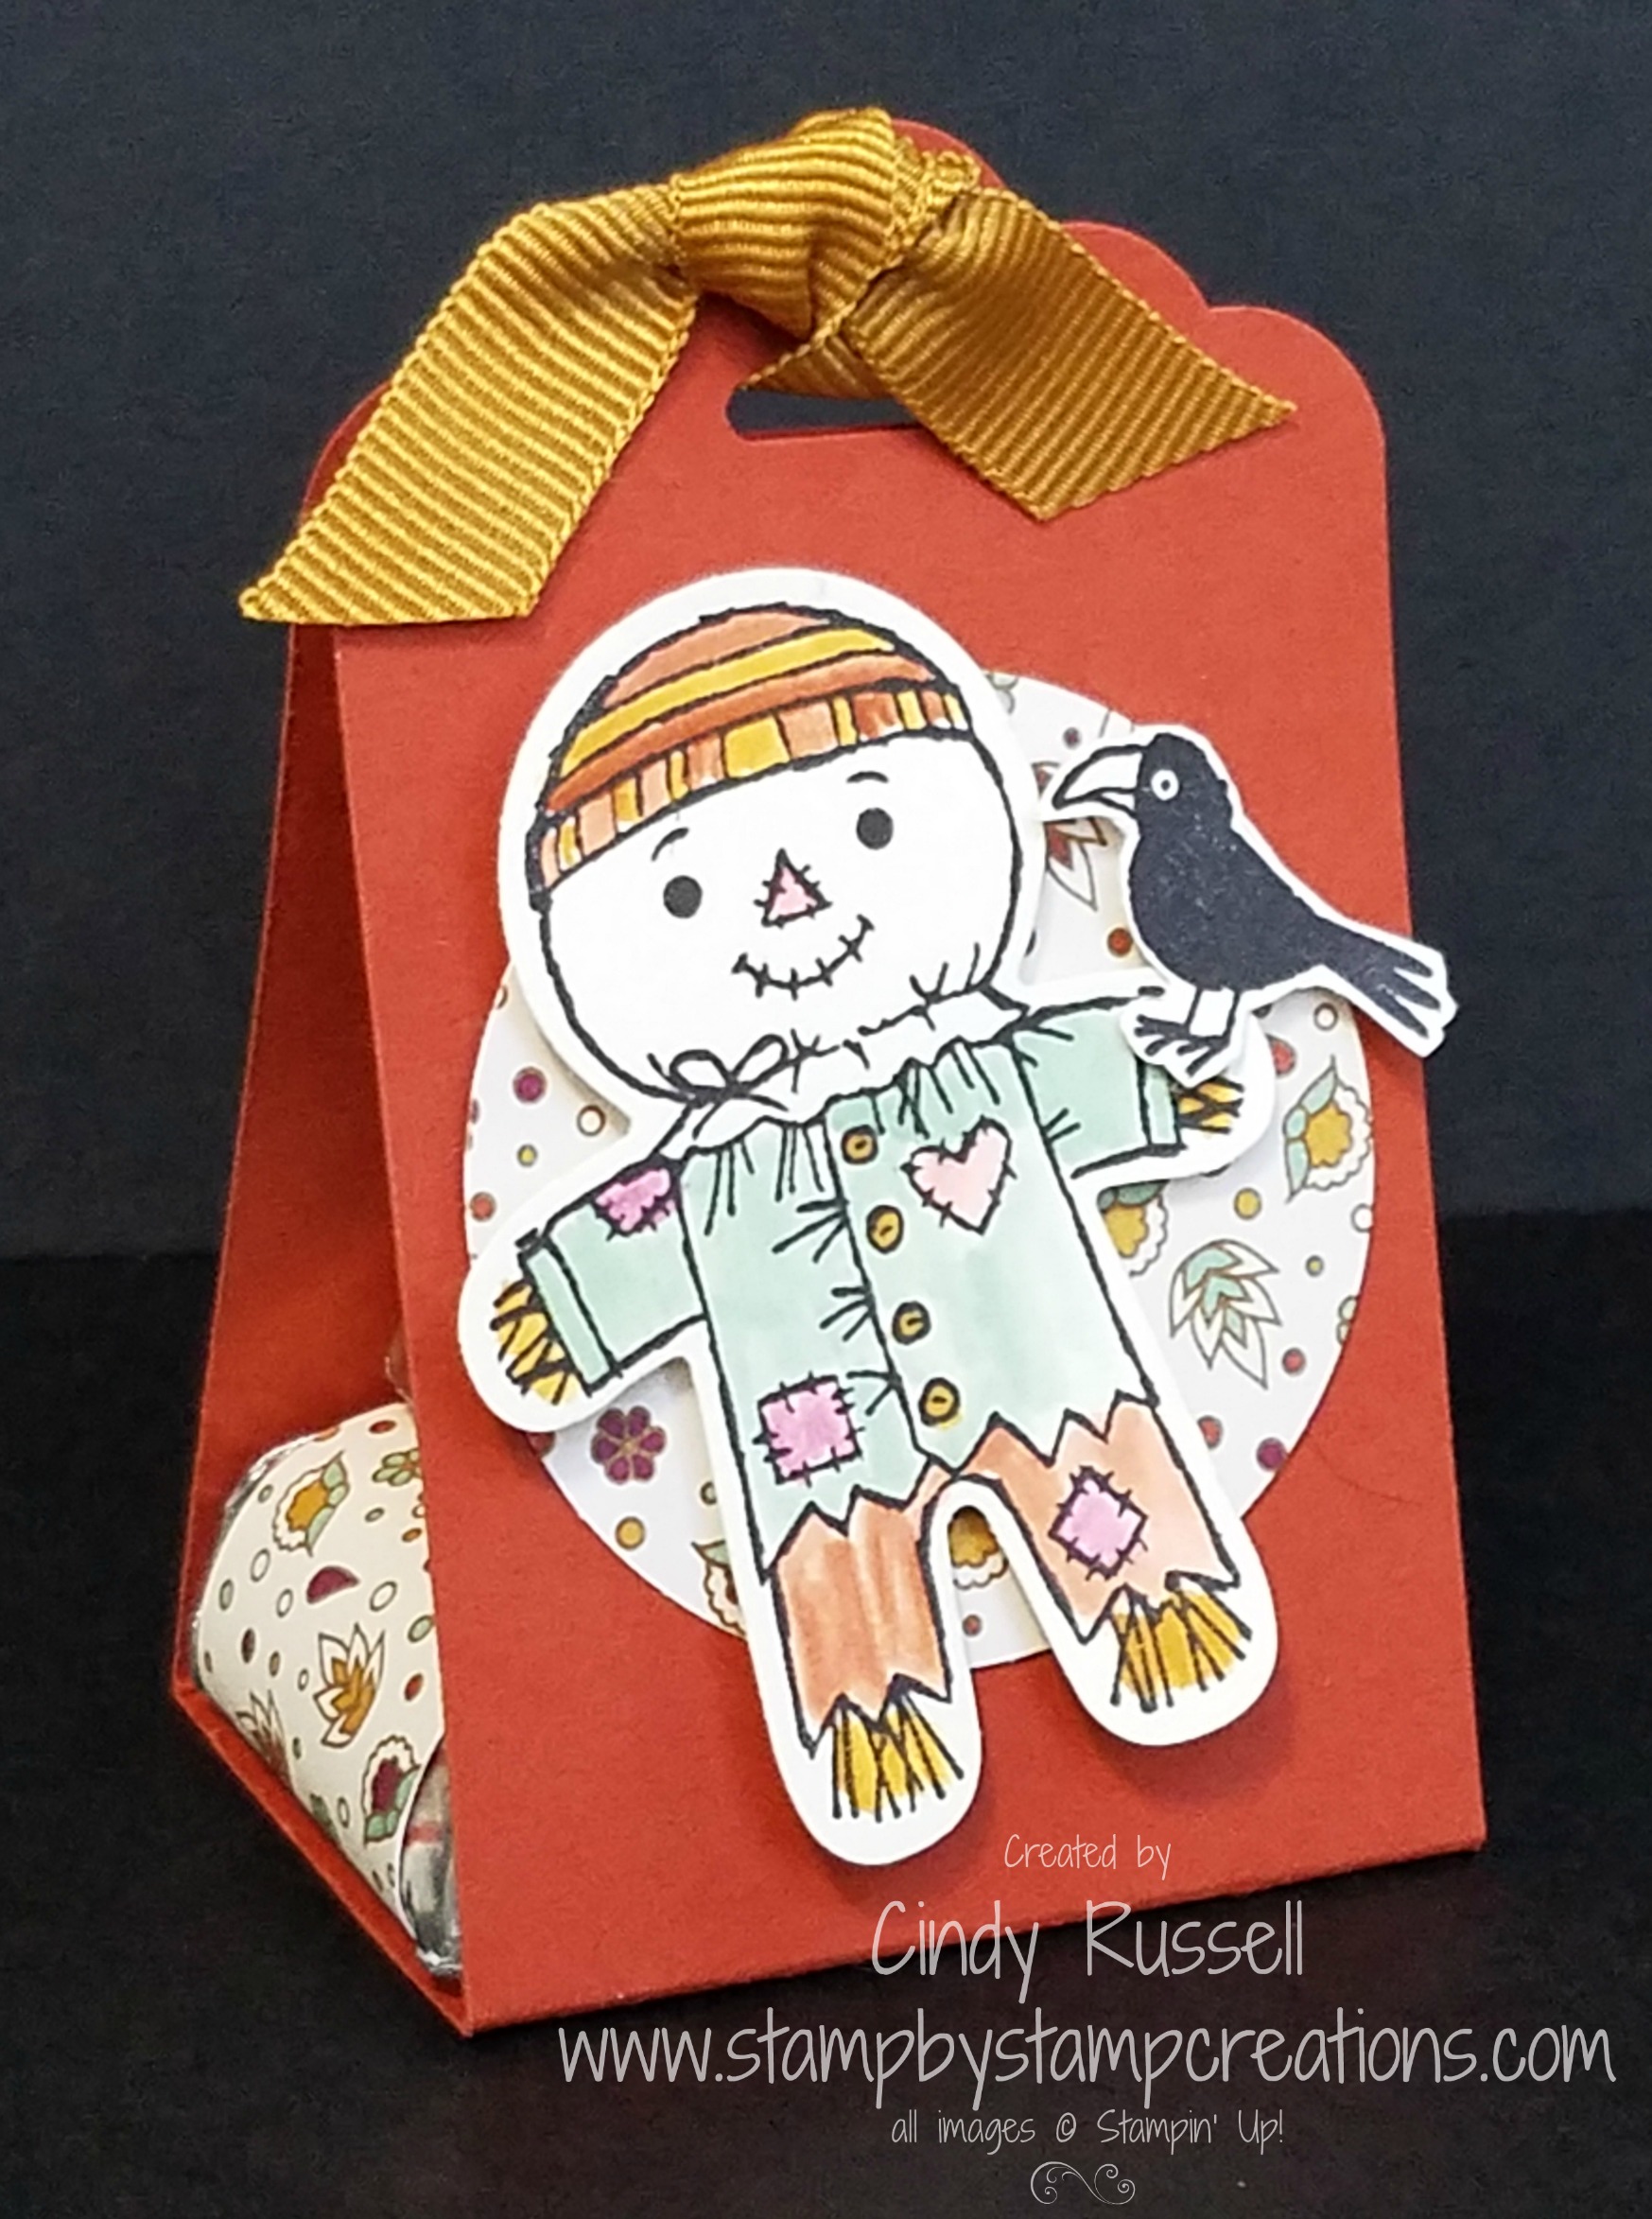
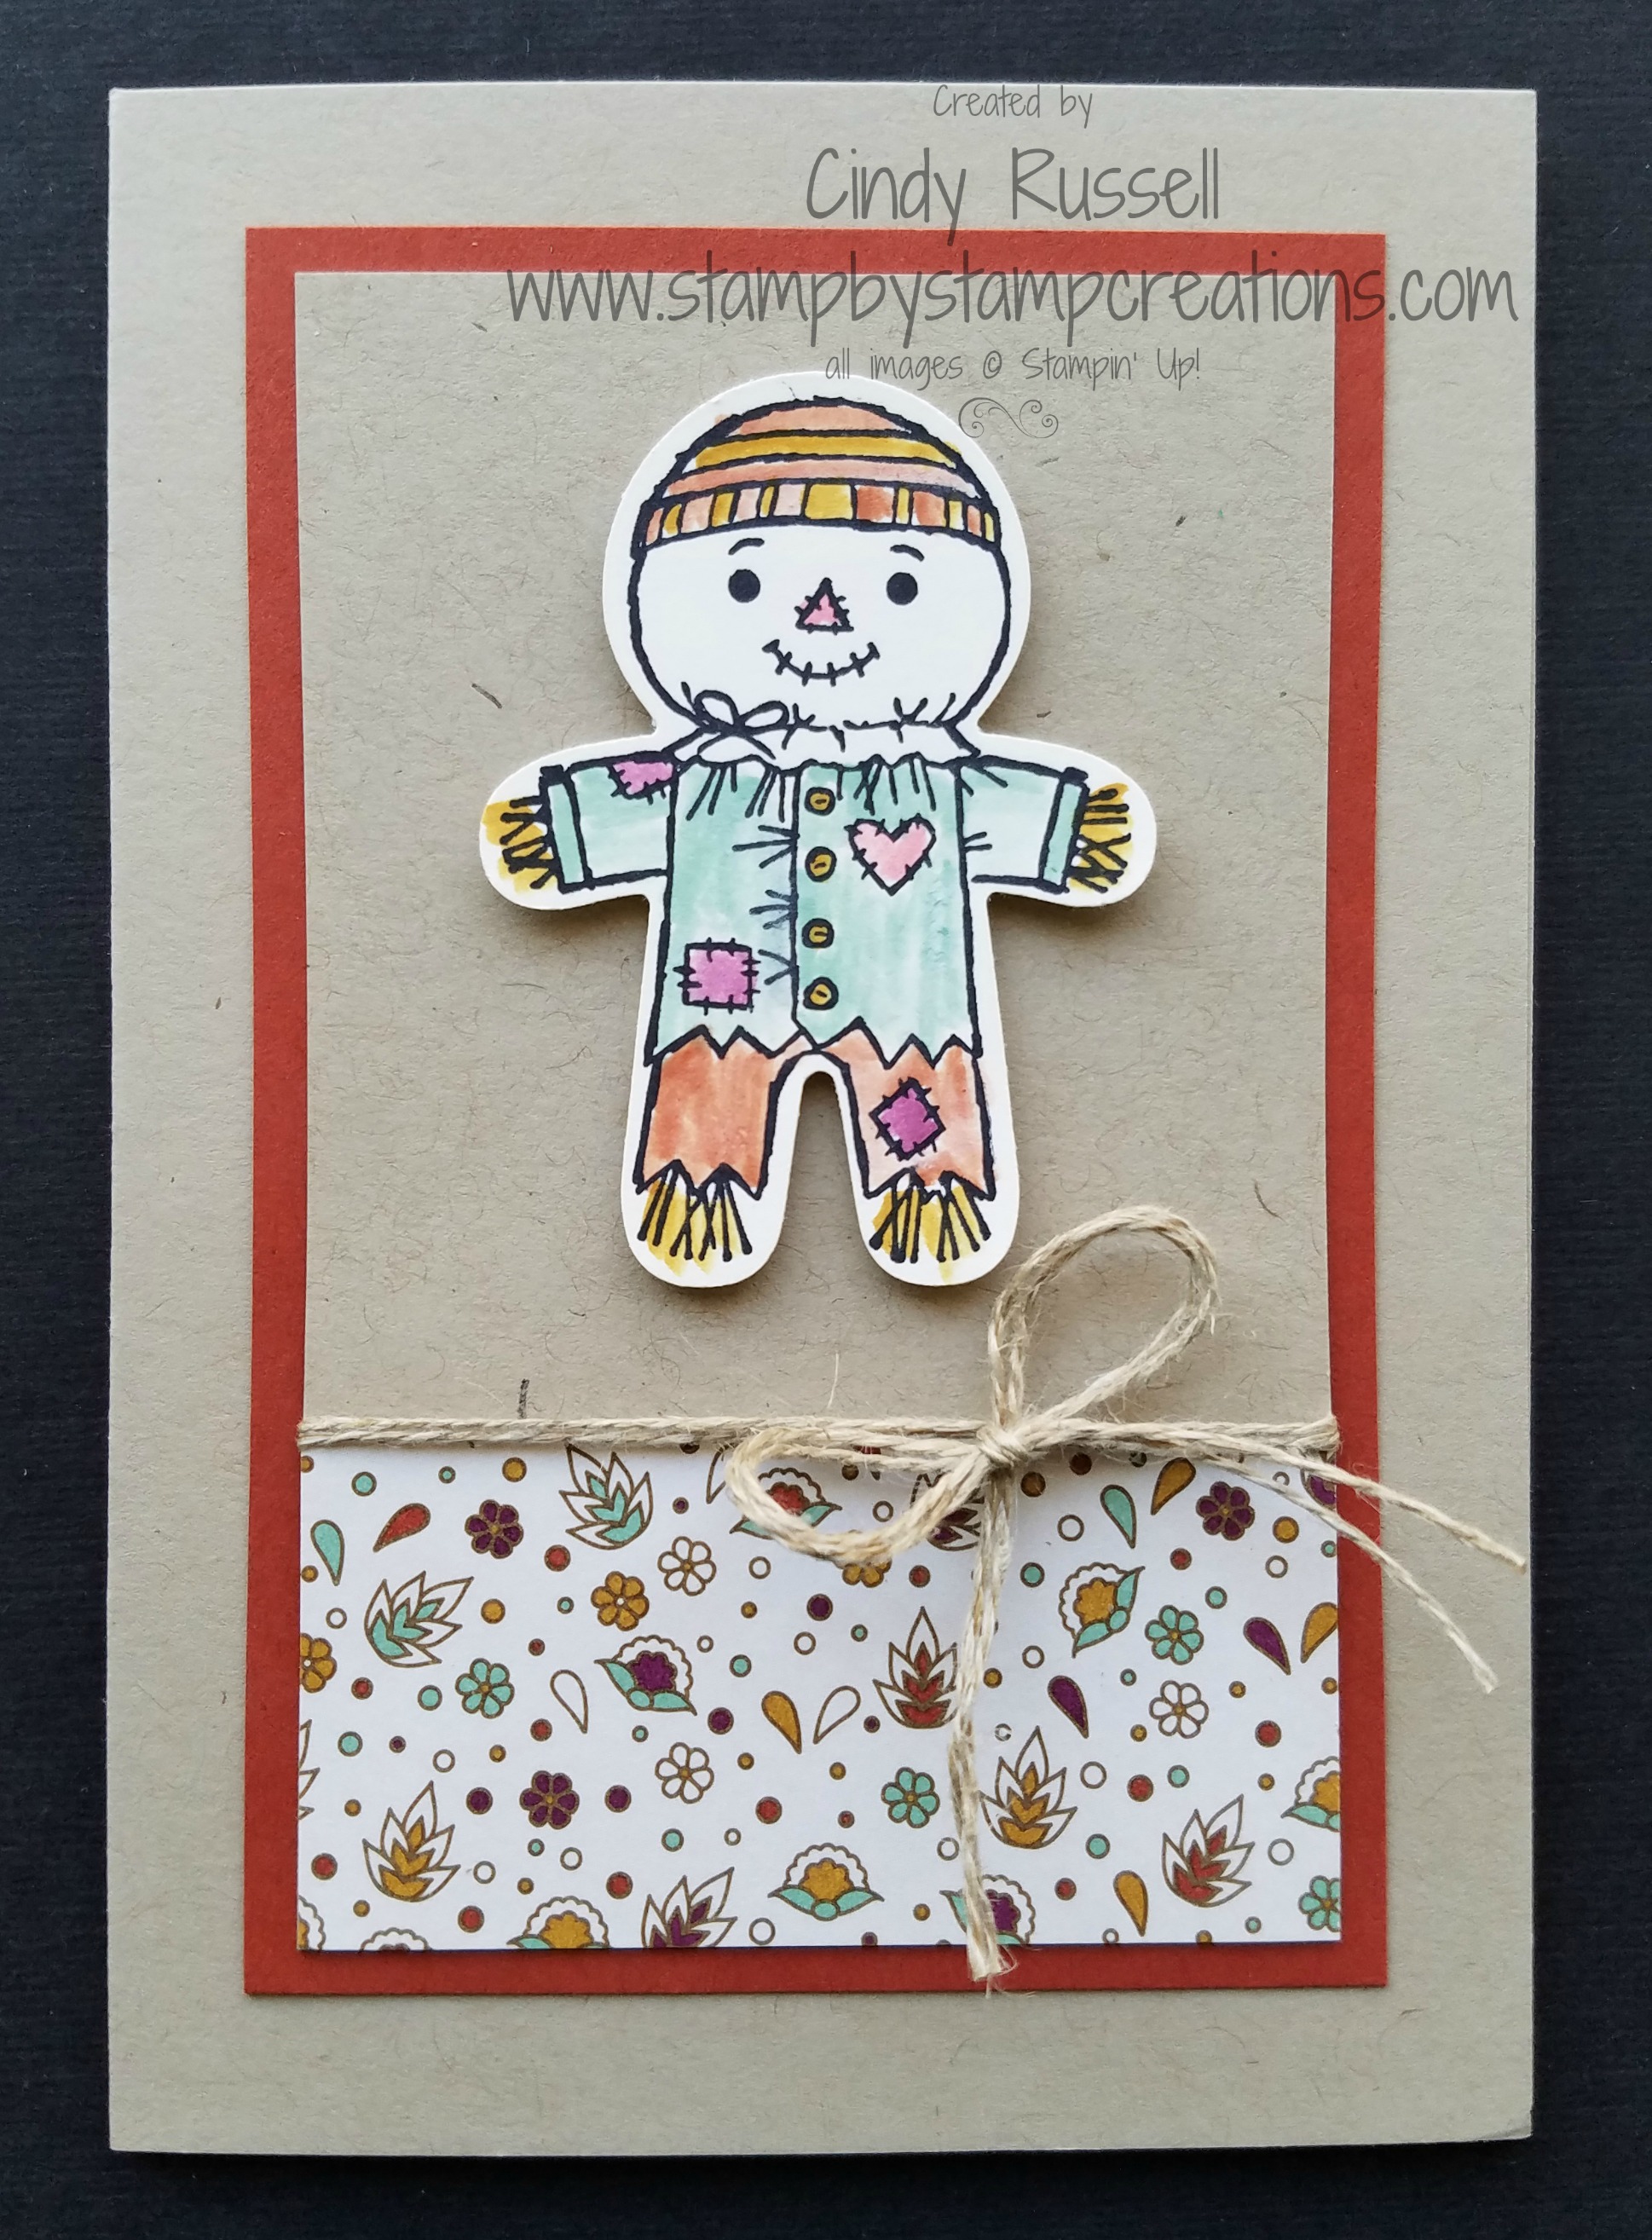
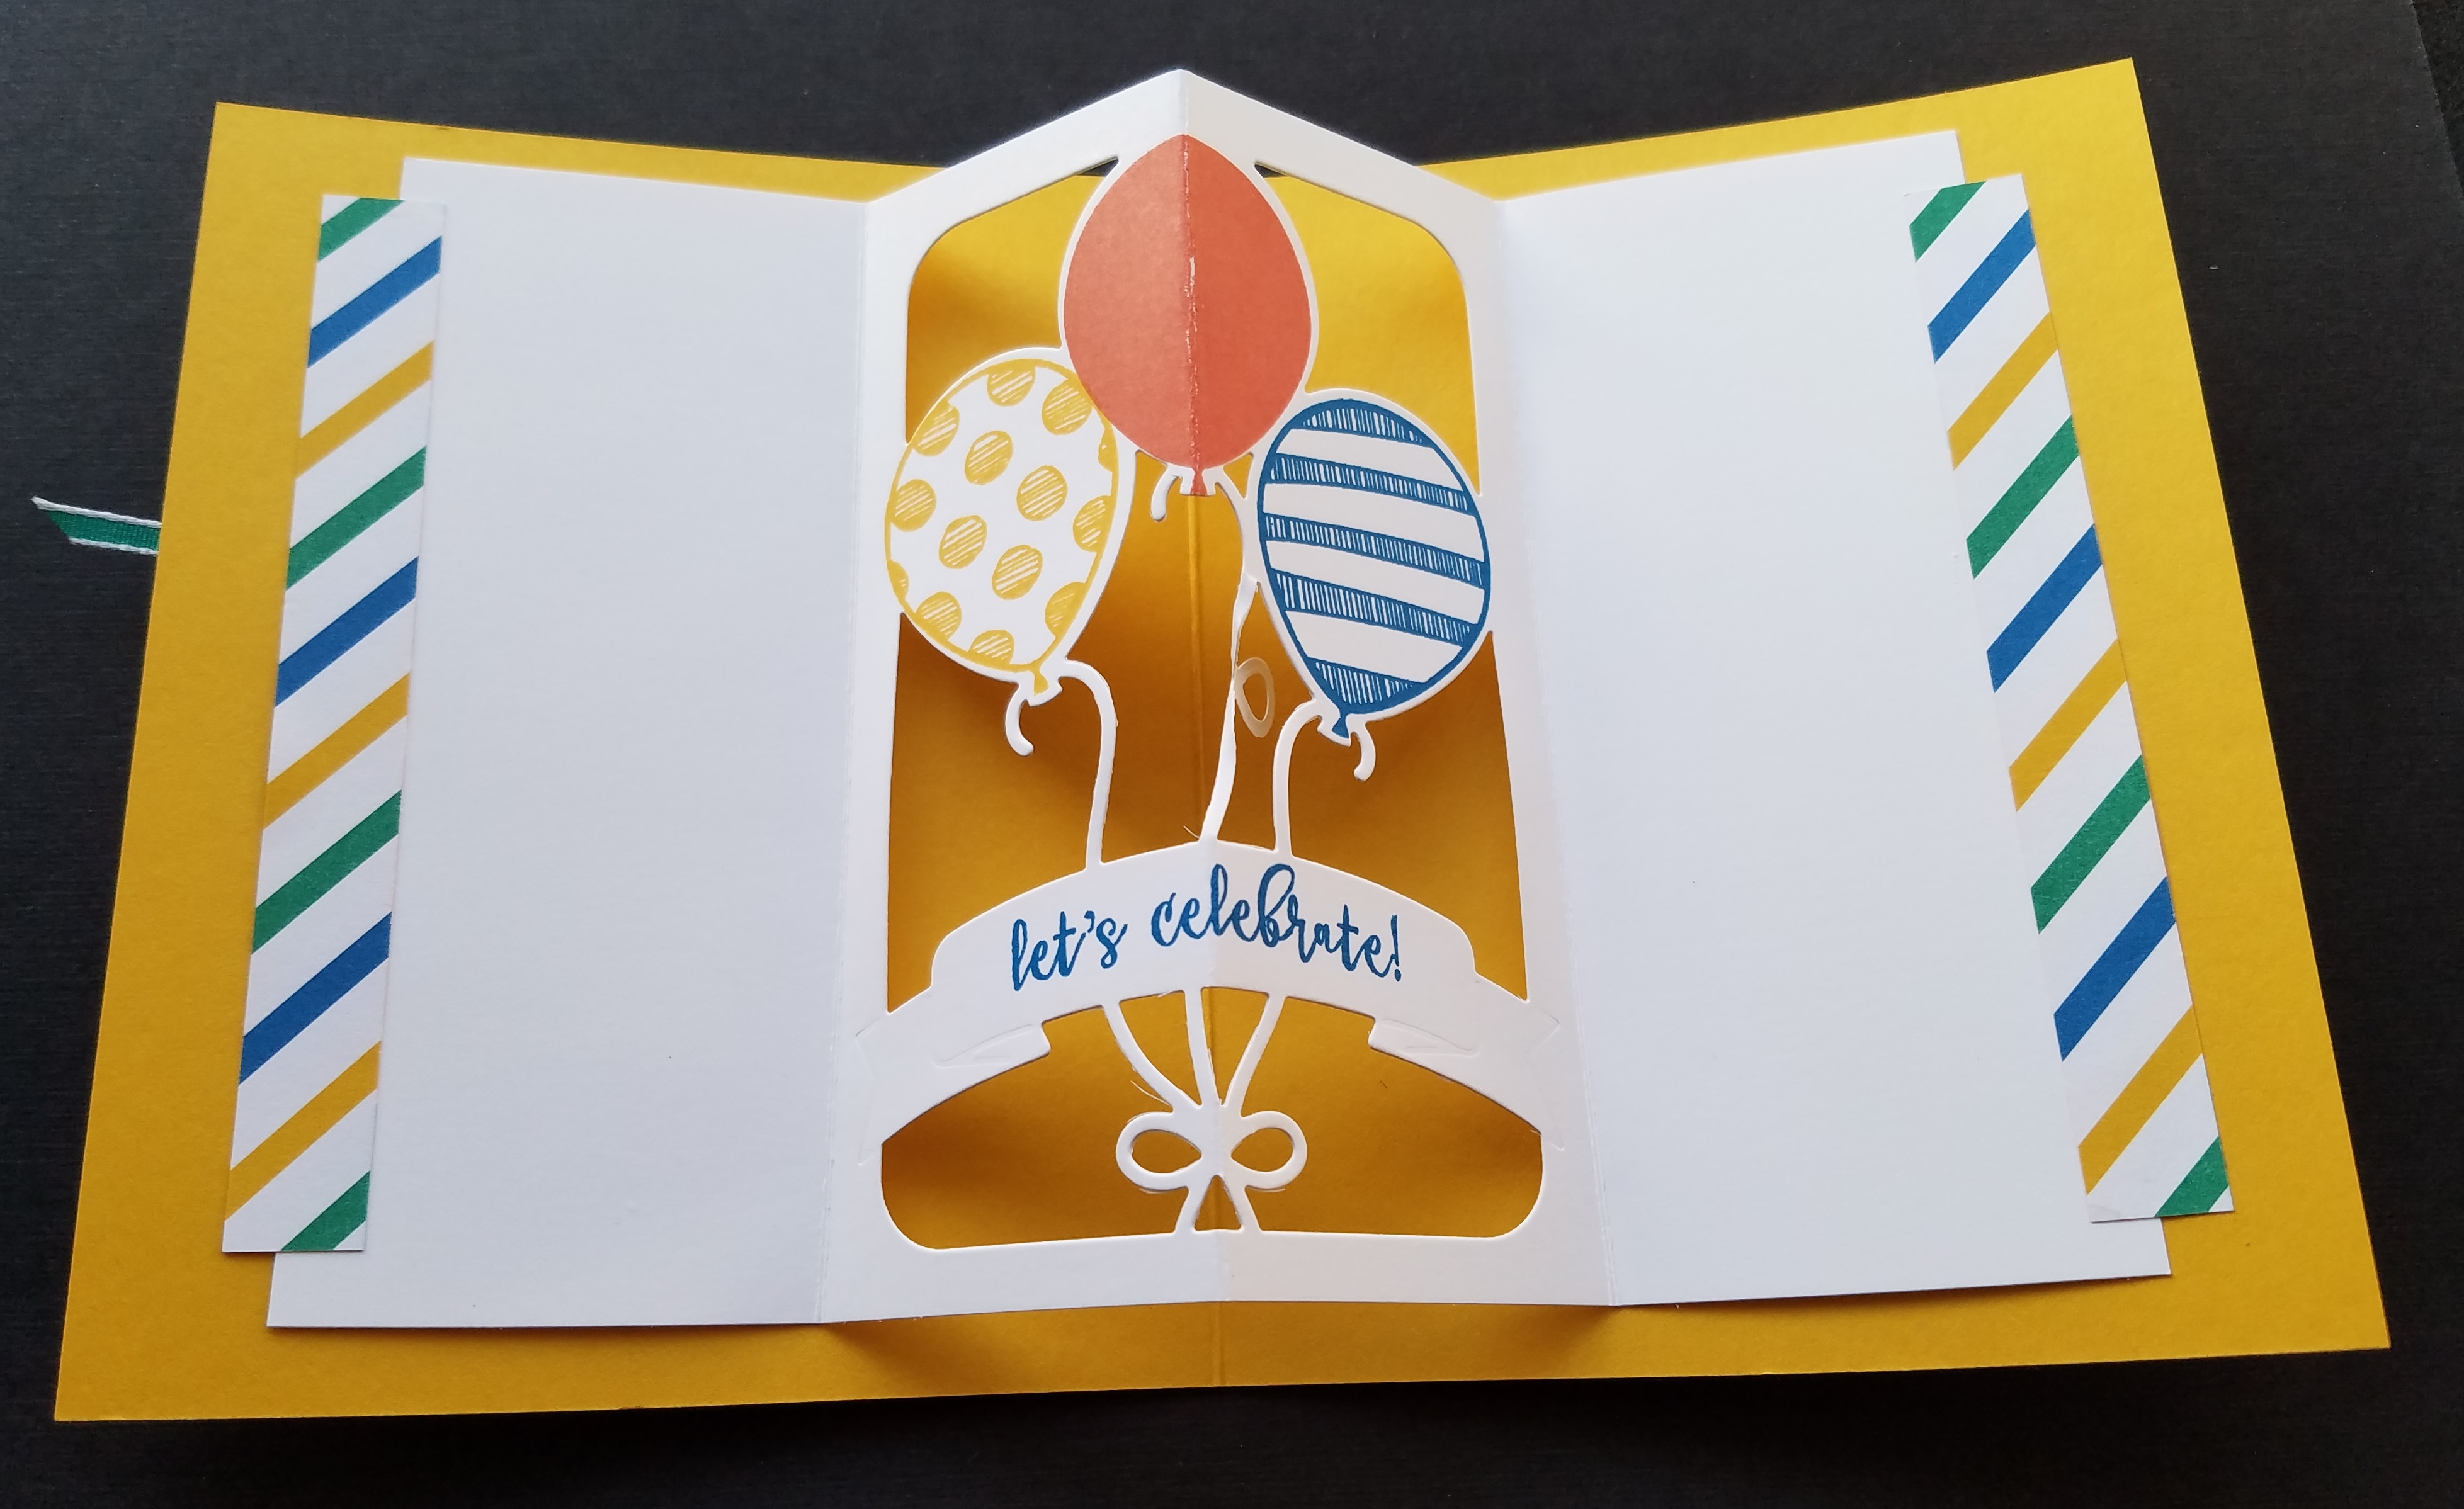
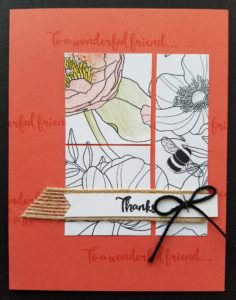
Yep!  Stampin’ Up! has finally got on the coloring bandwagon!  One of the new Sale-a-bration items that you’ll be able to earn for FREE with a $50 order during Sale-a-bration is the fun Inside the Lines Designer Series Paper!

And guess what?!  You need something to color with so why not try Stampin’ Up!’s new Watercolor Pencils!  Yep!  Watercolor pencils!  Woo Hoo!  You’ll be able to find them in the new 2017 Occasions Catalog.  I was able to bring a set of these pencils home from the On Stage event so I can’t wait to sit down and play with them some more!

If you haven’t been able to tell over the past few days I’m a little excited about all of the fabulous new products in the upcoming new catalogs!  I love new stuff!  I know you will too!  January will be here sooner than we think.  (Yikes!)

Have a great day!  Take care and Happy Stamping!

Balloon Adventures!

balloon-adventures-onstage-1You can never have enough birthday cards or birthday stamp sets on hand.  Someone you know is always having a birthday.

Balloon Adventures is a birthday stamp set that you’re going to want to add to your collection.  There are 8 fabulous sayings as well as balloon and banner images.

How many new items do you see on this card?  Besides the stamp set there is the Party Animal Designer Paper, the Party Animal Embellishments (little hats and balloons) and the Emerald Envy 1/8″ Taffeta Ribbon.

Of course, don’t forget the wonderful Balloon Pop-Up balloon-adventures-onstage-2Thinlits Dies!  Too fun!  Who doesn’t love a pop-up?!

You’ll definitely want to put the Party Animal Suite of products from the upcoming 2017 Occasions Catalog on your wish list!

Don’t forget to email me your street address if you’d like to receive a copy of the 2017 Occasions Catalog in the mail.  I’d be happy to send you one!

Have a great day!  Take care and Happy Stamping!

Sealed With Love Mini Cards

sealed-with-love-onstage
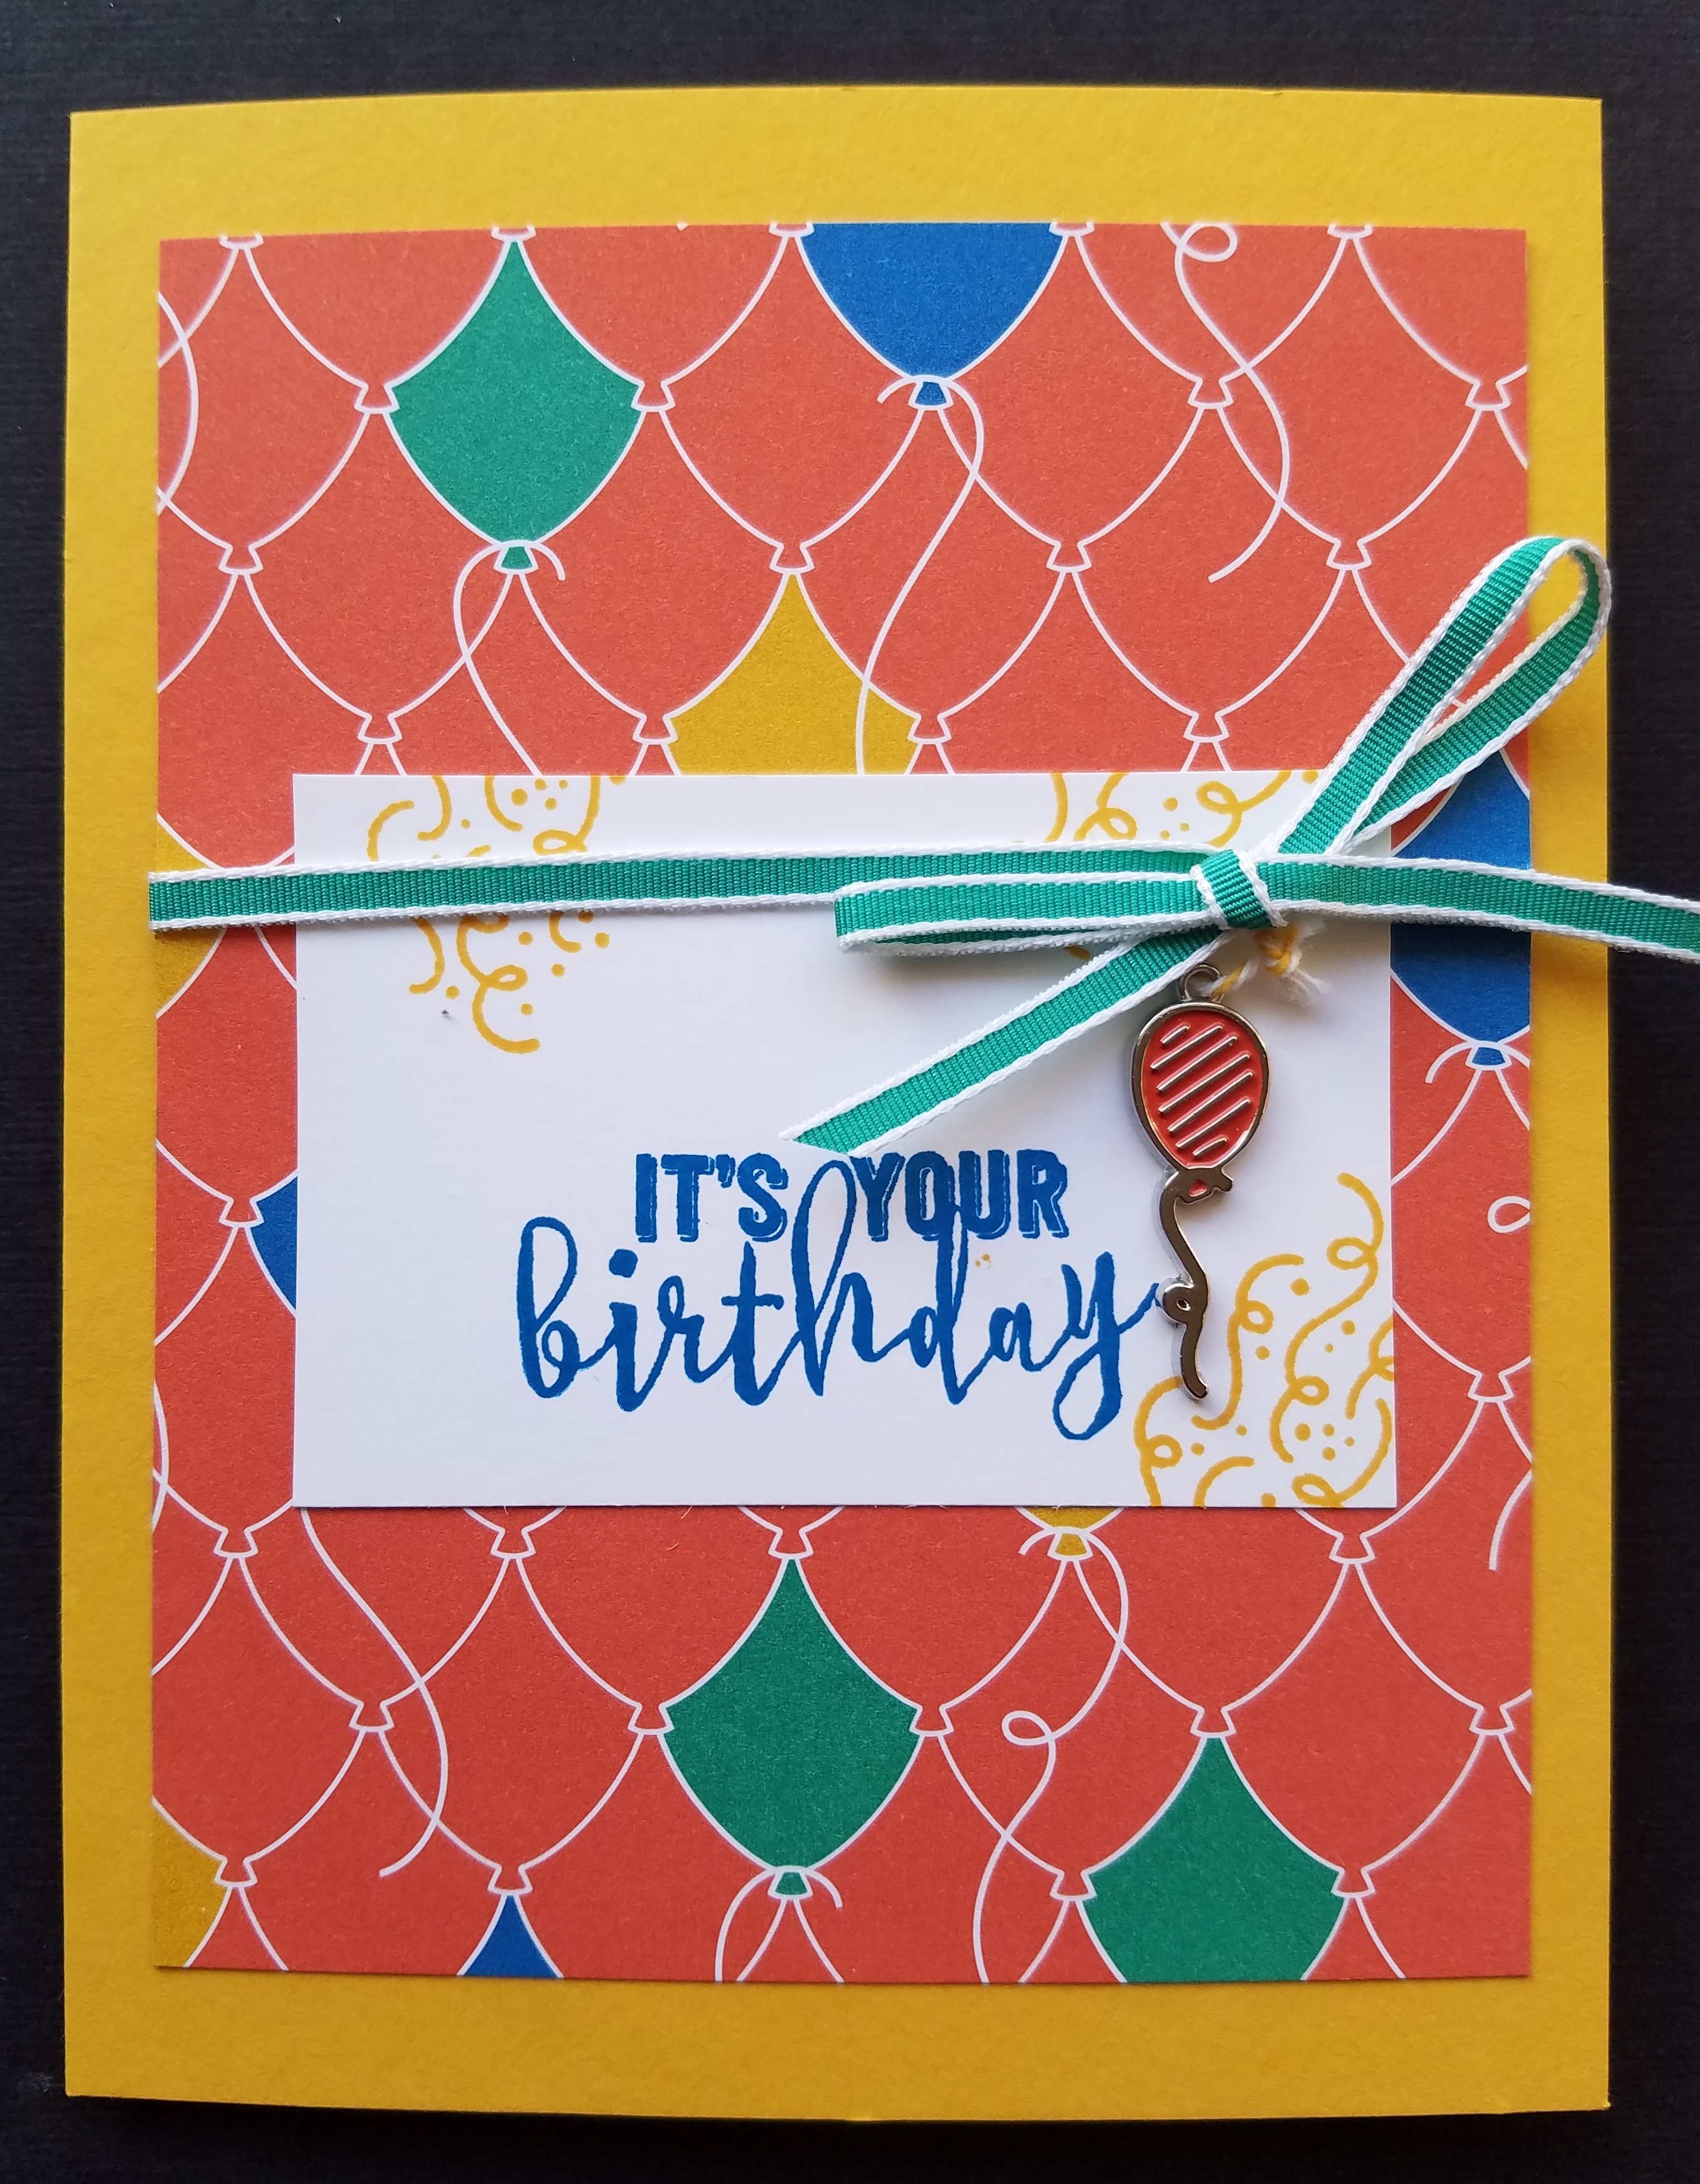
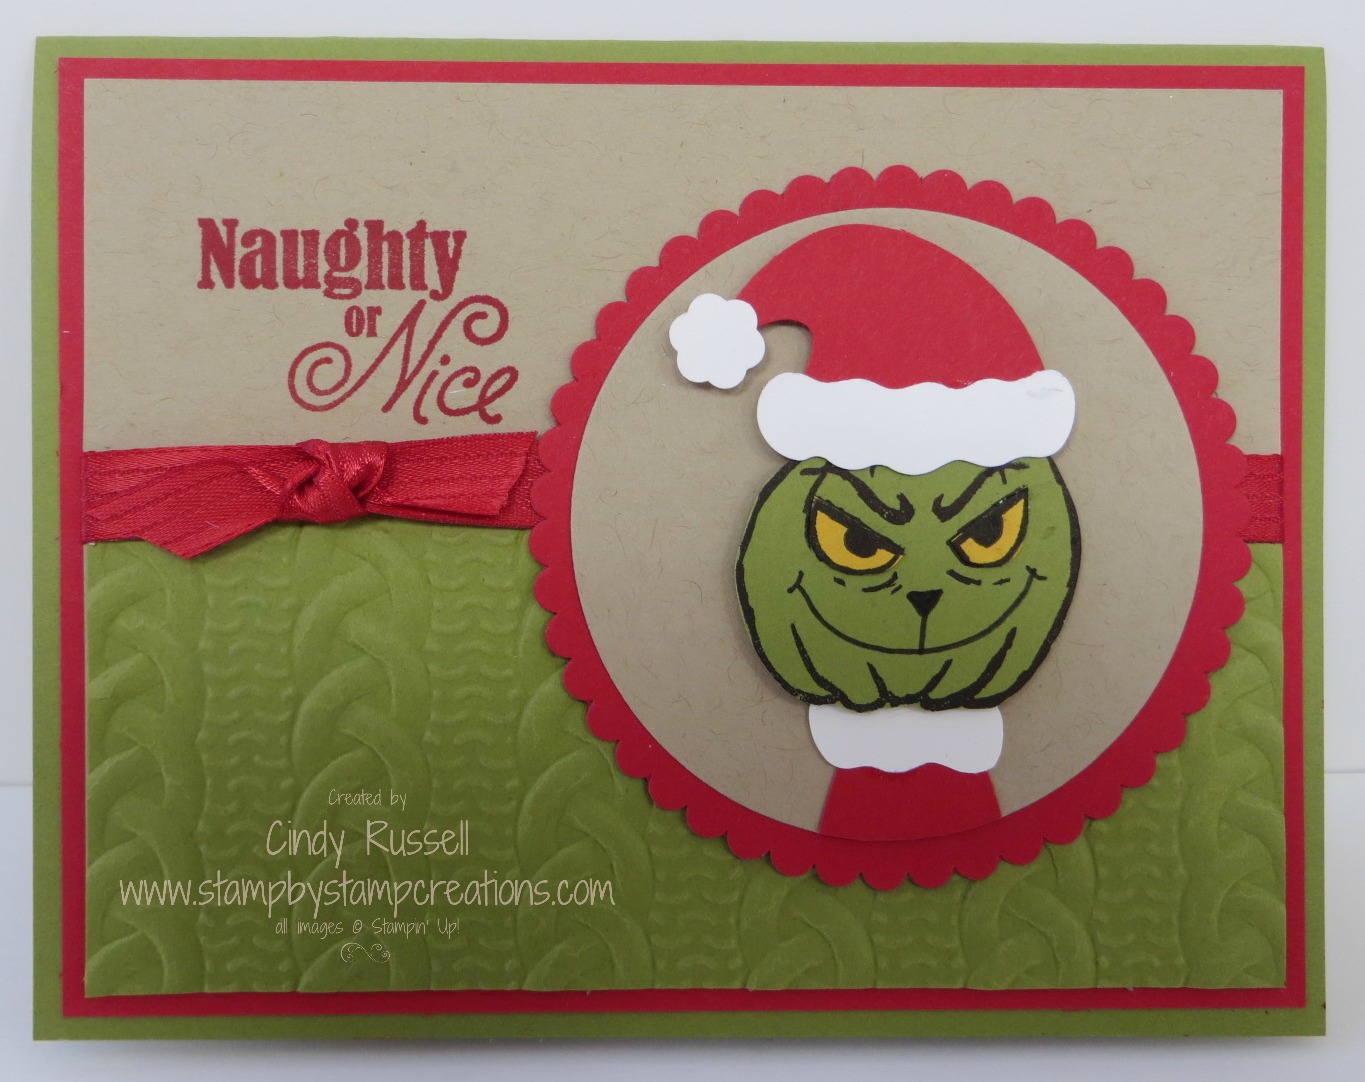
Are you tired of Christmas already?

What?  Who am I kidding?  I just freaked out yesterday when I realized that Thanksgiving is only 2 weeks away.  Yikes!  I can’t be tired of Christmas yet because I haven’t even begun to think about it!

These fun little 3″ x 3″ cared are made with a brand new stamp set called Sealed With Love that will be premiering in the 2017 Occasions Catalog.  We made these cards at the On Stage event in Phoenix on Saturday.  Guess what?  This stamp set has coordinating Framelits!  Yep!  The Love Note Framelits coordinate perfectly with the Sealed With Love stamp set.

Check out the adorable little glassine envelope on the card in the upper right.  It’s SO cute!  You can even die cut the little insert that fits perfectly in the envelope.  Too fun!  Yep!  The Sending Love Suite in the 2017 Occasions Catalog is pretty darn cute and I know you’re going to love it!

The bases of the cards are made with the fun red & white Sending Love Designer Series Paper Stack.  There are all sorts of different designs in this pack.  Some with hearts and some not so that you can use it for occasions other than Valentines Day.

Would you like to receive a hard copy of the new 2017 Occasions Catalog and the 2017 Sale-a-bration Brochure?  Send me your street address and I’ll get you on my list.  I know you’ll want your own copies of these fabulous new publications.

Have a great day!  Take care and Happy Stamping!

On Stage Local in Phoenix

phoenix-1Here we are…..ready for On Stage to begin.  They had this fun balloon prop to pose with.  Yes, there is a very fun hot air balloon stamp set in the new Occasions Catalog.  🙂

From left to right you see me, Lisa, Janet and Jan.  What’s funny in this picture is that I’m concentrating on standing tall and Lisa is crouched down….she’s over 6′ tall!

We had a fun day swapping cards with other demonstrators, meeting new friends, listening to new ideas and of course, stamping!

sunshinesayingsswapHere’s a picture of the card I swapped.  I like to go with a valentine feel this late in the year.  I figure that most of the people swapping have had enough Christmas ideas so I go back to the Annual Catalog for my card.

Speaking of cards, we got to make four really cute projects on Saturday with the new products.  This next picture is of the centerpieces on each of the tables.  I love how phoenix-2they decorated the supply box.  It’s a little hard to read but below the word supplies it says “Super Secret * Do Not Open!”  How fun!

After some recognition and watching some stamping presentations we were finally able to do some stamping ourselves and there were plenty of new supplies in the box for us to play with.  Stay tuned in the next few days to see some of the fun projects we made.

Have a great day!  Take care and Happy Stamping!

What a Great Weekend!

20161104_172926I love going to Stampin’ Up! events.  It’s great to get away, hang out with friends, learn some new business tips, and stamp!  I was in Phoenix and the weather was gorgeous!

Jan, Janet and I got there in the early afternoon.  We checked into our hotel and took a little walk.  Deciding that we were hungry we found a restaurant with outside seating and plopped ourselves down for the rest of the afternoon.  We had drinks, ate appetizers, people watched and chatted.  It was wonderful way to spend the afternoon.

After our lovely afternoon it was time to get to work.  All three of us were a little behind schedule before we left Denver and none of us had finished our swaps.  It was time 20161104_151318-2-1to head back to the hotel and get to work!  We found a nice table in the lobby and set up shop.

By the time we were all done it was time to head up to the revolving restaurant for dessert.  Yum!  The desserts were quite delicious but I did learn that I don’t do well in revolving restaurants.  I found that fact quite interesting since I’d rather go on a spinning ride at an amusement park than a roller coaster.  Hmmm…..

Tune back in tomorrow and I’ll fill you in on the actual On Stage event!  Have a great day!  Take care and Happy Stamping!

swaps

And We’re Off!

totally-trees-1-0816
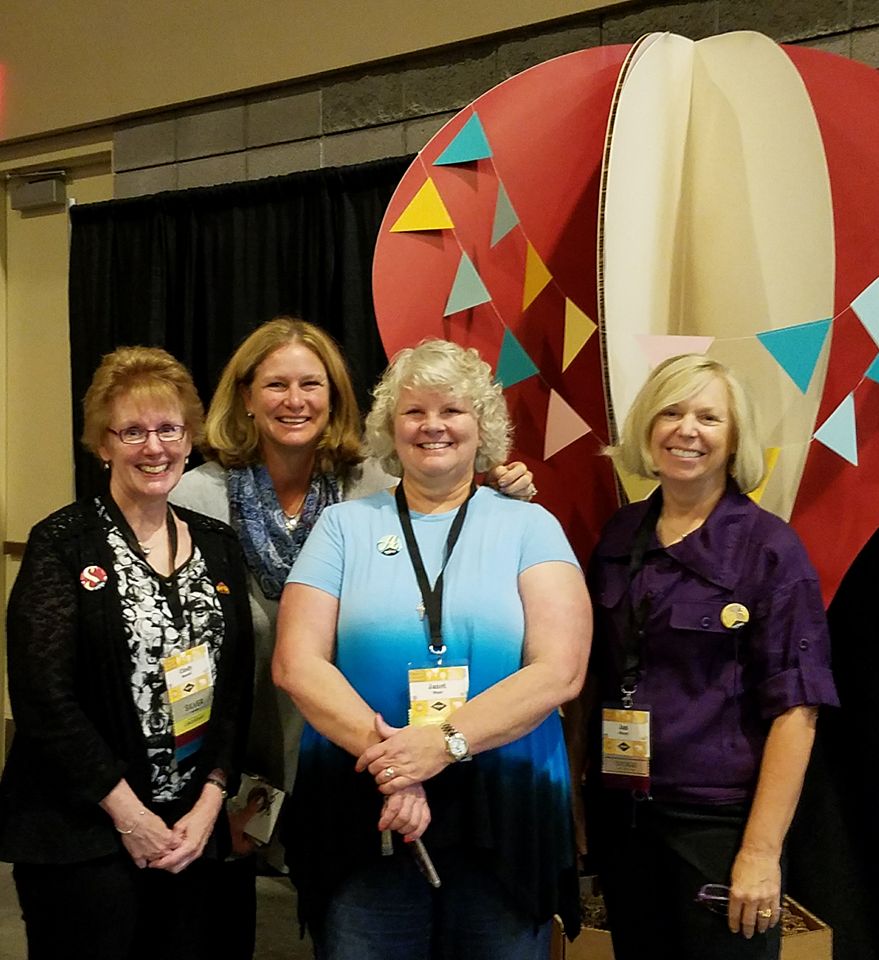
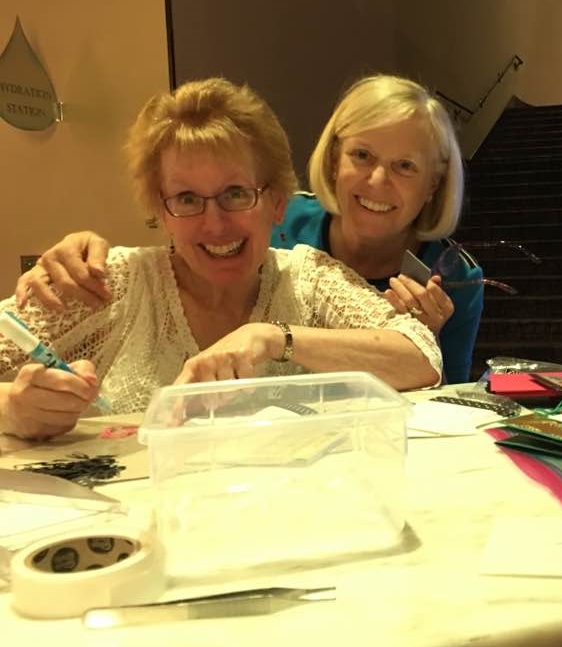
Janet, Jan and I are off to Phoenix!  It’s not quite tropical but it’s really, really warm.  It’s been nice at home here in Denver but I’ve been wearing shoes and socks….I’m going to have to paint my toe nails before I head to Phoenix so I can wear sandals!  Just one more thing I have to do before I go!  🙂

This card was made using the new Totally Trees stamp set in the Holiday Catalog.  Isn’t this little palm tree cute?!  It’s the reason I fell in love with the stamp set!  Ha!

I’ll have to put this card out front and center when I actually start counting the days down until our trip to Thailand!  I don’t think I’ll start counting quite yet.  The trip isn’t until July!

This card was the first time I used the Seaside Embossing Folder.  Isn’t it fun?!

I doubt I’ll get anything posted while I’m in Phoenix but you can check out my Facebook page for any exciting news I may be sharing.  While you’re there be sure to LIKE my page!

Have a great day!  Take care and Happy Stamping!

Fa-la-la-la Friends

fa-la-la-la-friends-swap1
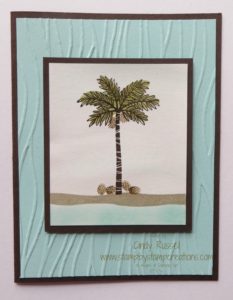
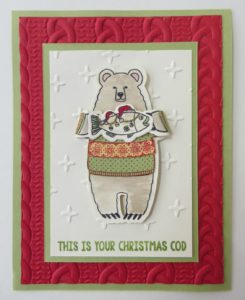
OK…how many of you fell in love with this stamp set the first time you saw?  I knew that I had to have it as soon as I saw it because I am in love with the bear from the Bear Hugs stamp set and here is again in this stamp set!  Thank you Stampin’ Up!

I think it’s great that Stampin’ Up! coordinates things like this.  Two stamp sets, Bear Hugs and Fa-la-la-la Friends, that both coordinate with the Bear Hugs Framelits.  Then there are the Everyday Jar Framelits that coordinate with 3 stamp sets:  Jar of Love, Jar of Haunts and Jar of Cheer!  I love those products that have multiple uses!  🙂

My friend and downline, Janet, created this adorable card for a swap my team held.  Isn’t it great?!  Thanks Janet!  Janet and I and are friend Jan are heading to Phoenix tomorrow morning for Stampin’ Up!’s On Stage Local event Saturday.  We’ll get to hang out with fellow demos, do a little stamping and learn some new stuff.  The best part will be that we get to have a sneak peek at the upcoming Occasions and Sale-a-bration catalogs!  Woo Hoo!  I do love getting an early look at new catalogs!

Have a great day!  Take care and Happy Stamping!

Jar of Haunts….Christmas!

jar-of-haunts-grinchI LOVE creative people and I especially love those that can think outside the box!  When I look at the Jar of Haunts stamp set I see Halloween…I don’t see anything that can be used for Christmas.   I CASEd this card from the fabulous Connie Babbert.  Thank you Connie!

I would never have seen the Grinch in the spooky face and pumpkin head without Connie’s help.  Isn’t this card great?!!!

This card was so cute I didn’t change much of anything.  My layers and the ribbon are a little different but that’s about it.  I love the Grinch!  Well, actually, my favorite character in the story is little Miss Cindy Lou Who.  I’m pretty sure you can guess why.  That’s my name!  🙂

Yep.  When I was born my dad said they would name me Cynthia Louise and they would call me Cindy Lou….and they did.  Needless to say that one of my favorite Christmas stories is How the Grinch Stole Christmas!  Of course who doesn’t love Dr. Seuss?!

Have a fabulous day!  Take care and Happy Stamping!