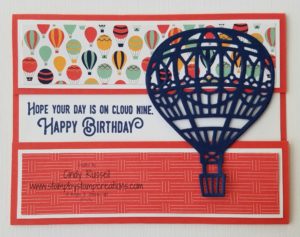
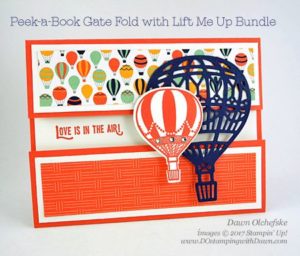
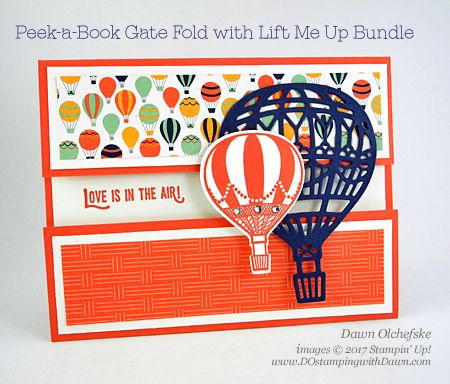
 Thank you to the talented Dawn Olchefske for this card idea. Actually, I pretty much CASEd (copied) Dawn’s idea step by step. I did change the measurements a little and only added one balloon.
Why change a good thing? I loved Dawn’s card from the start but as I was making it I had to change a few things.
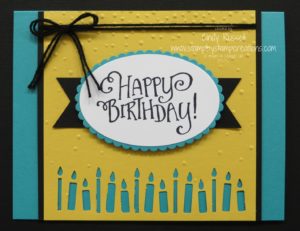
I had to change the measurements and a little 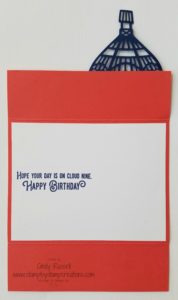 bit of the layout only because I used a different sentiment. I wanted to use the birthday sentiment since I didn’t need a card about “love”. That meant that I had to shorten my front “flaps” a little bit to make sure the sentiment would fit in the white area.
Here are the measurements I used:
Card Base: 5 1/2″ x 7 1/2″ score at 1 5/8″ & 5 7/8″
Whisper White: 5 1/4″ x 4″, 1 3/8″ x 5 1/4″ (2x)
Designer Paper: 1 1/4″ x 5 1/8″ (2x)
Night of Navy: 3″ x 3 3/4″
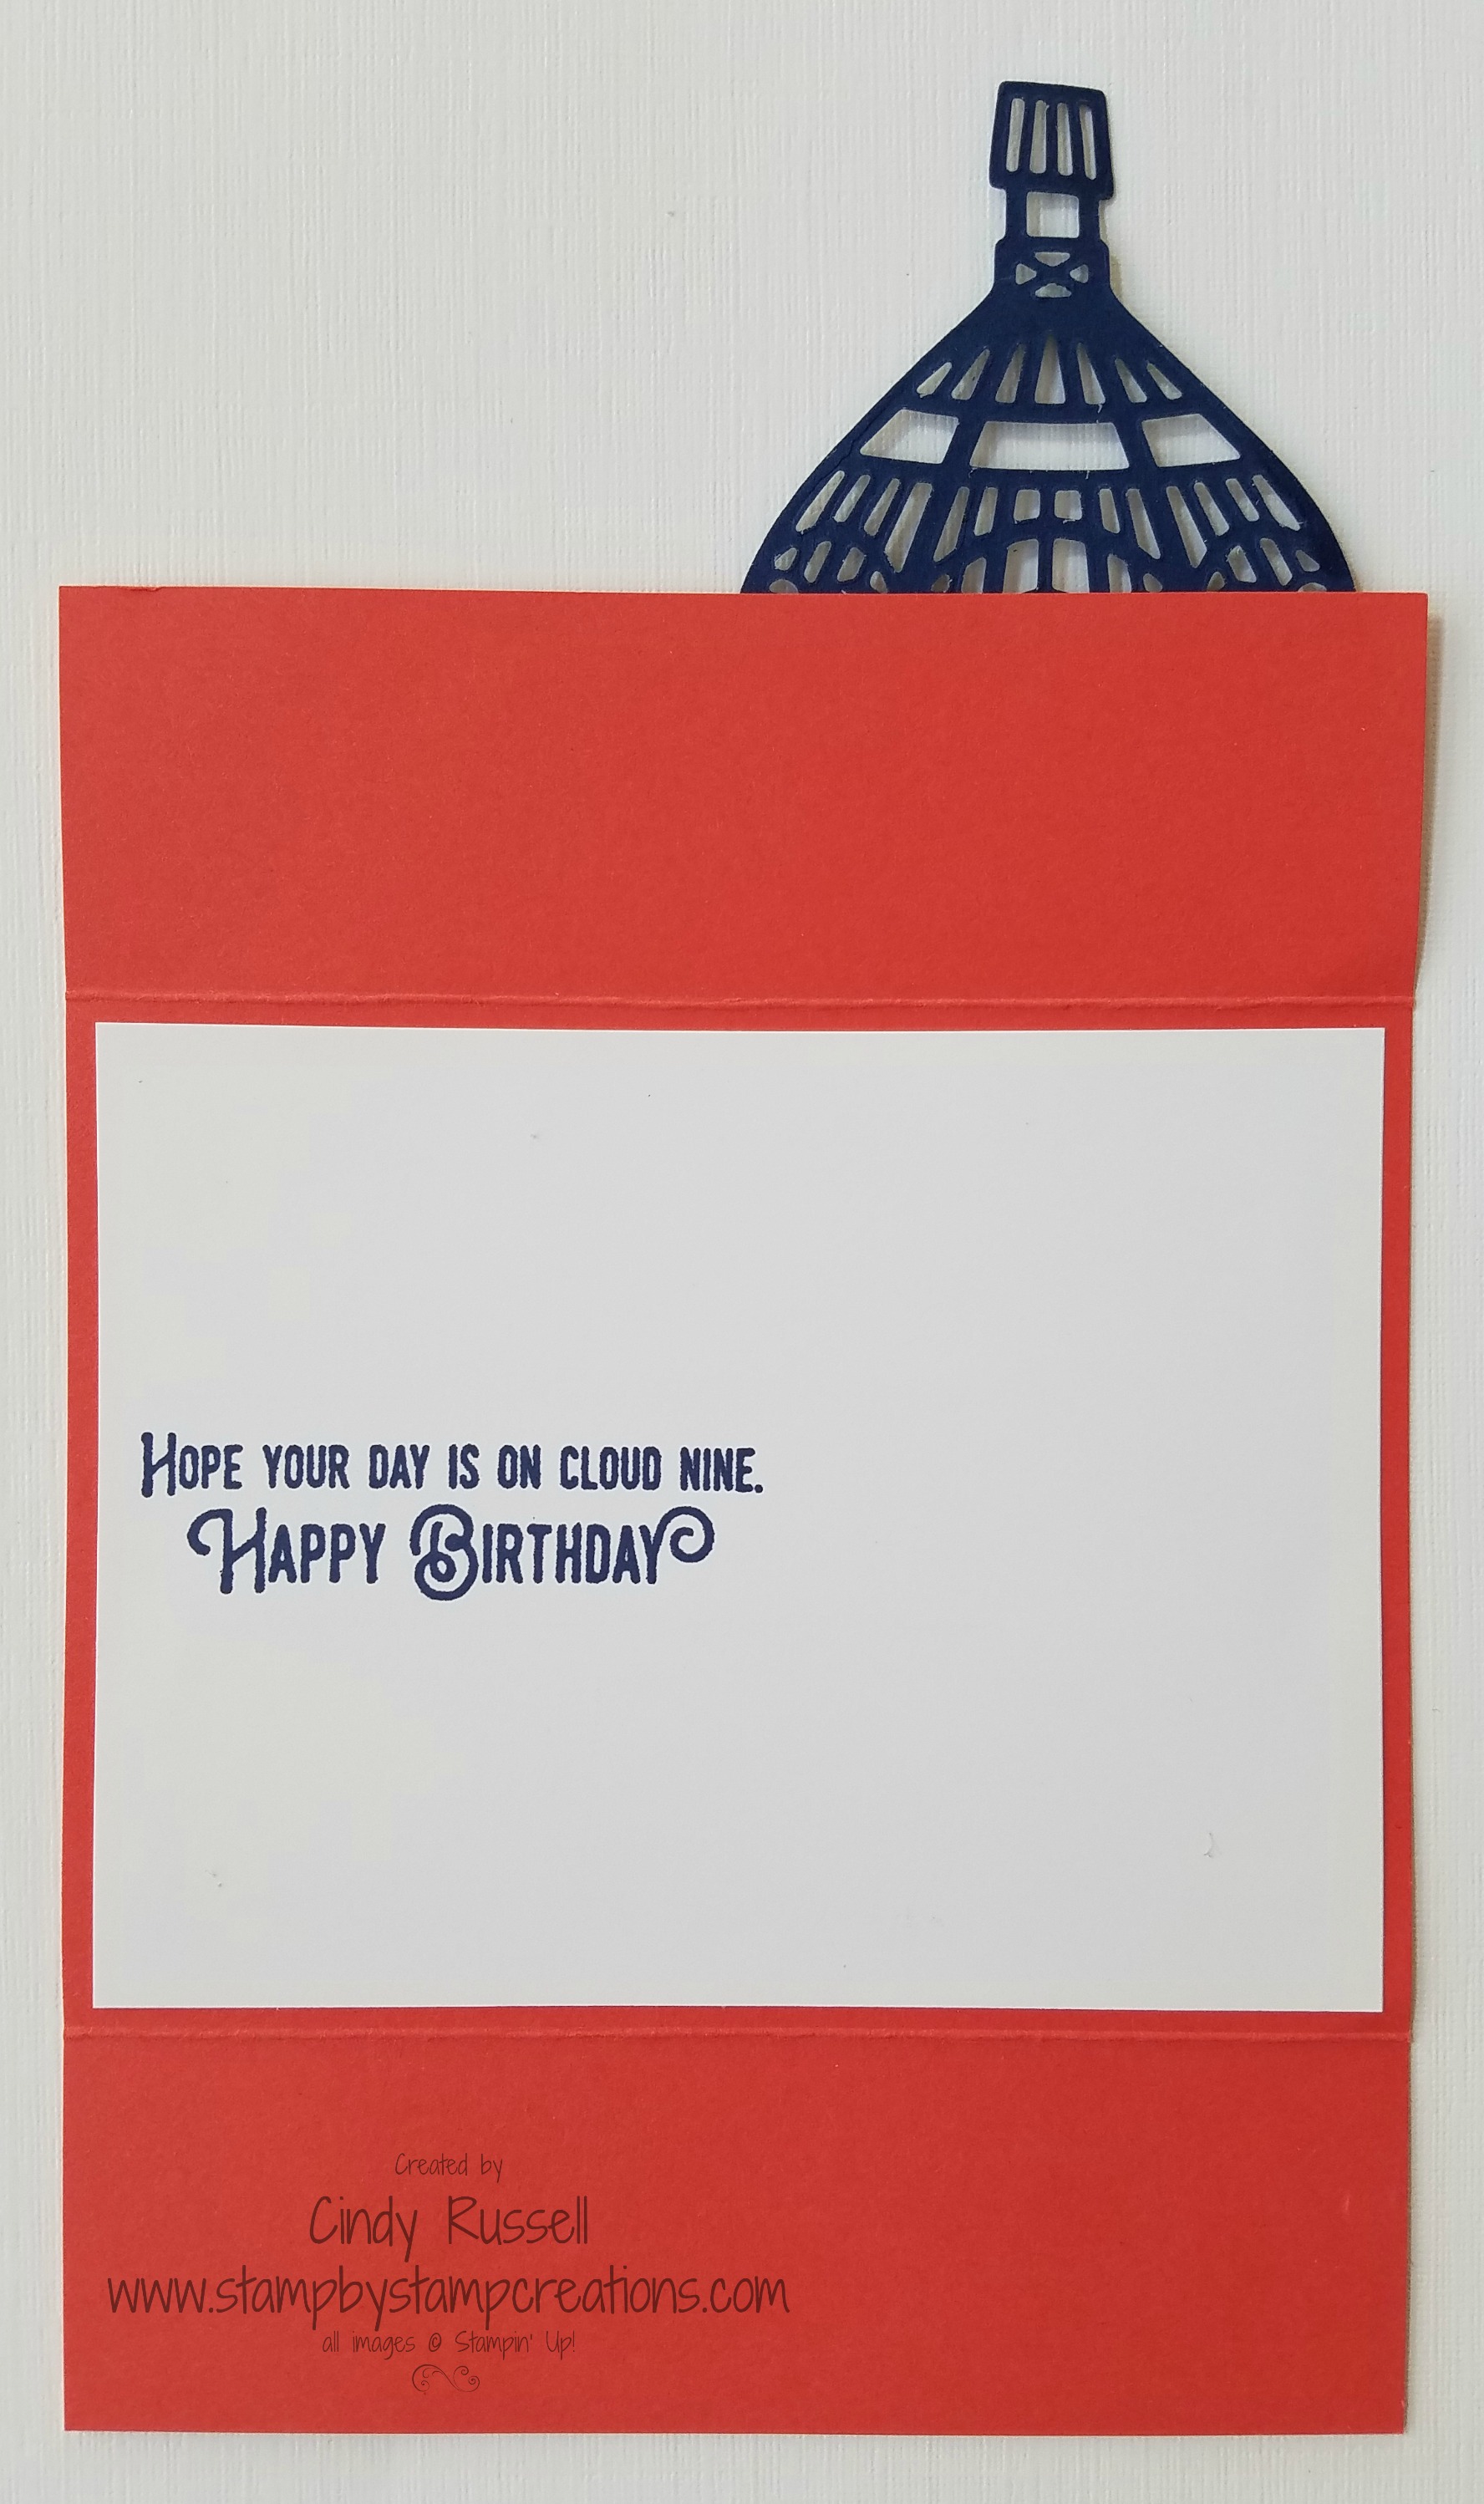
 To stamp the sentiment perfectly I adhered the large piece of Whisper White card stock to the inside of my card and then used removable adhesive to hold the two front flaps down so that my card was “closed”. Then I got out my Stamp-a-ma-jig to perfectly align the sentiment. When I was done stamping I just had to rub off the removable adhesive with my finger and I was good to go.
To finish off the card, I die cut my balloon and adhered just the top of it to the top flap. Don’t put adhesive on the whole balloon or you won’t be able to open your card! 🙂
This designer paper (Carried Away) is one of the Sale-a-bration items that you can choose for FREE. Don’t forget that for every $50 you spend during Sale-a-bration you can choose a FREE Sale-a-bration item! Woo Hoo!
As you can see from the last picture, I couldn’t add the small balloon to my card because there wasn’t room when I used the longer sentiment. Thanks again Dawn for your inspiration!
Have a great day! Take care and Happy Stamping!

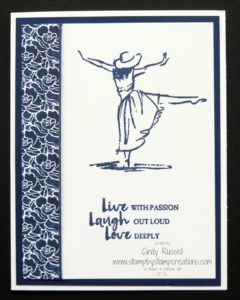
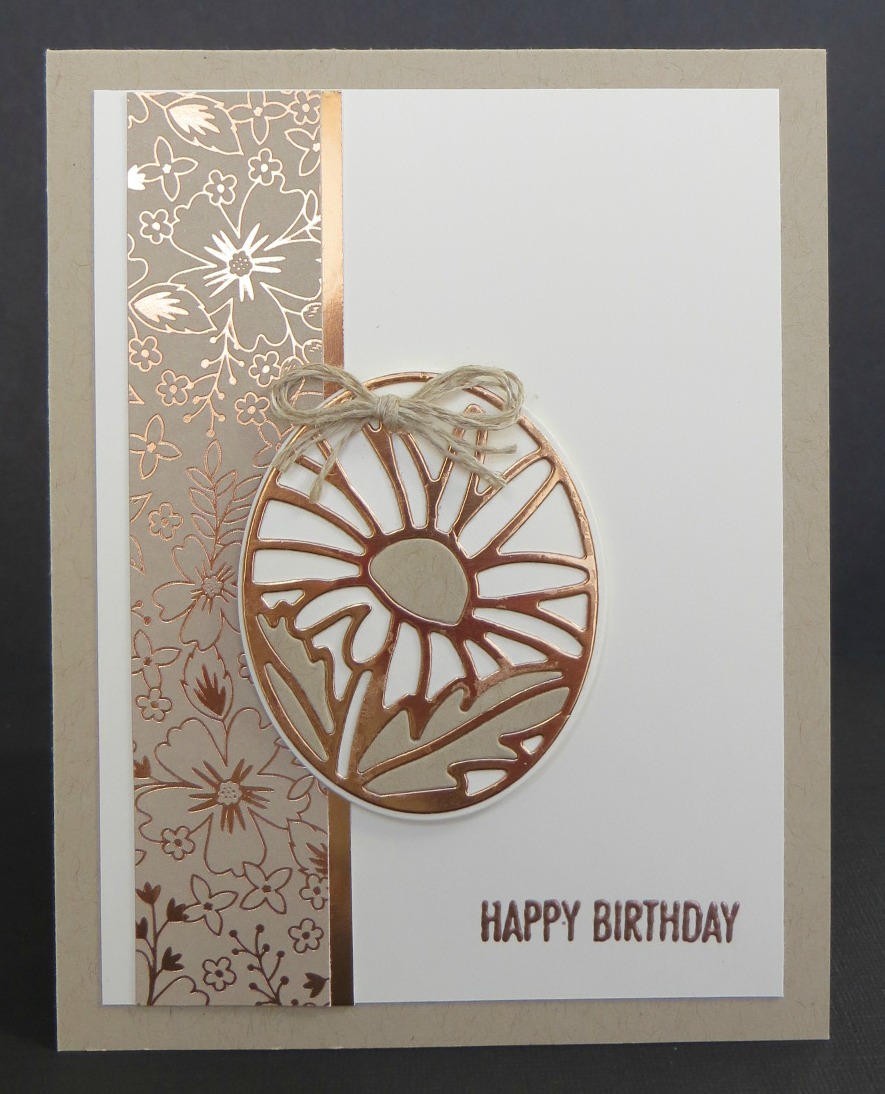
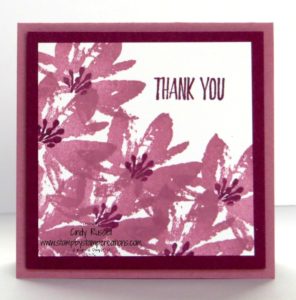 I think I’ve mentioned at least once or twice that I really, really like this flower and stamp set. 🙂
 How about a birthday card for Make It Mine Monday? My March is filled with birthdays. Today is my favorite pastor’s birthday. Happy Birthday Pastor DJ! As you can tell from the picture below, DJ is young….he’s not even 40! He’s a great and inspirational speaker and a lot of fun to be around. The big joke between us is hugs. DJ is not a hugger yet every time I see him I
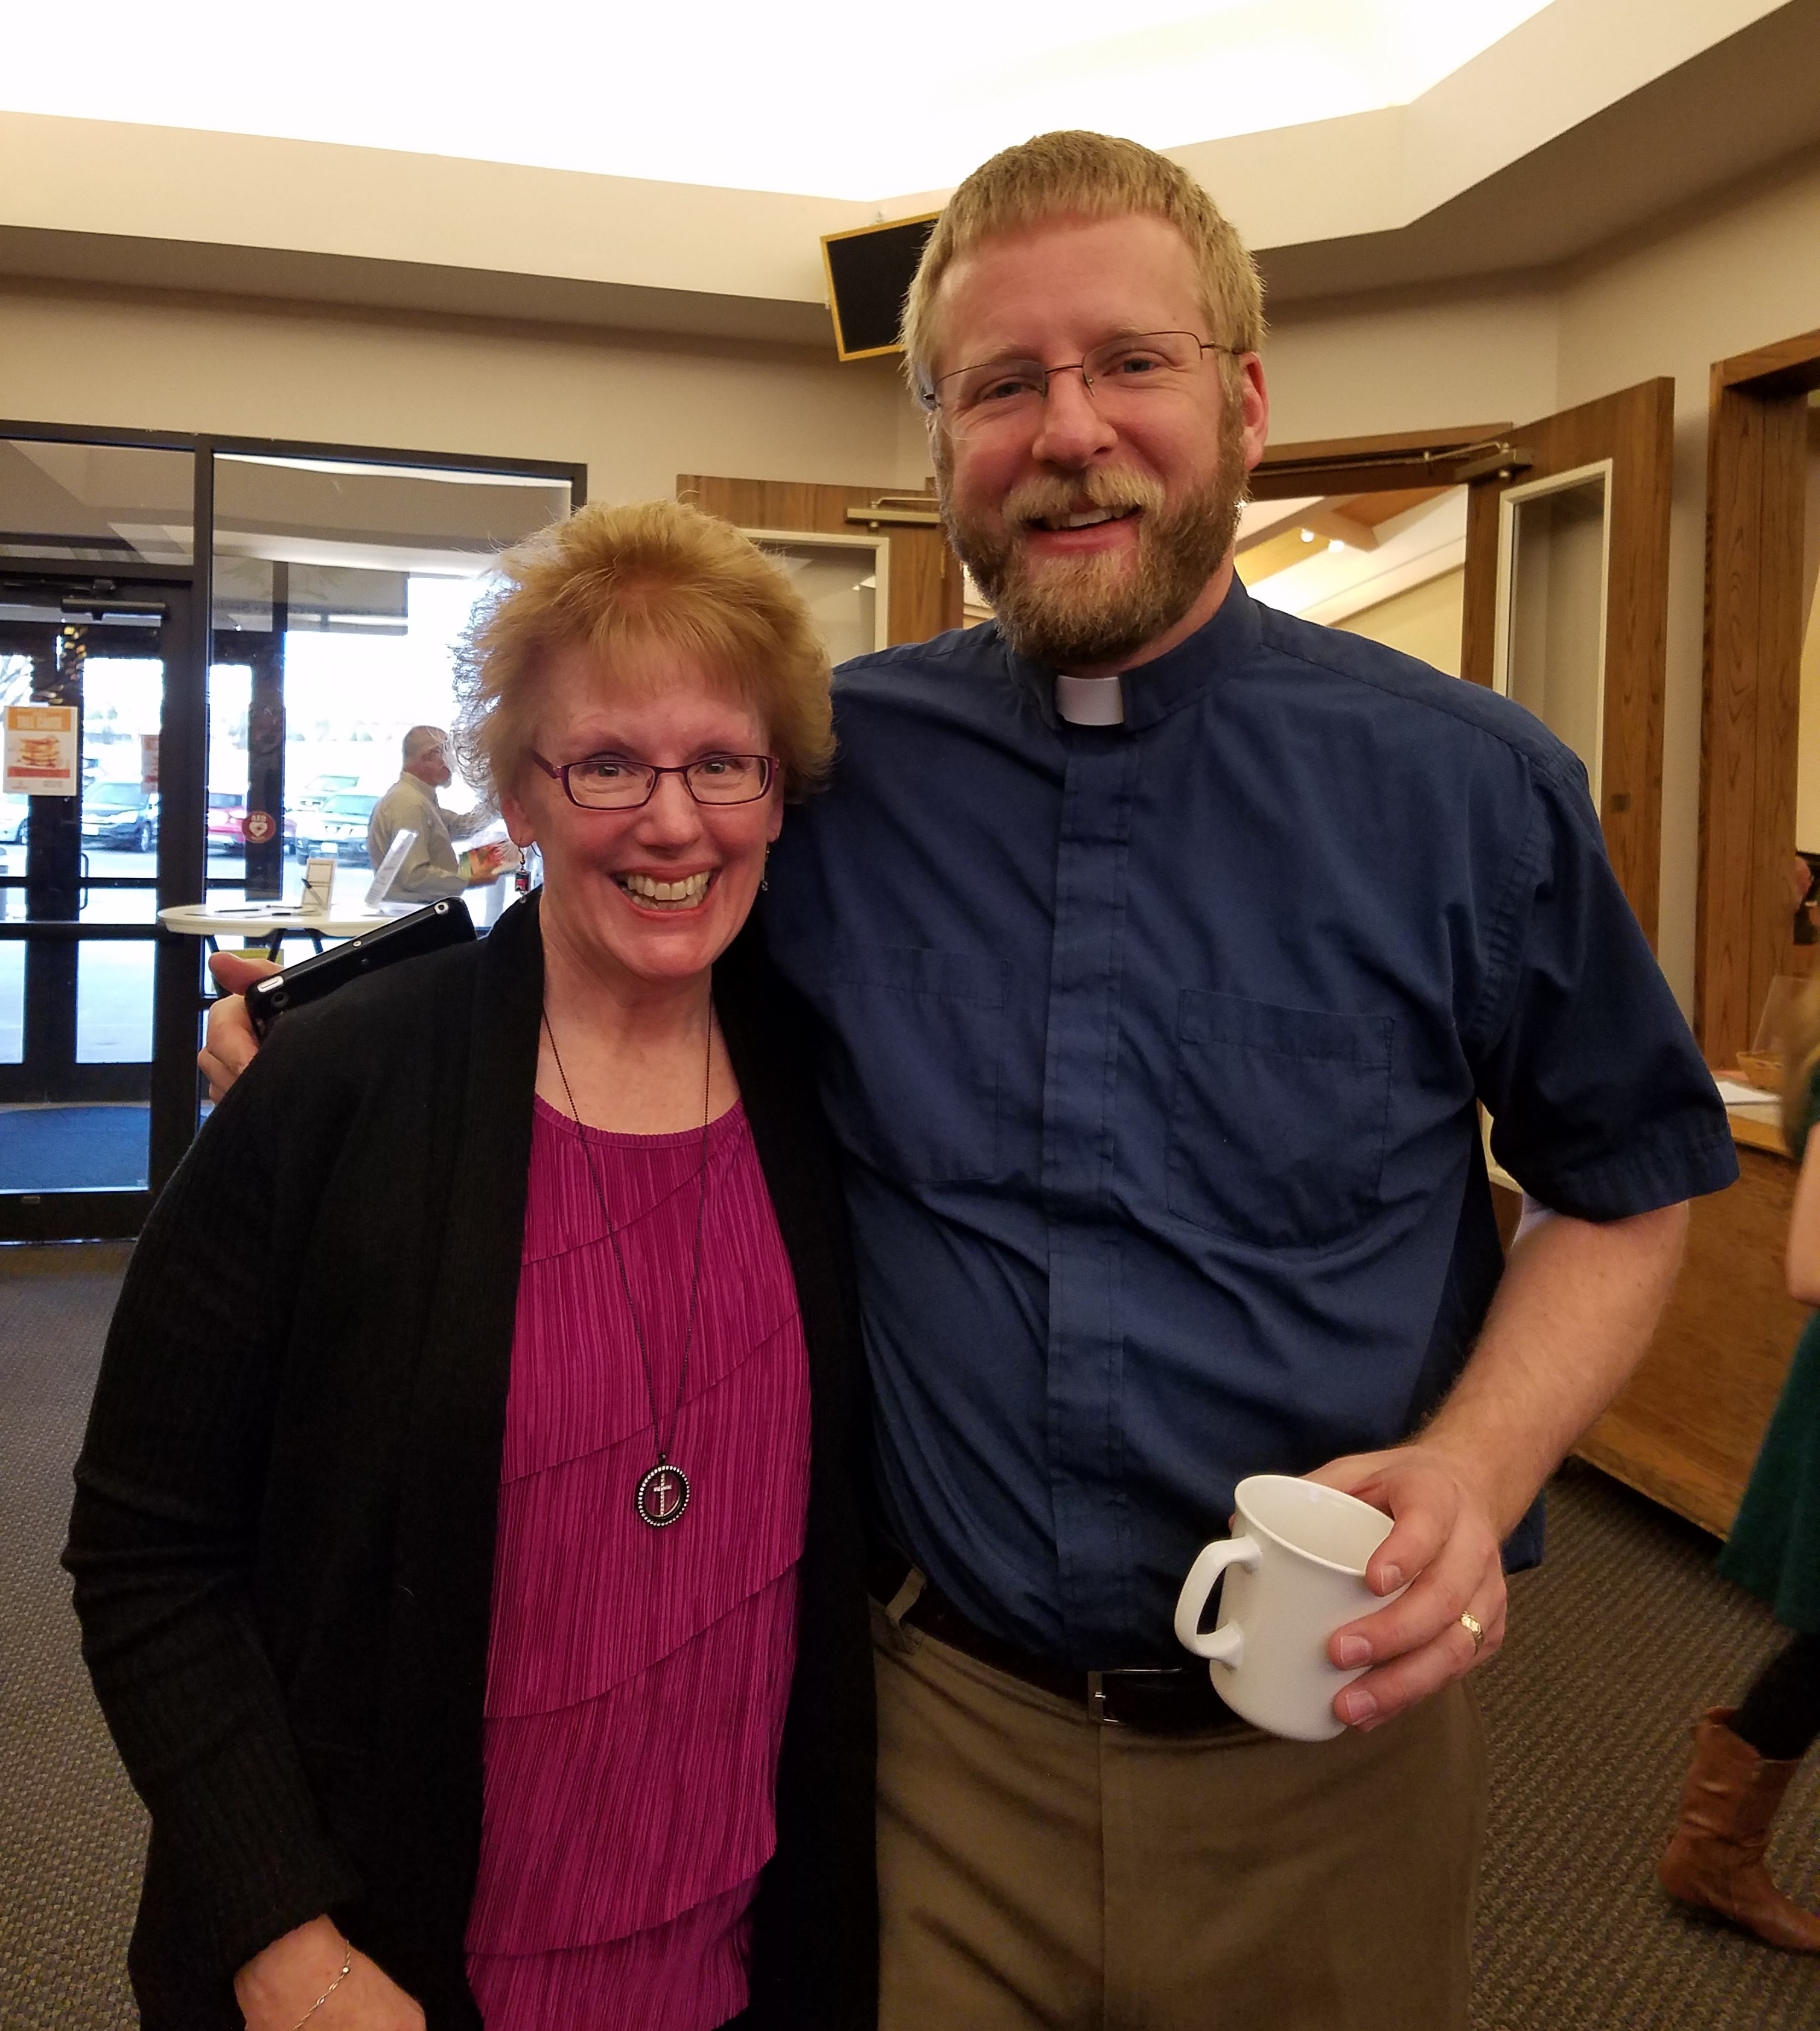
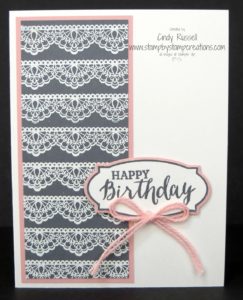
 Last week I held a Card Buffet Class where my customers can make as many cards as they’d like. I designed 8 fairly simple cards so that they would have time to make a bunch if they liked.
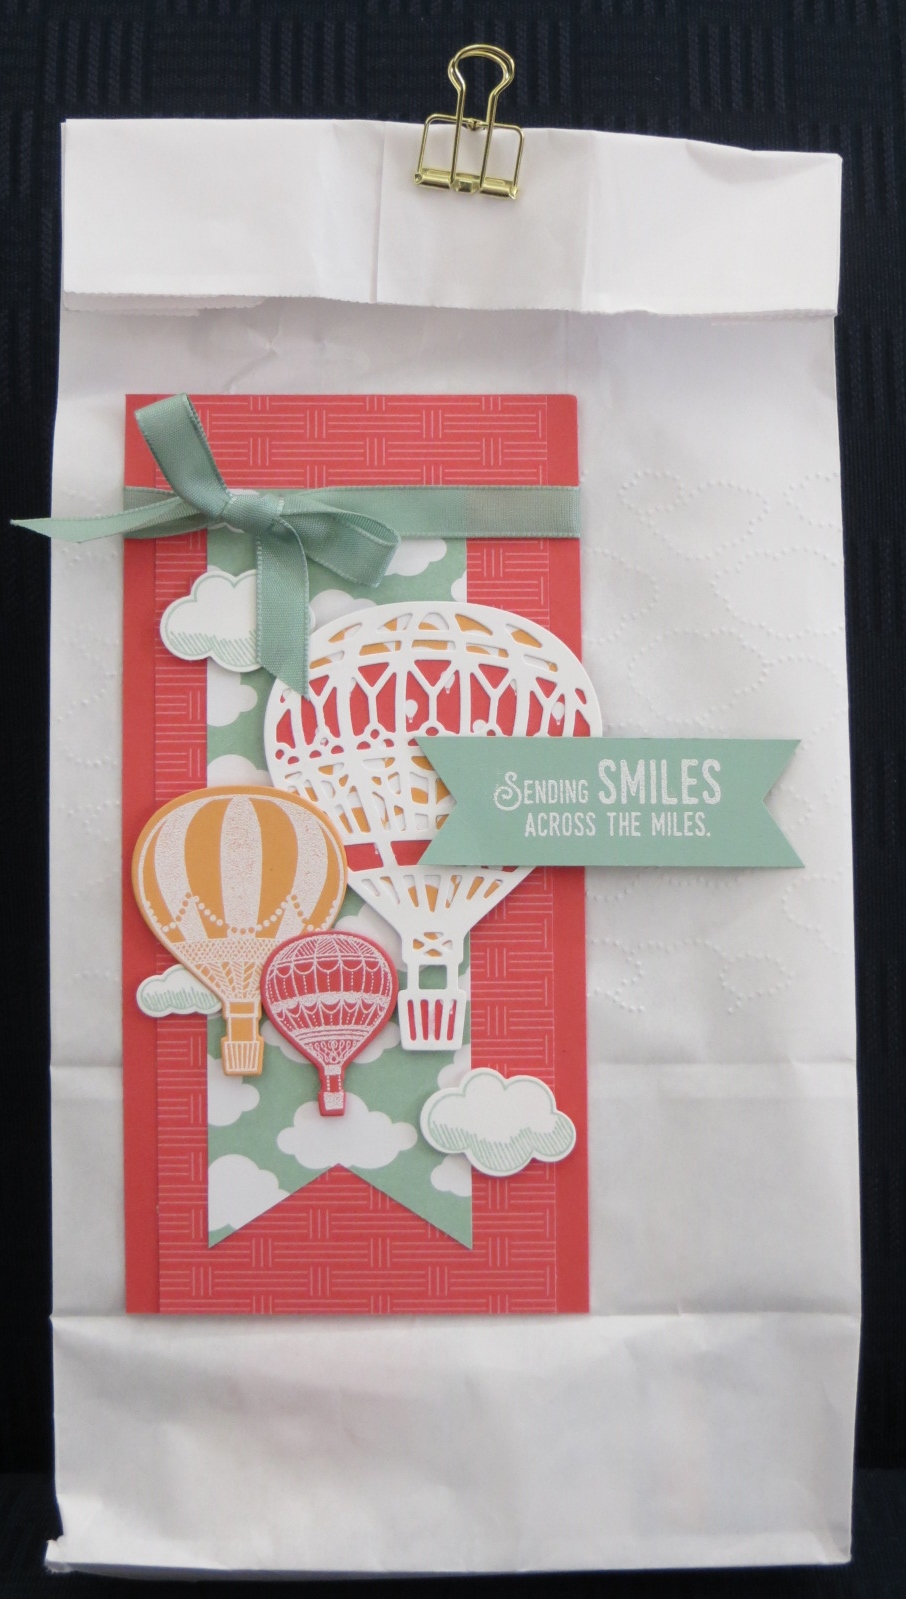
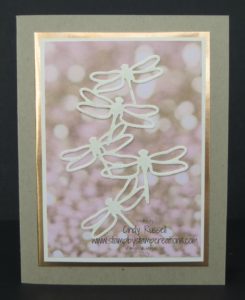
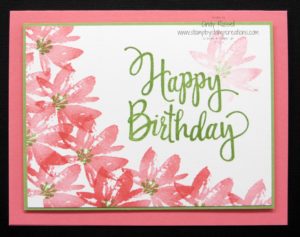 Have you played with the Avant Garden Sale-a-bration stamp set yet? I love these flowers!
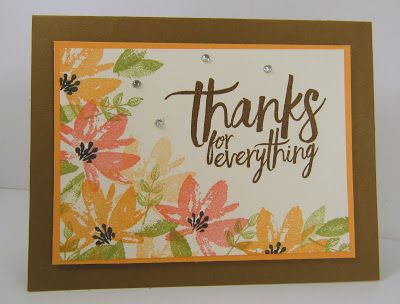
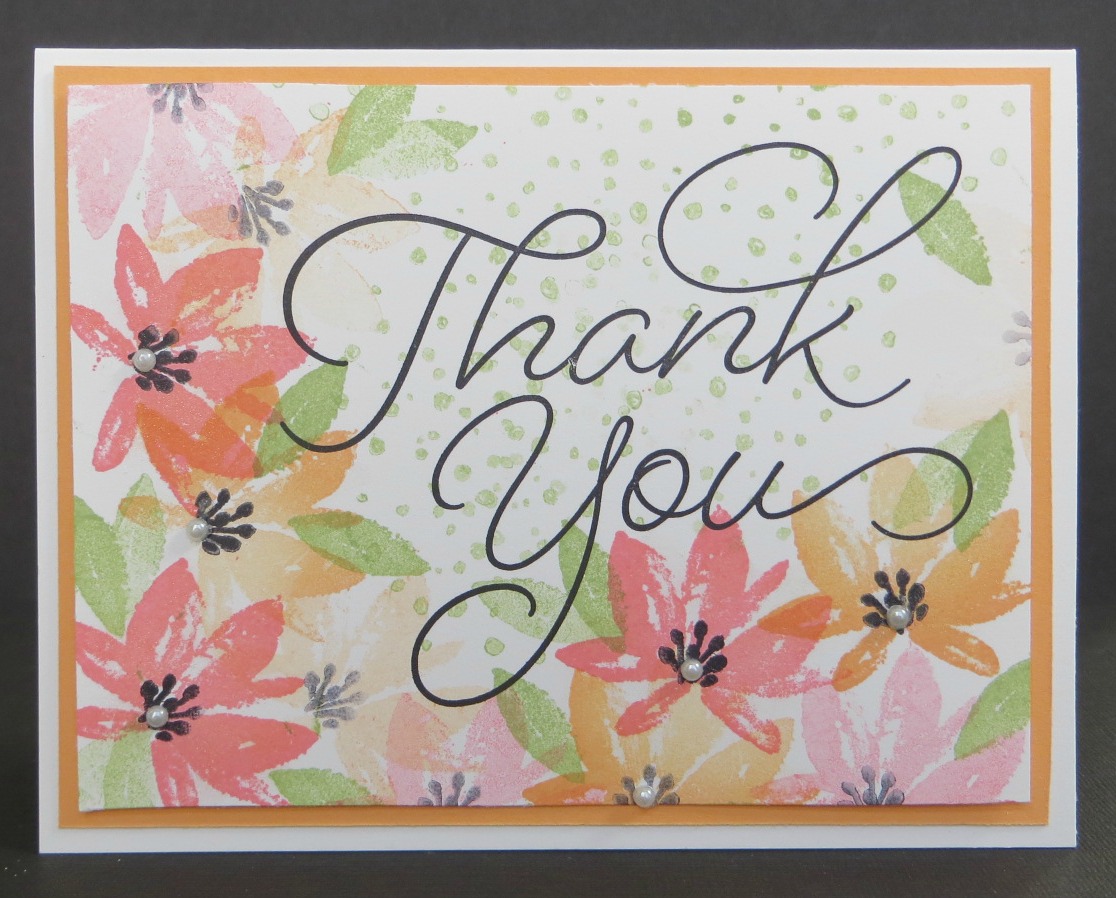
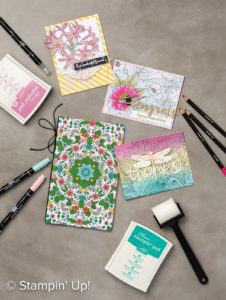 Do you like to color? If you do, you definitely need to check out the Inside the Lines Specialty Designer Series Paper. It’s a 2017 Sale-a-bration item that you can choose for FREE with a $50 dollar order.
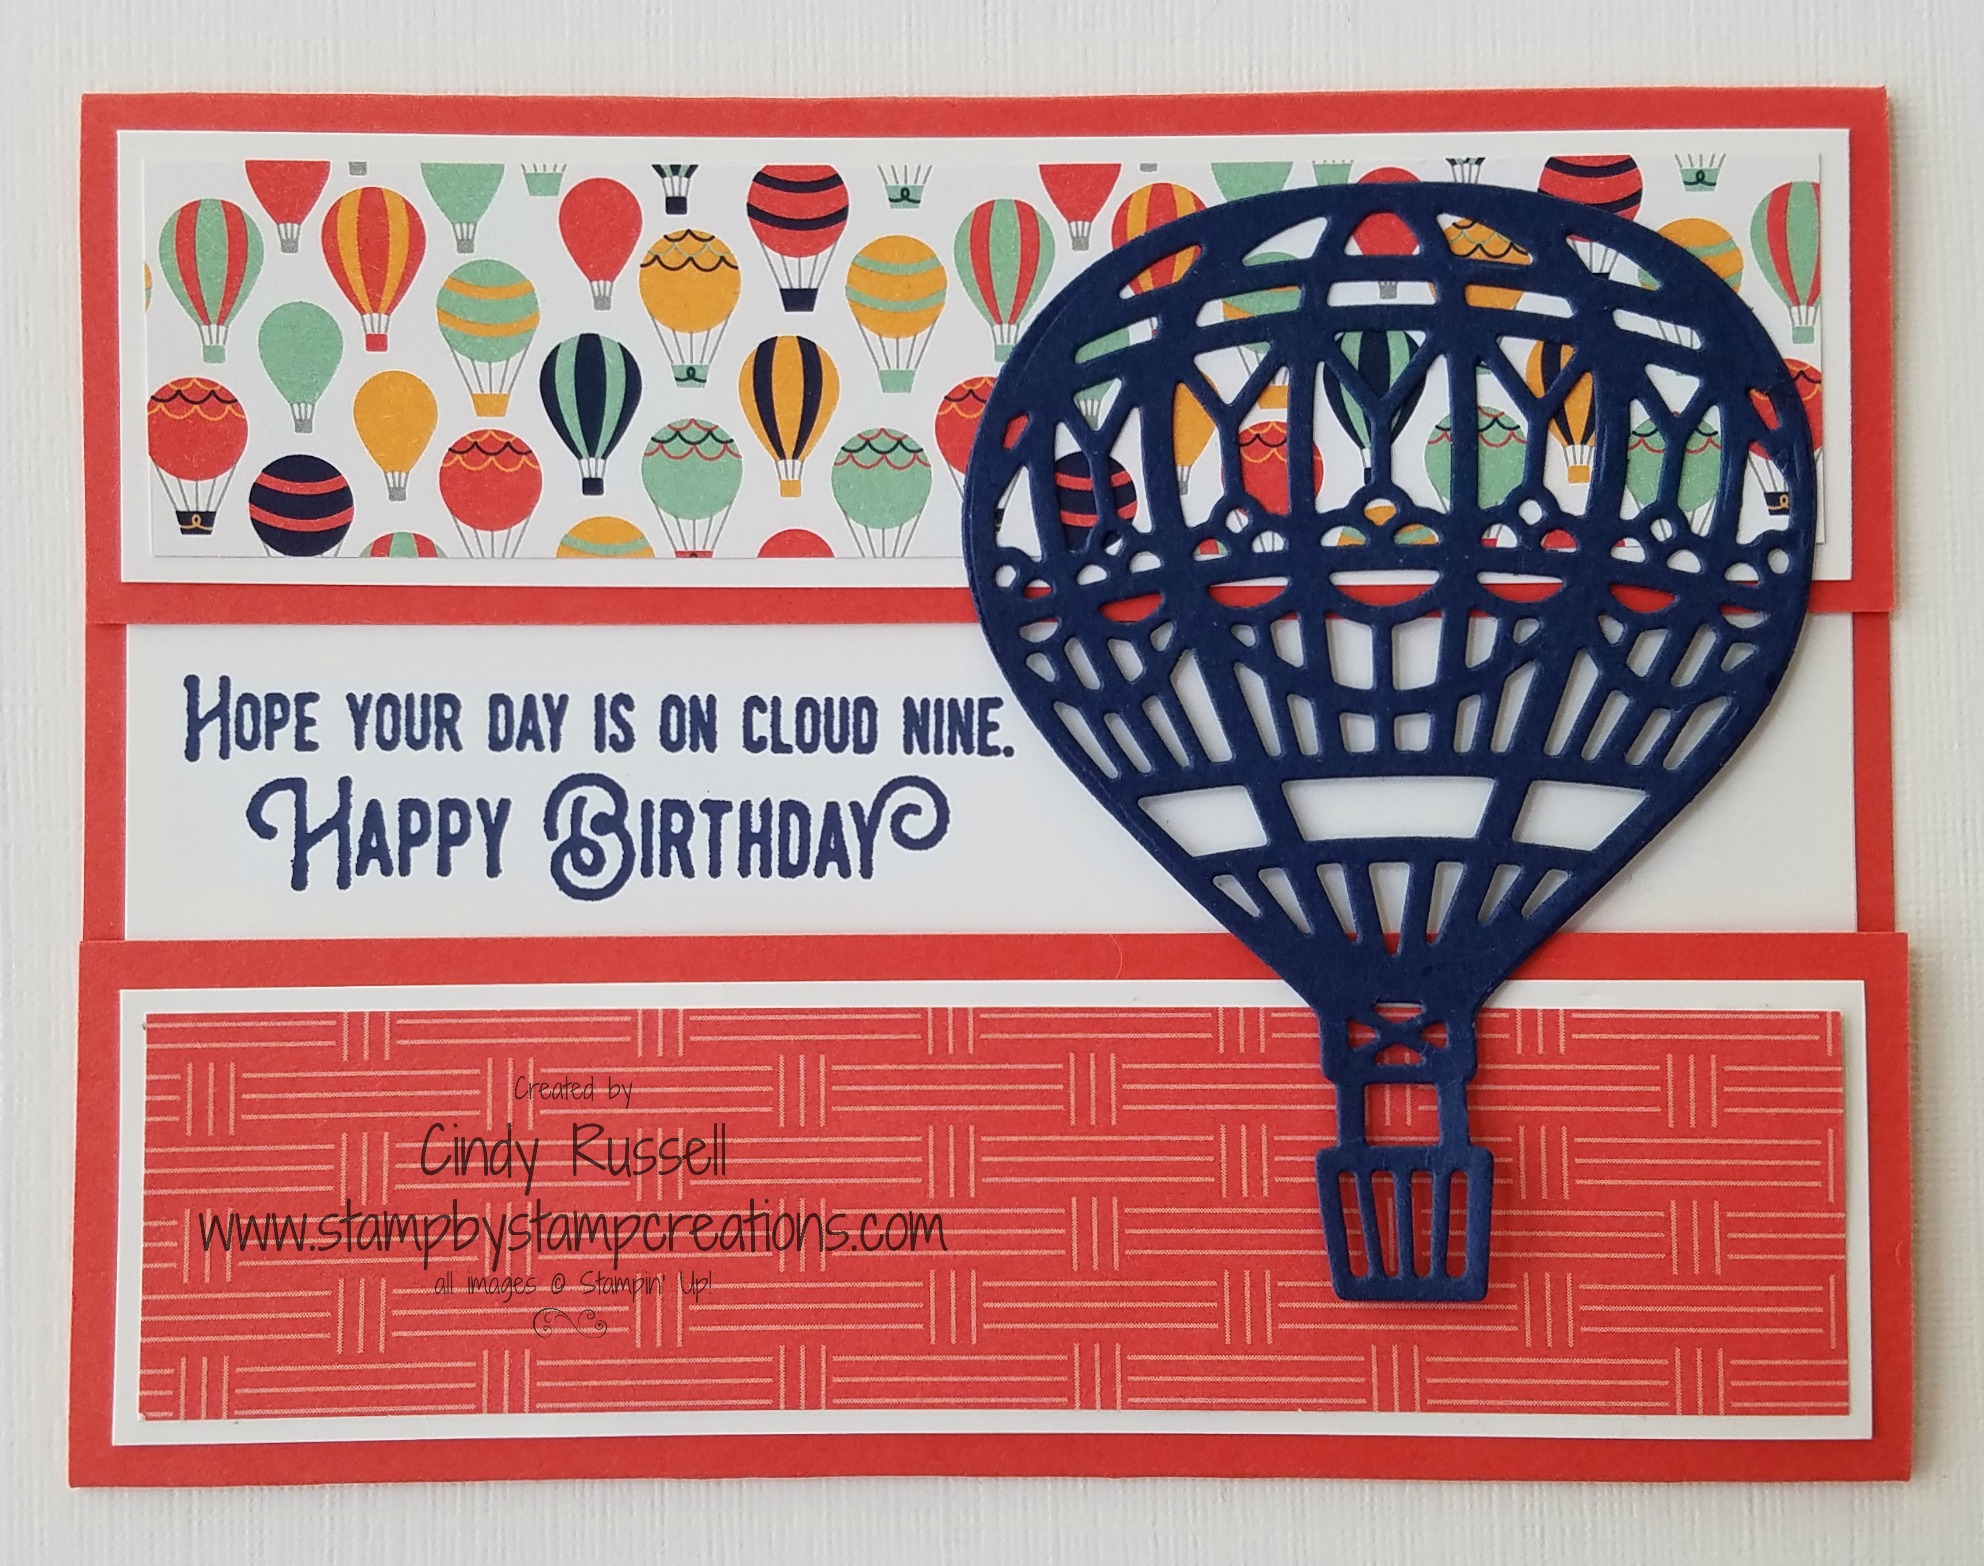
 Well, vacation is over and it’s time to get back to work! I had a great time up in the mountains doing pretty much nothing. My cousin got me hooked on HGTV again and that’s probably not a good thing. I usually don’t watch much TV and now I seem to have it on constantly. The one good thing about that is that I haven’t bee reading too much. Hmm…it’s sounding like I have trouble staying on task…..
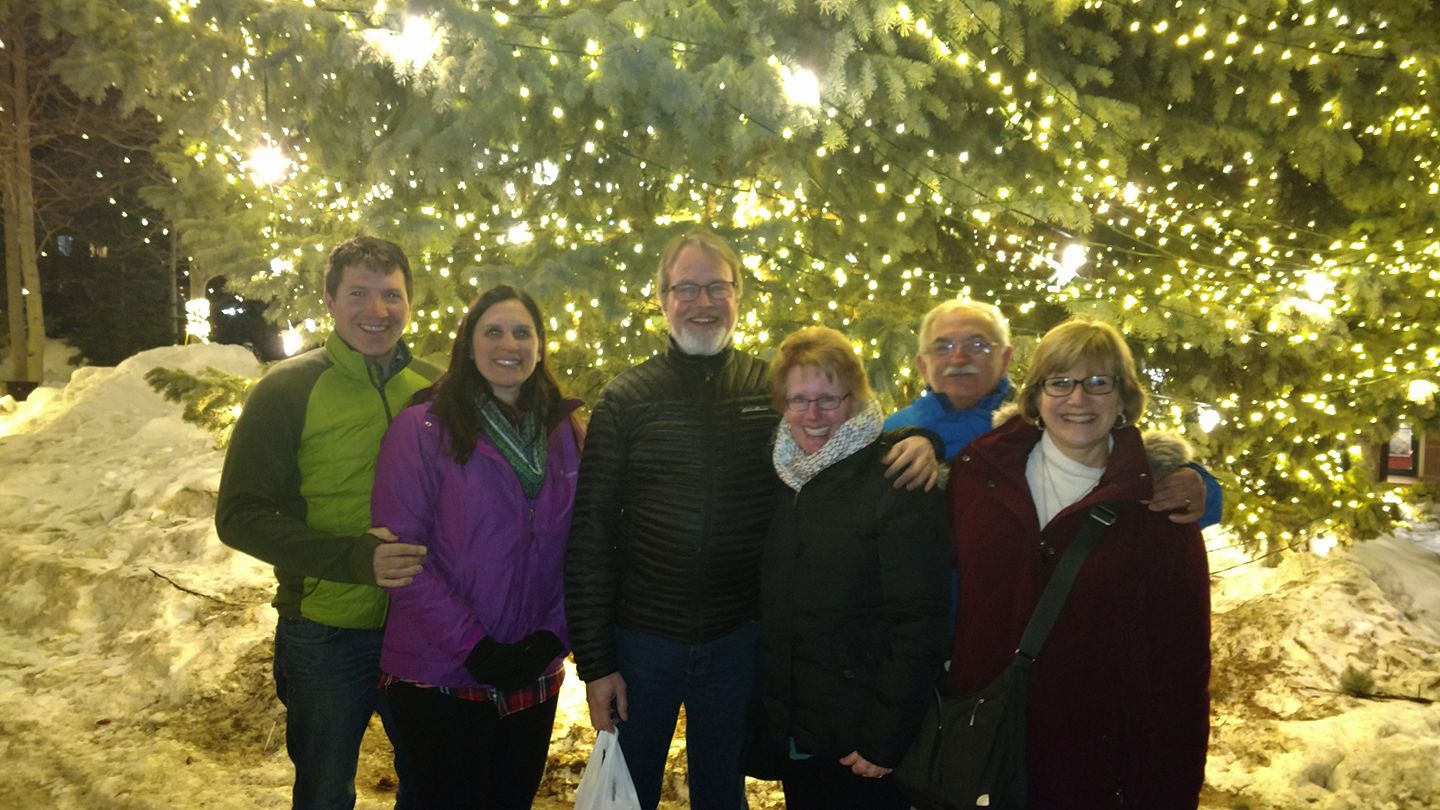
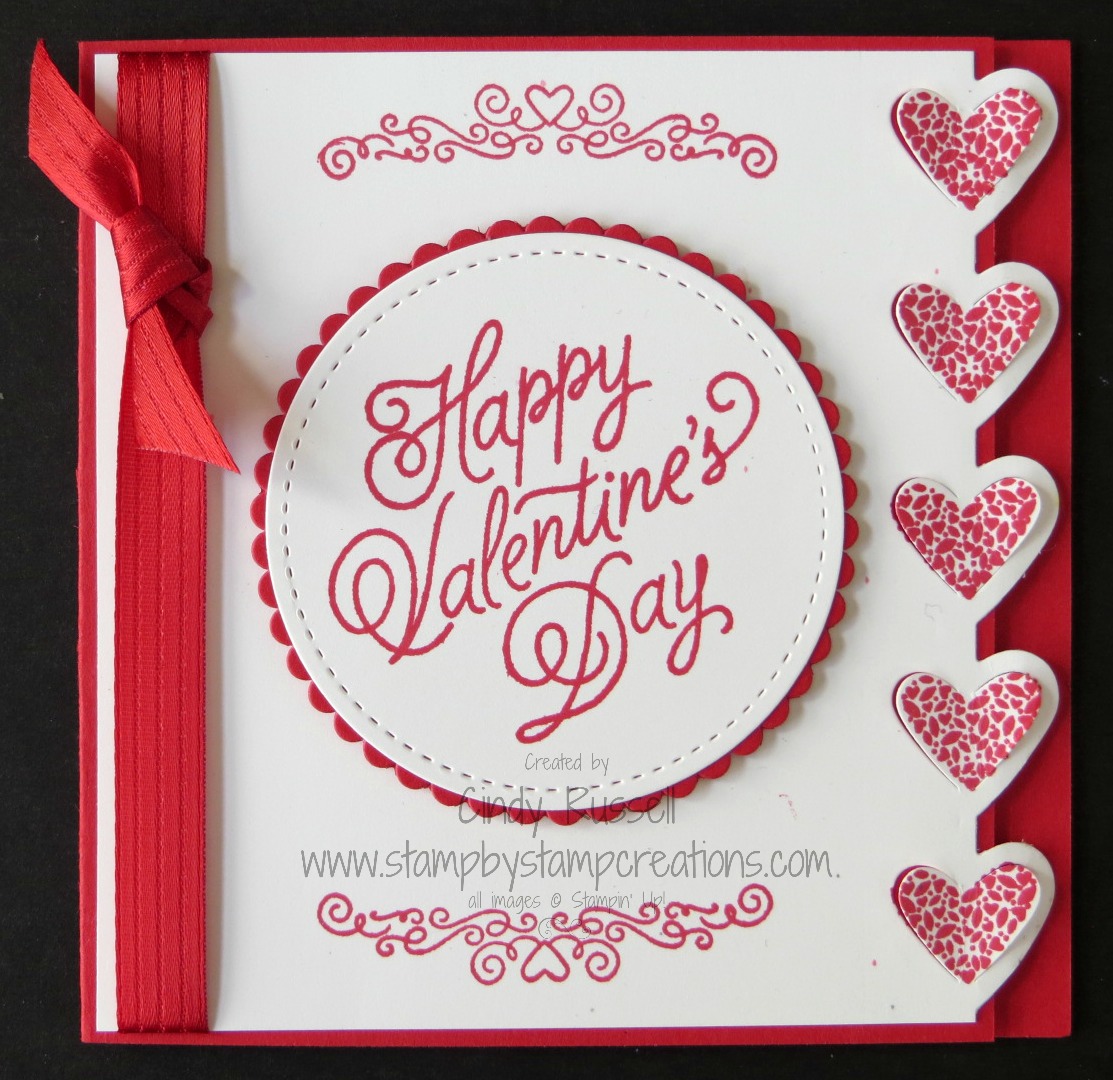
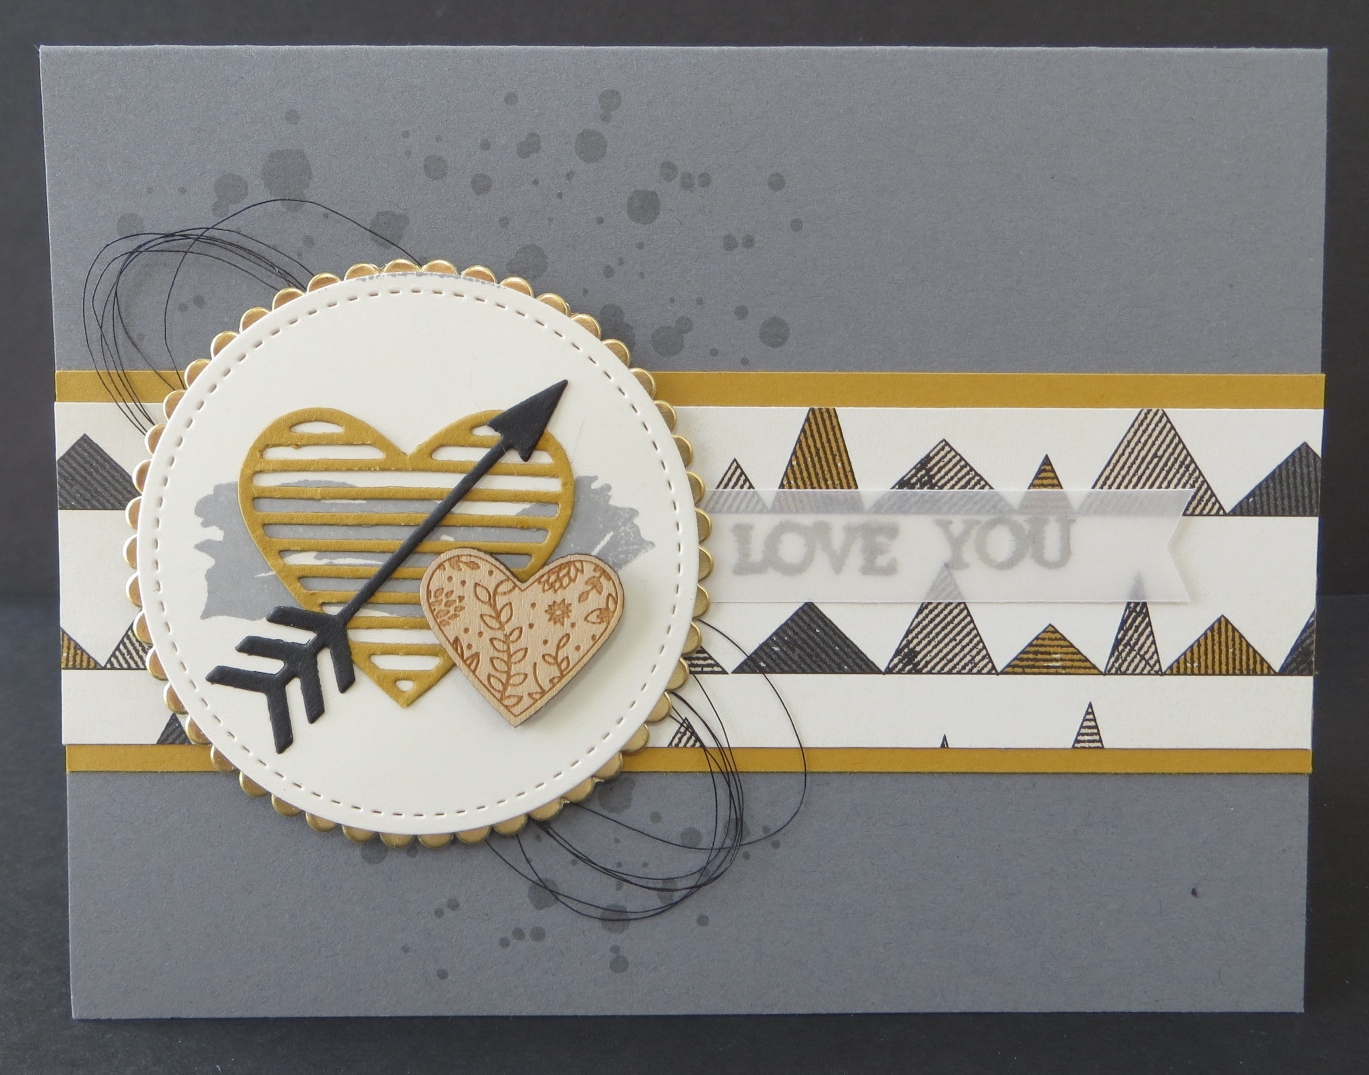
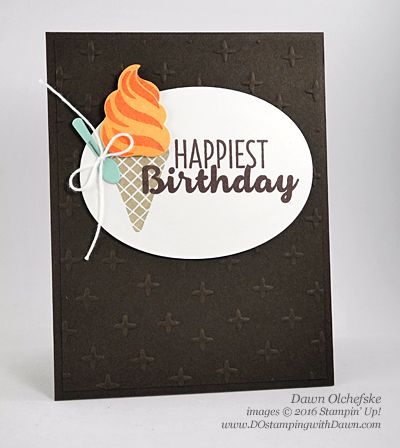
 Ah, so sweet. That’s what this color combination says to me. It’s soft and relaxing. The lace from the Sale-a-bration stamp set Delicate Details makes it sweet too.
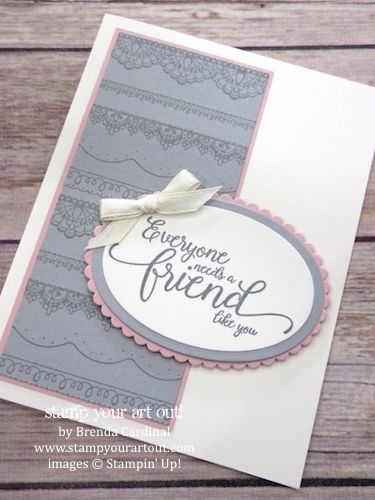
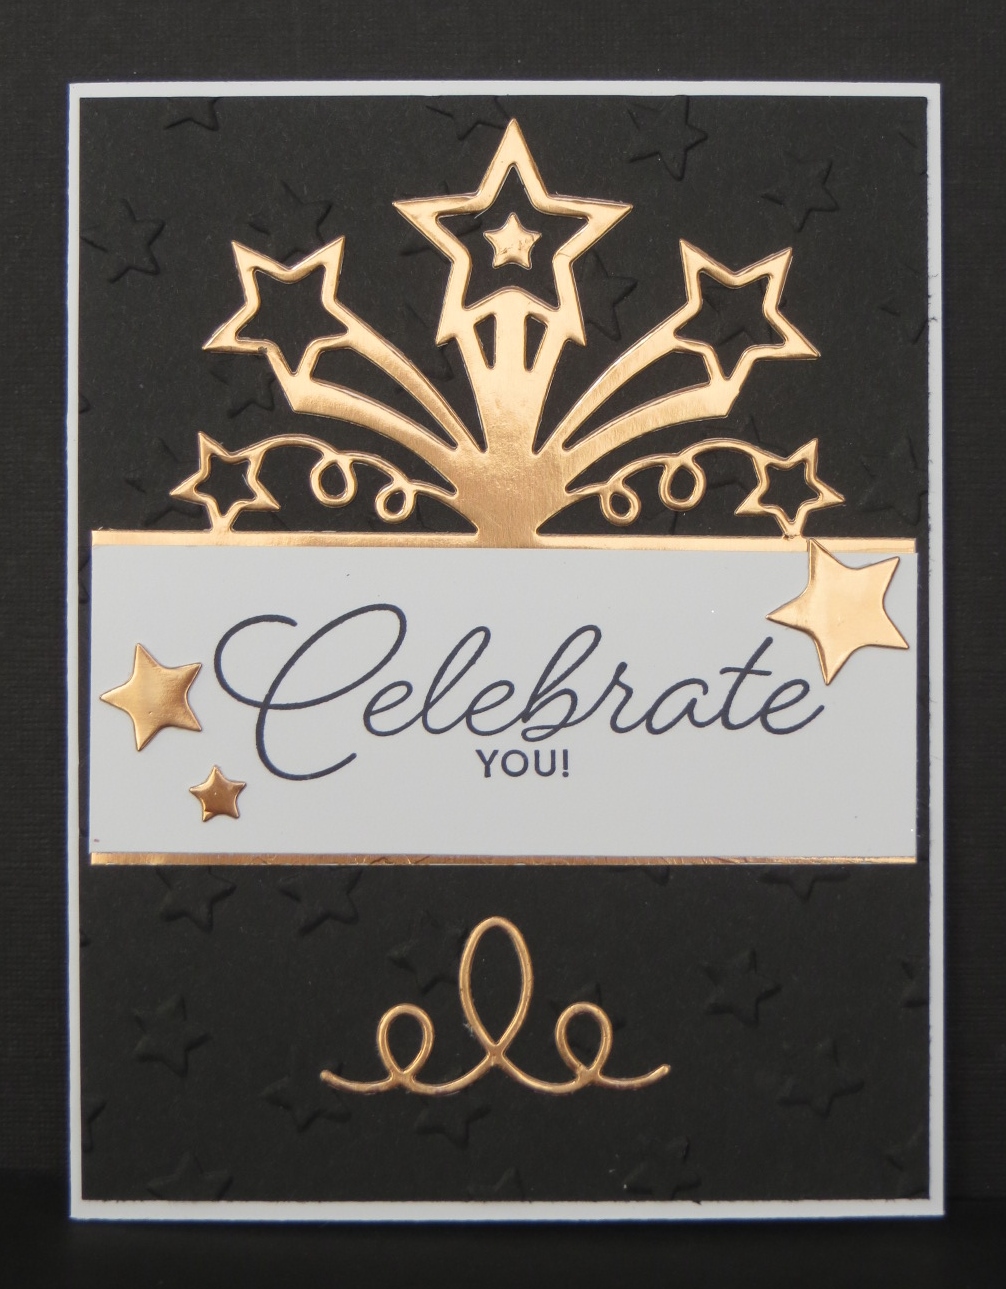
 This was one of those cards that just made me smile when I finished designing it. 🙂