Lovely as a Tree

Lovely as a Tree.0418Happy April!  Even though the first day of Spring is technically in March I don’t feel like it’s Spring until April actually is here.

I’m looking forward to this coming weekend as I will be traveling to Las Vegas with a few of my fellow demonstrator pals to attend Stampin’ Up!’s On Stage Local event on Saturday.  We’re going to do a little site-seeing, see a show and of course spend all day Saturday checking out the new 2018-2019 Annual Catalog and playing with some of the new items in it!  Woo Hoo!

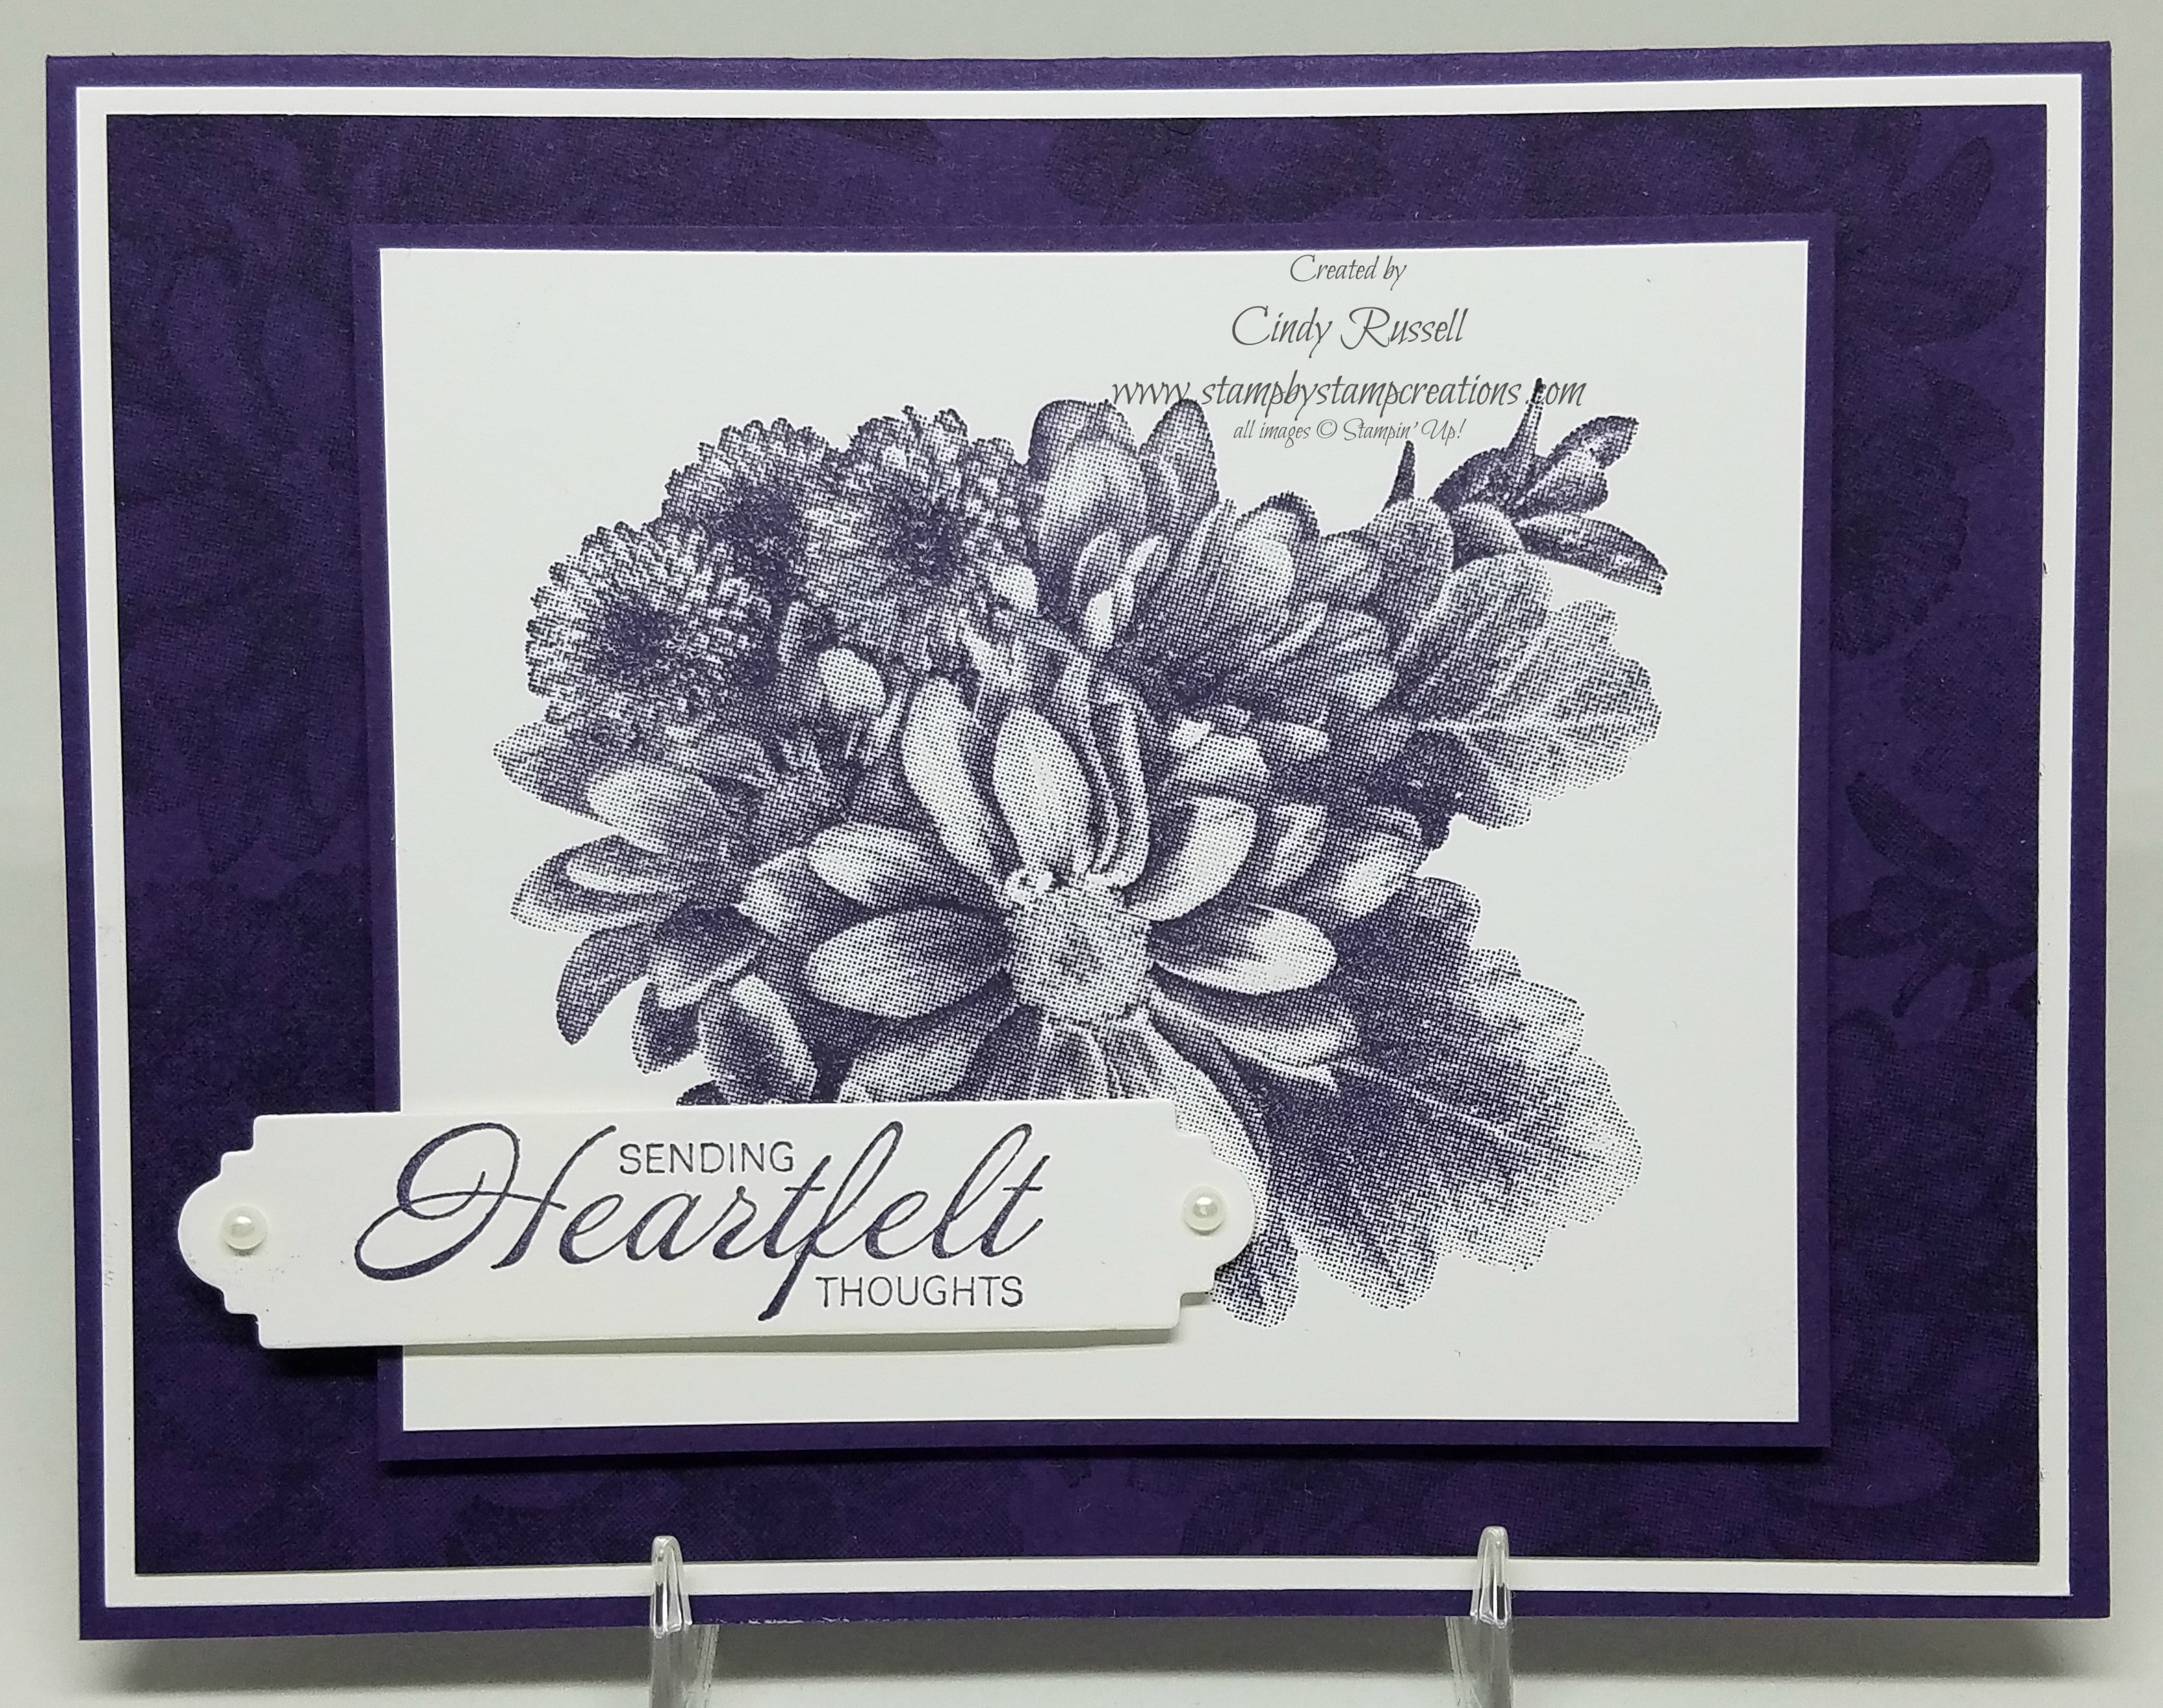
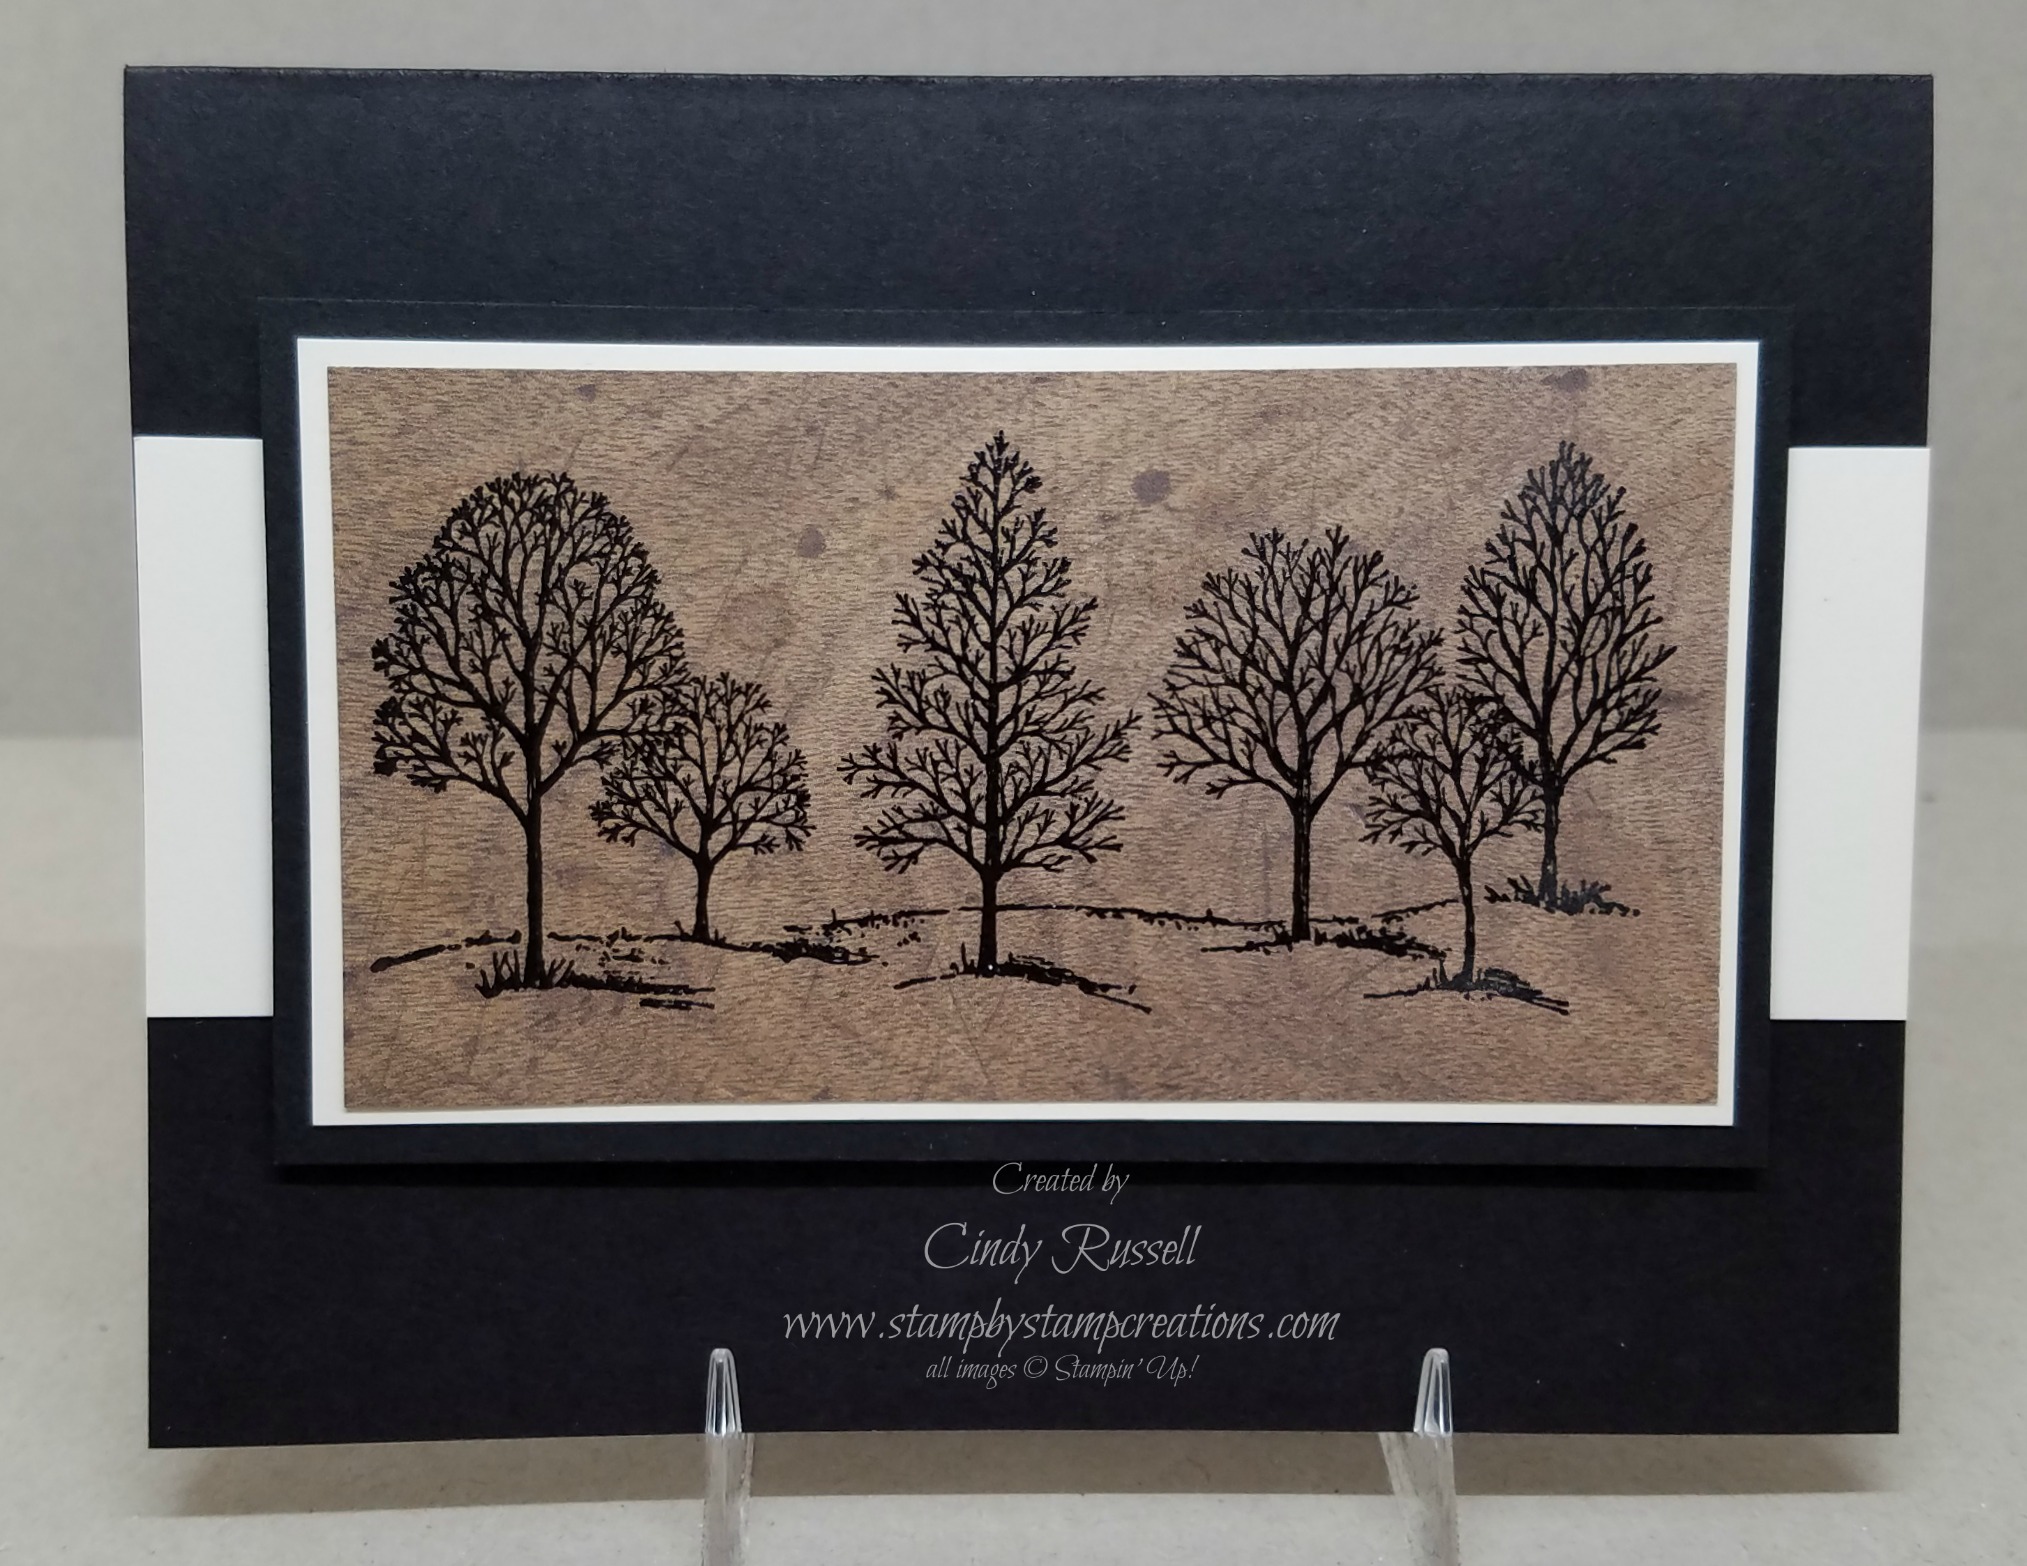
One of the big questions we always have when a new catalog comes out is whether or not the stamp set Lovely as a Tree will be in the catalog.  It has be around FOREVER!  It’s actually a running joke at Stampin’ Up! events.  It’s just a classic stamp set that doesn’t go out of style.

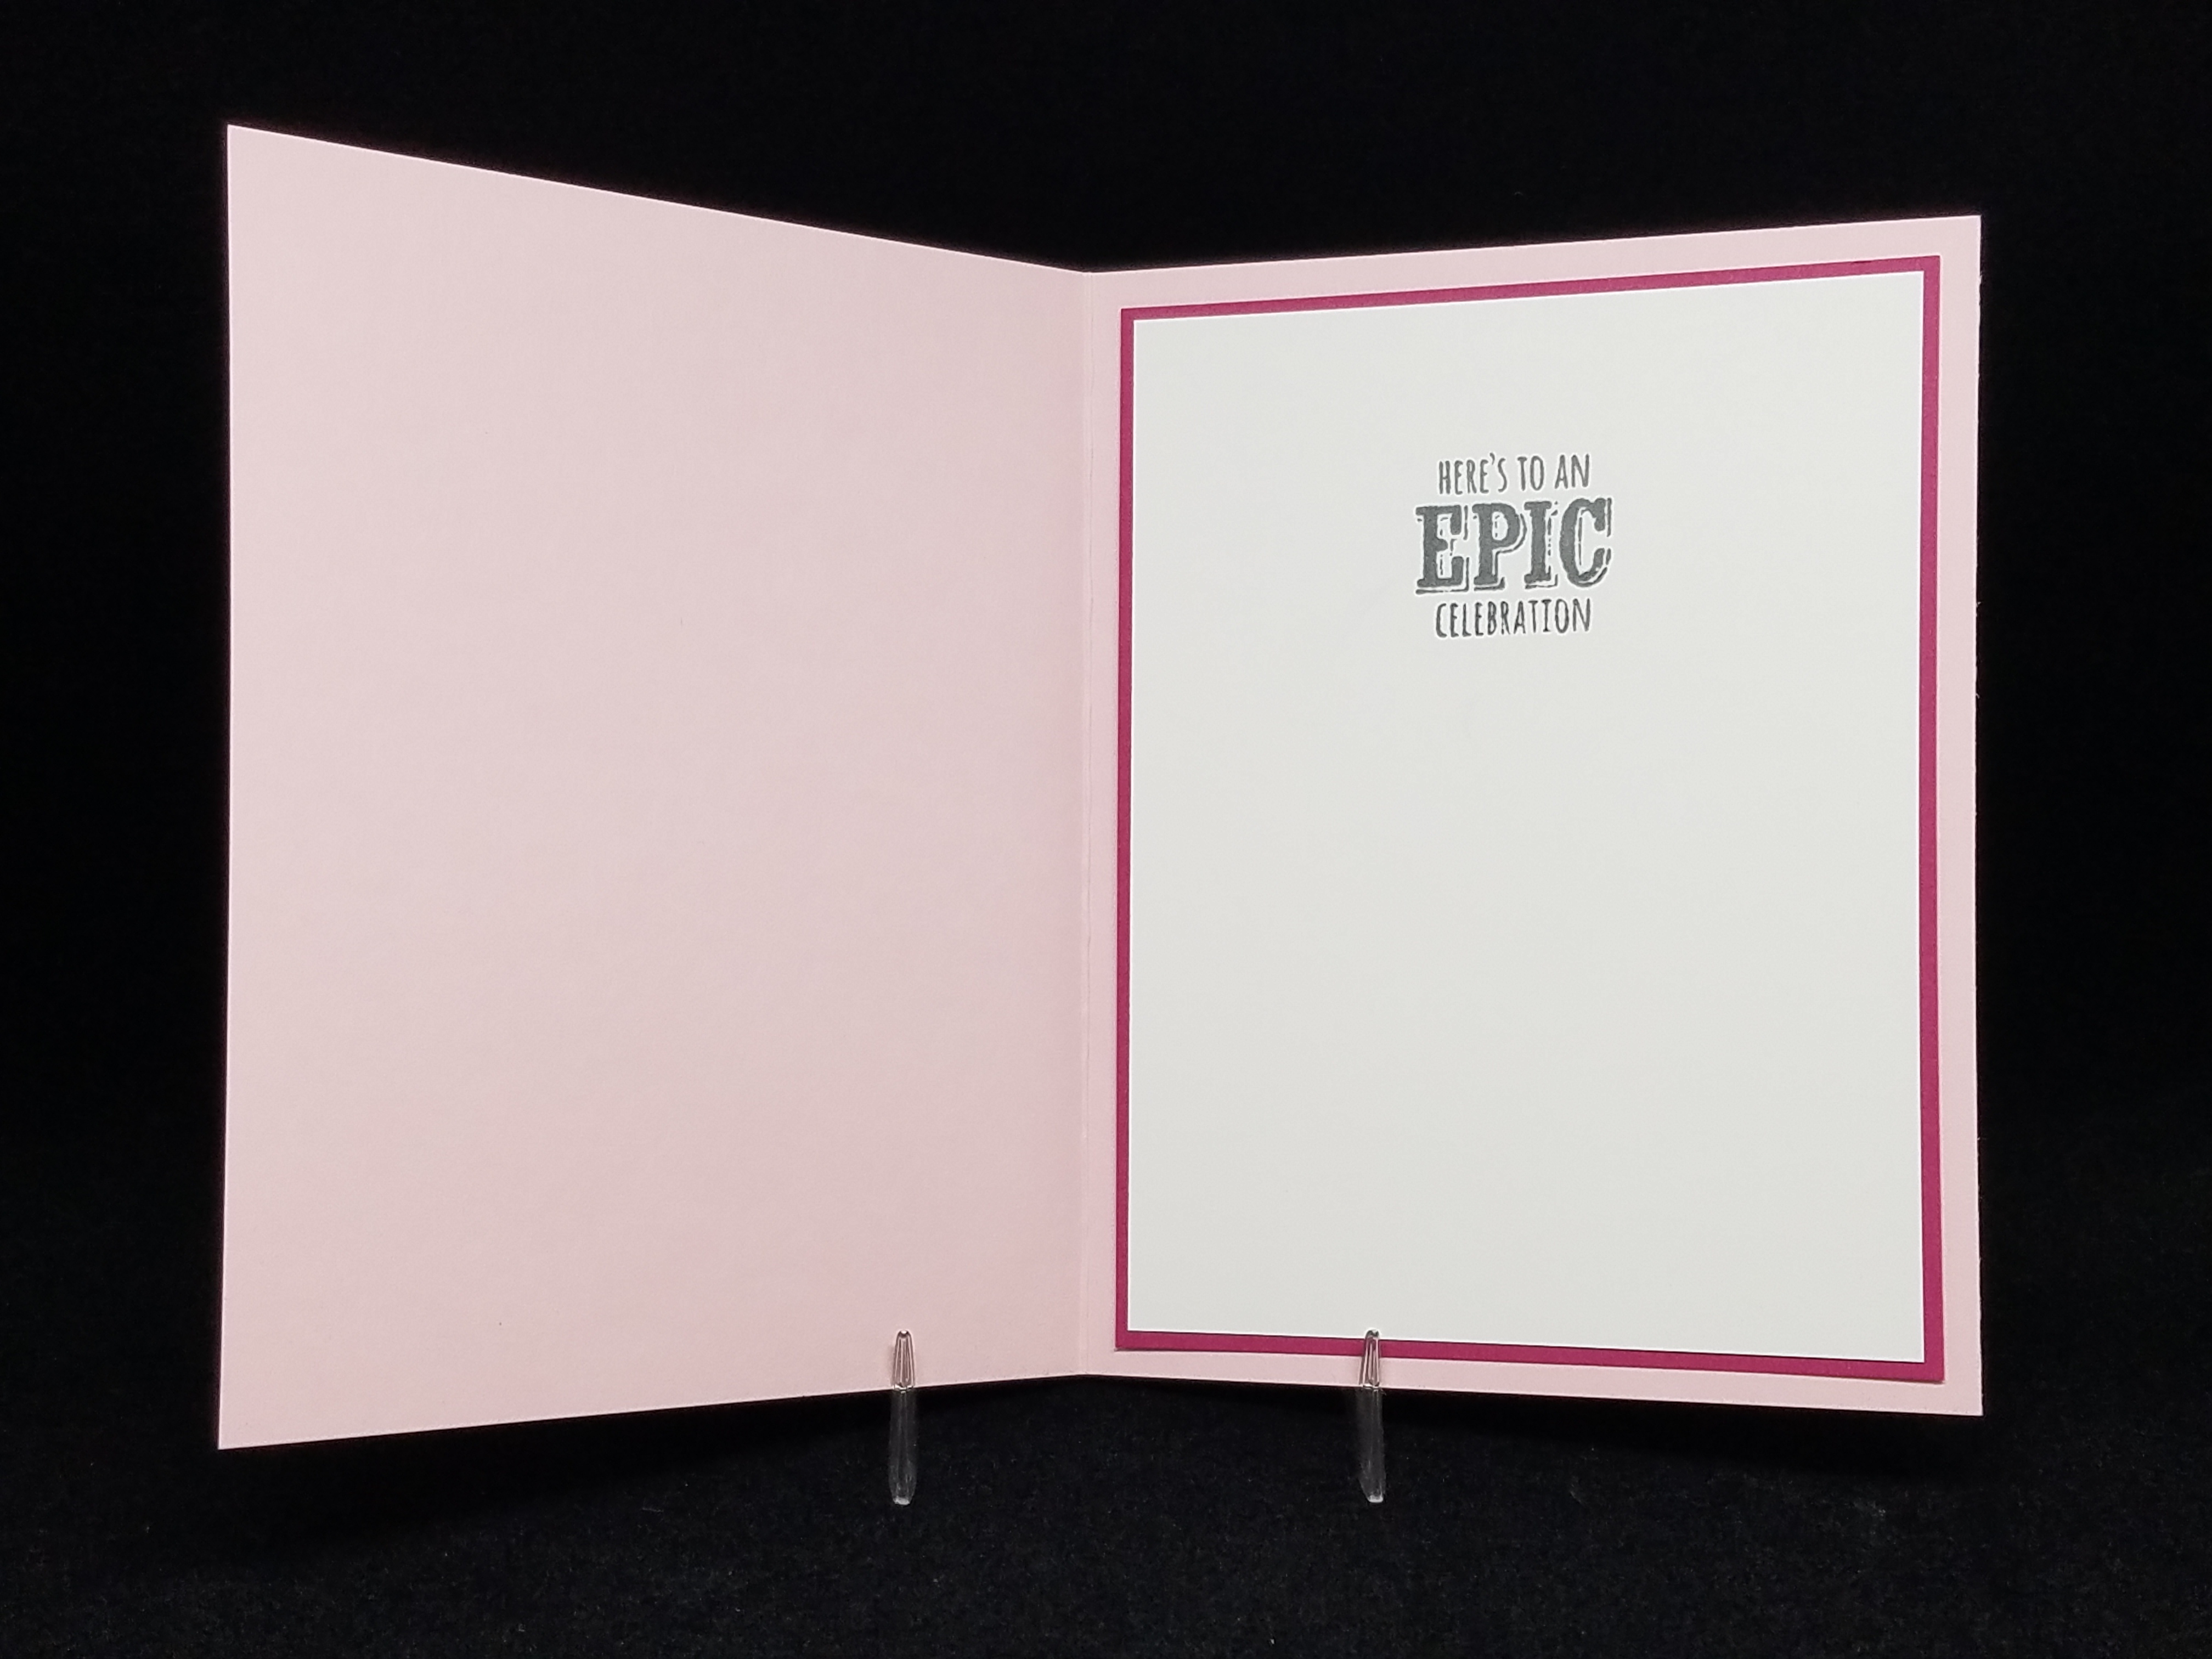
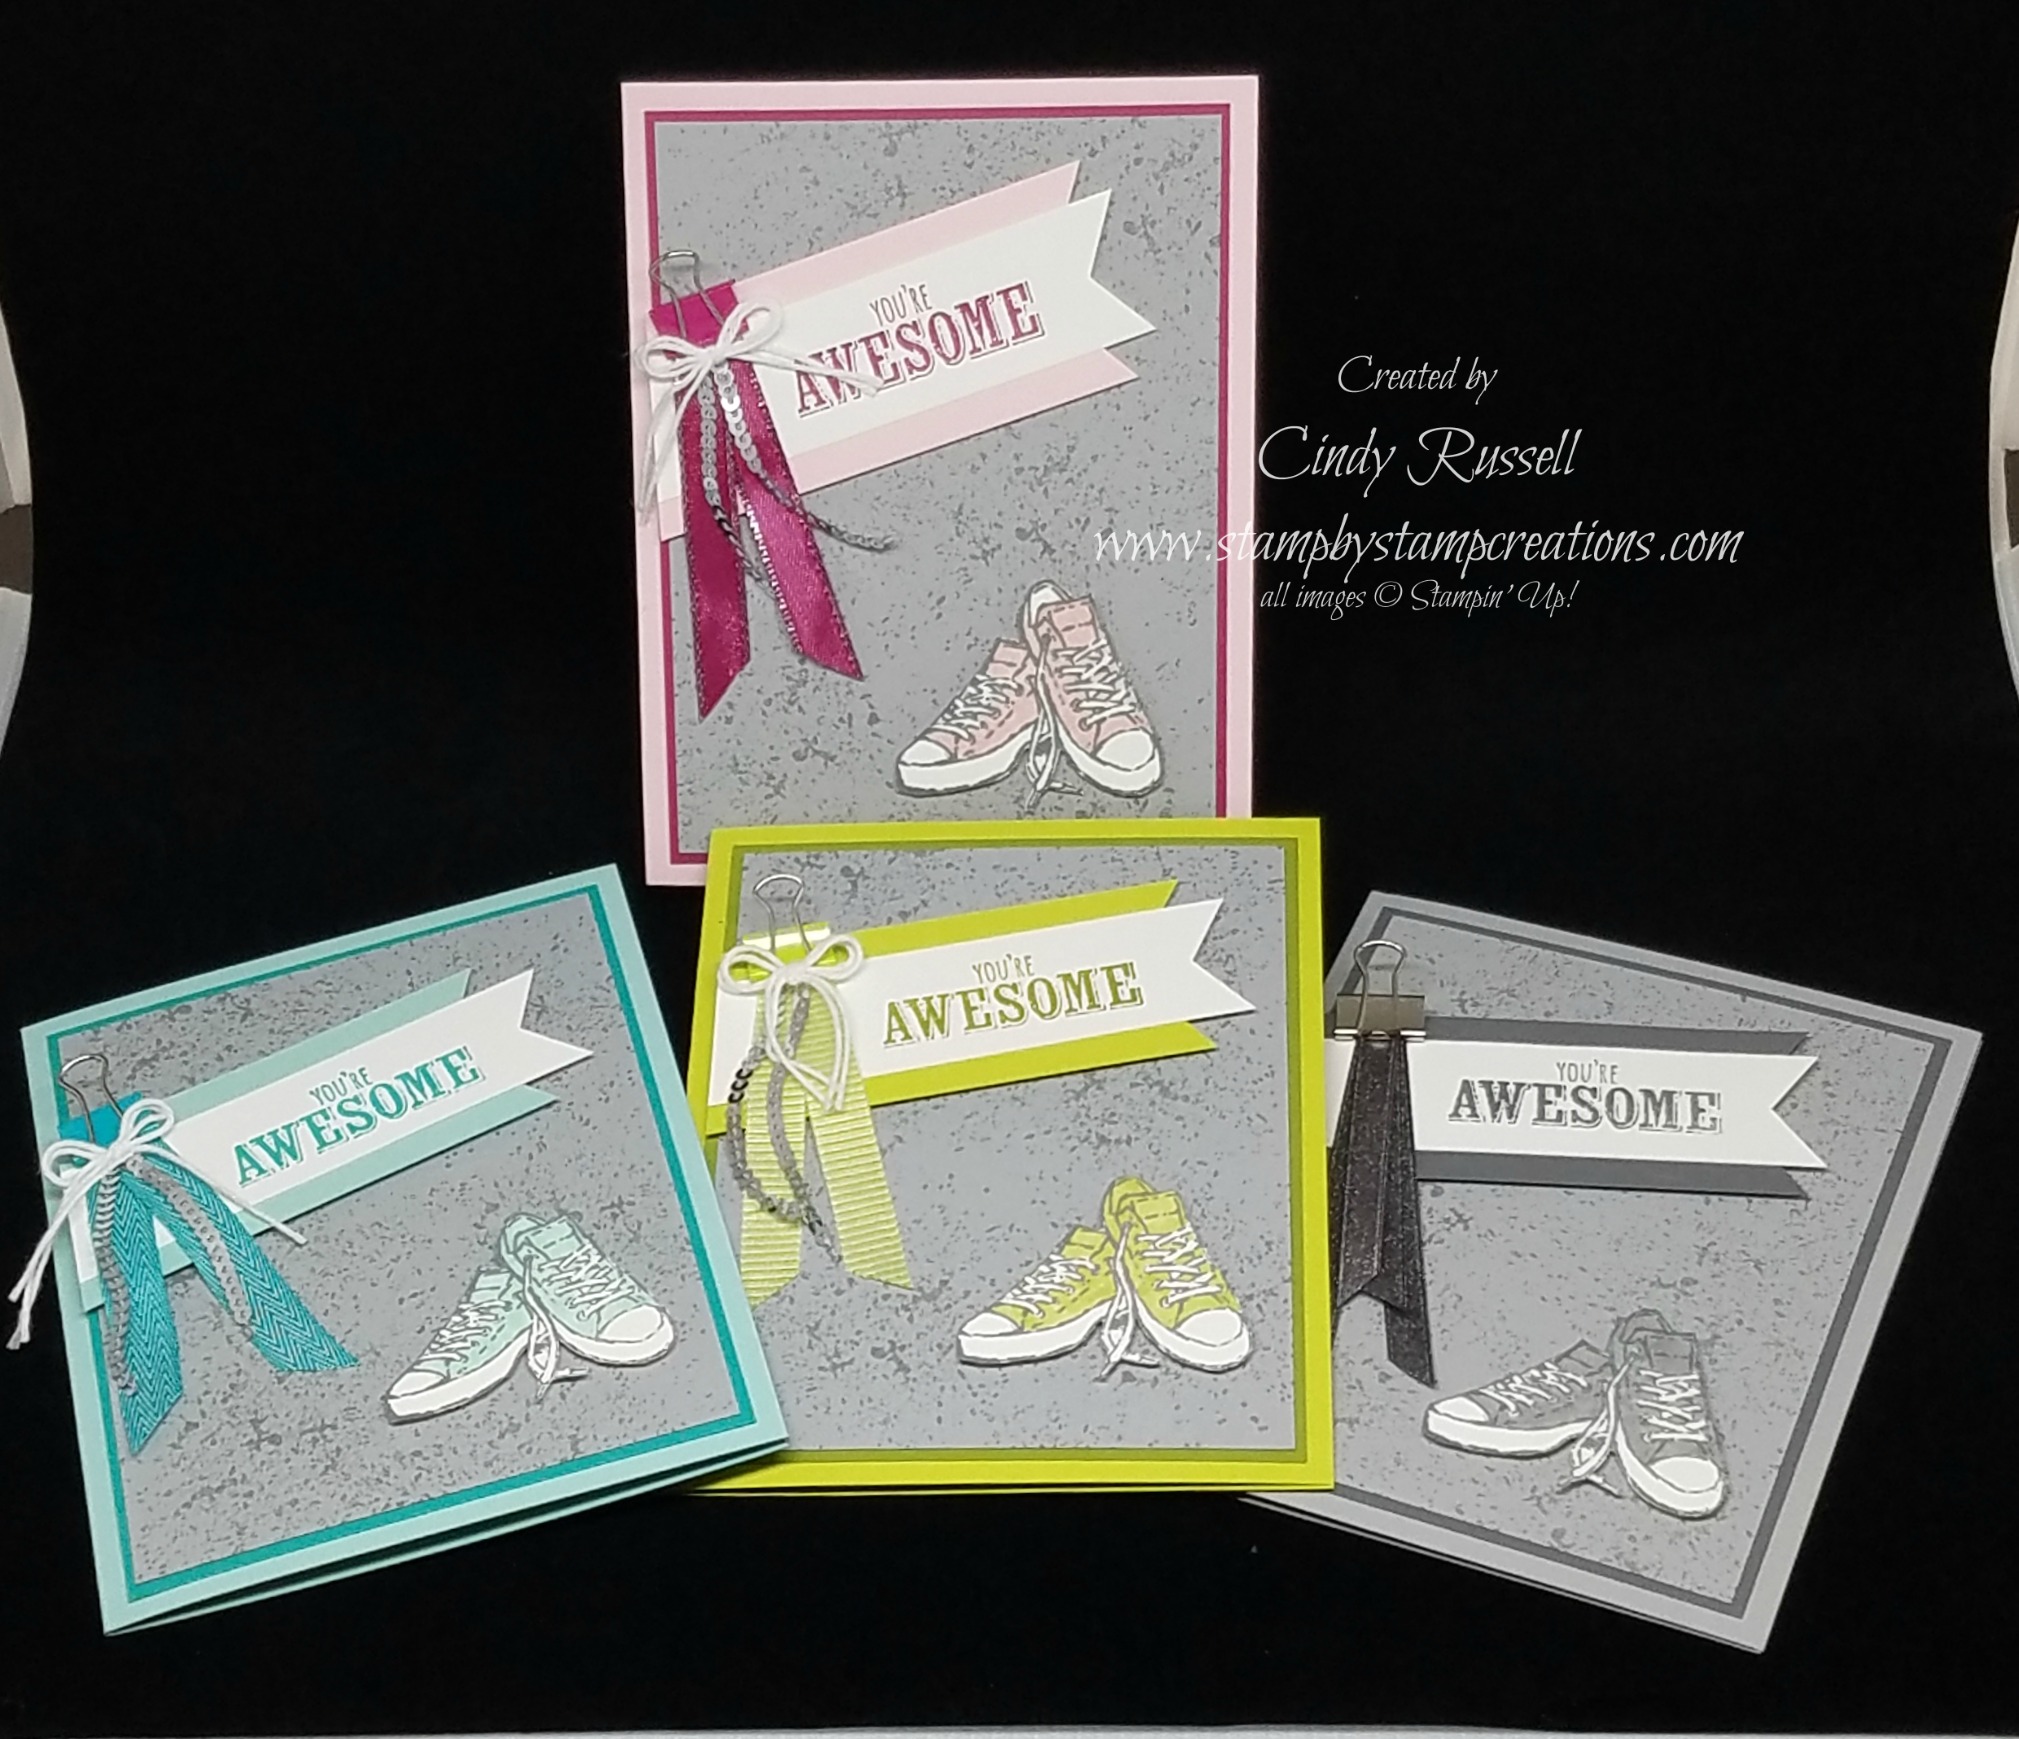
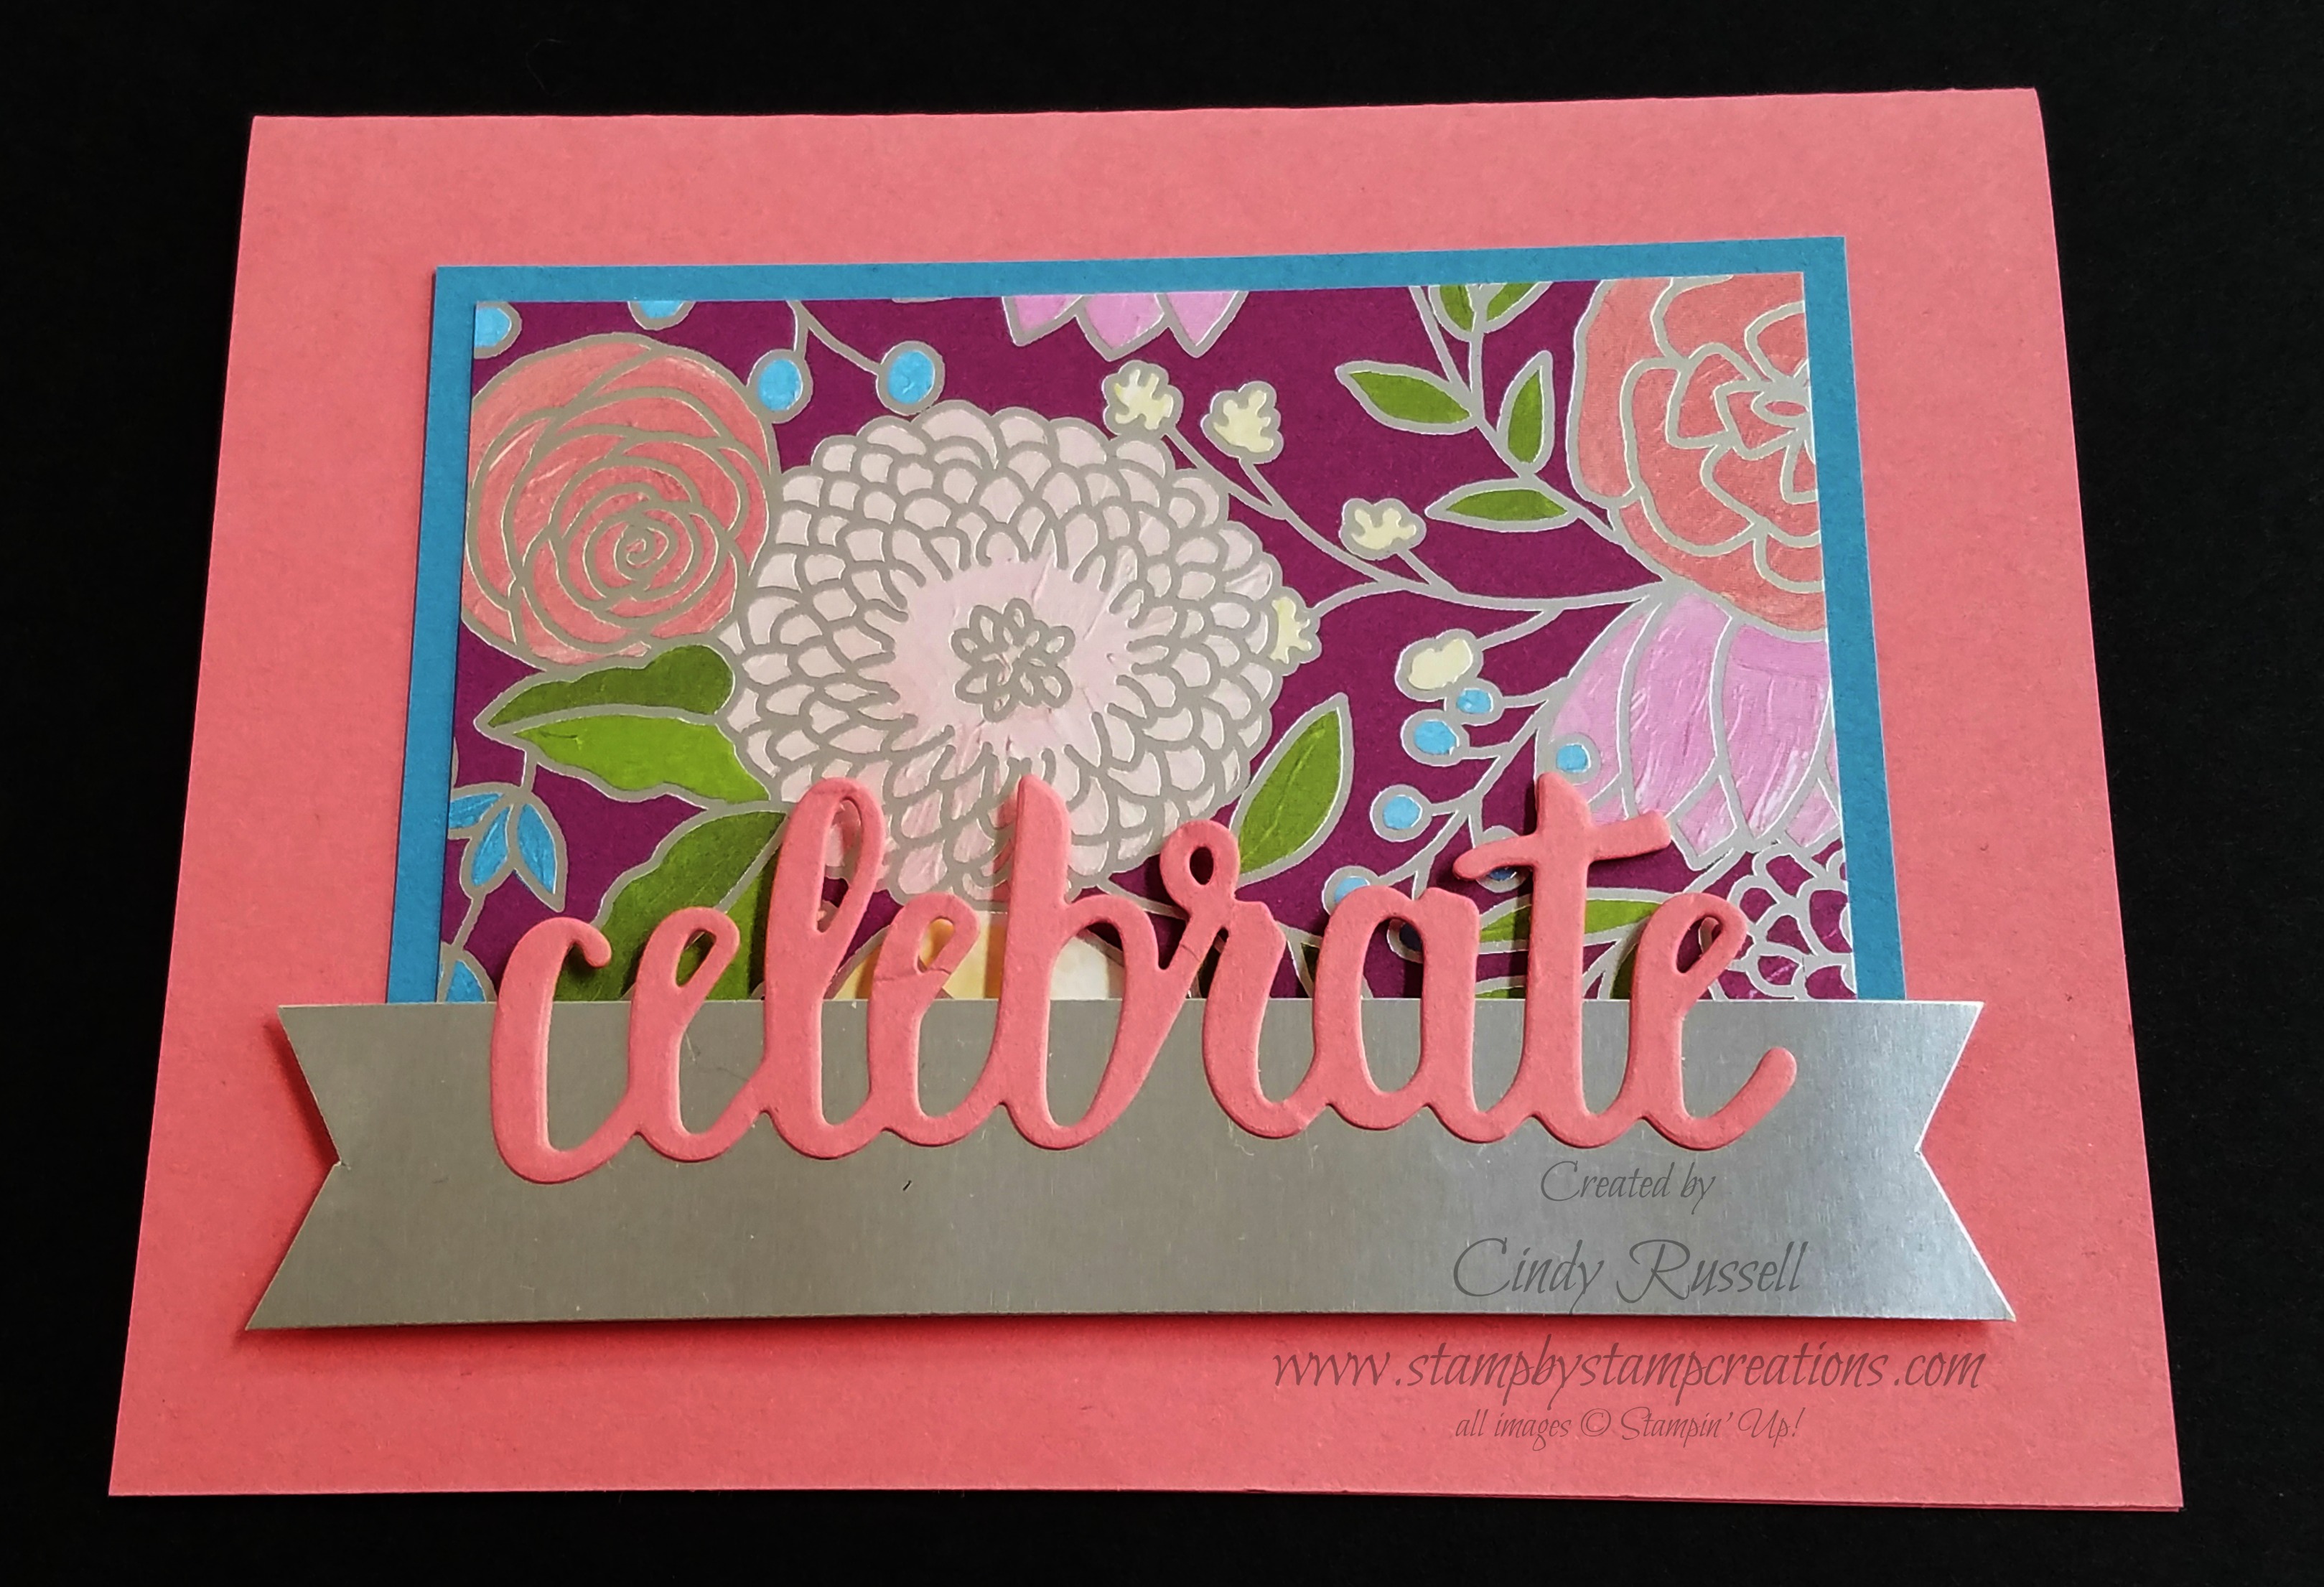
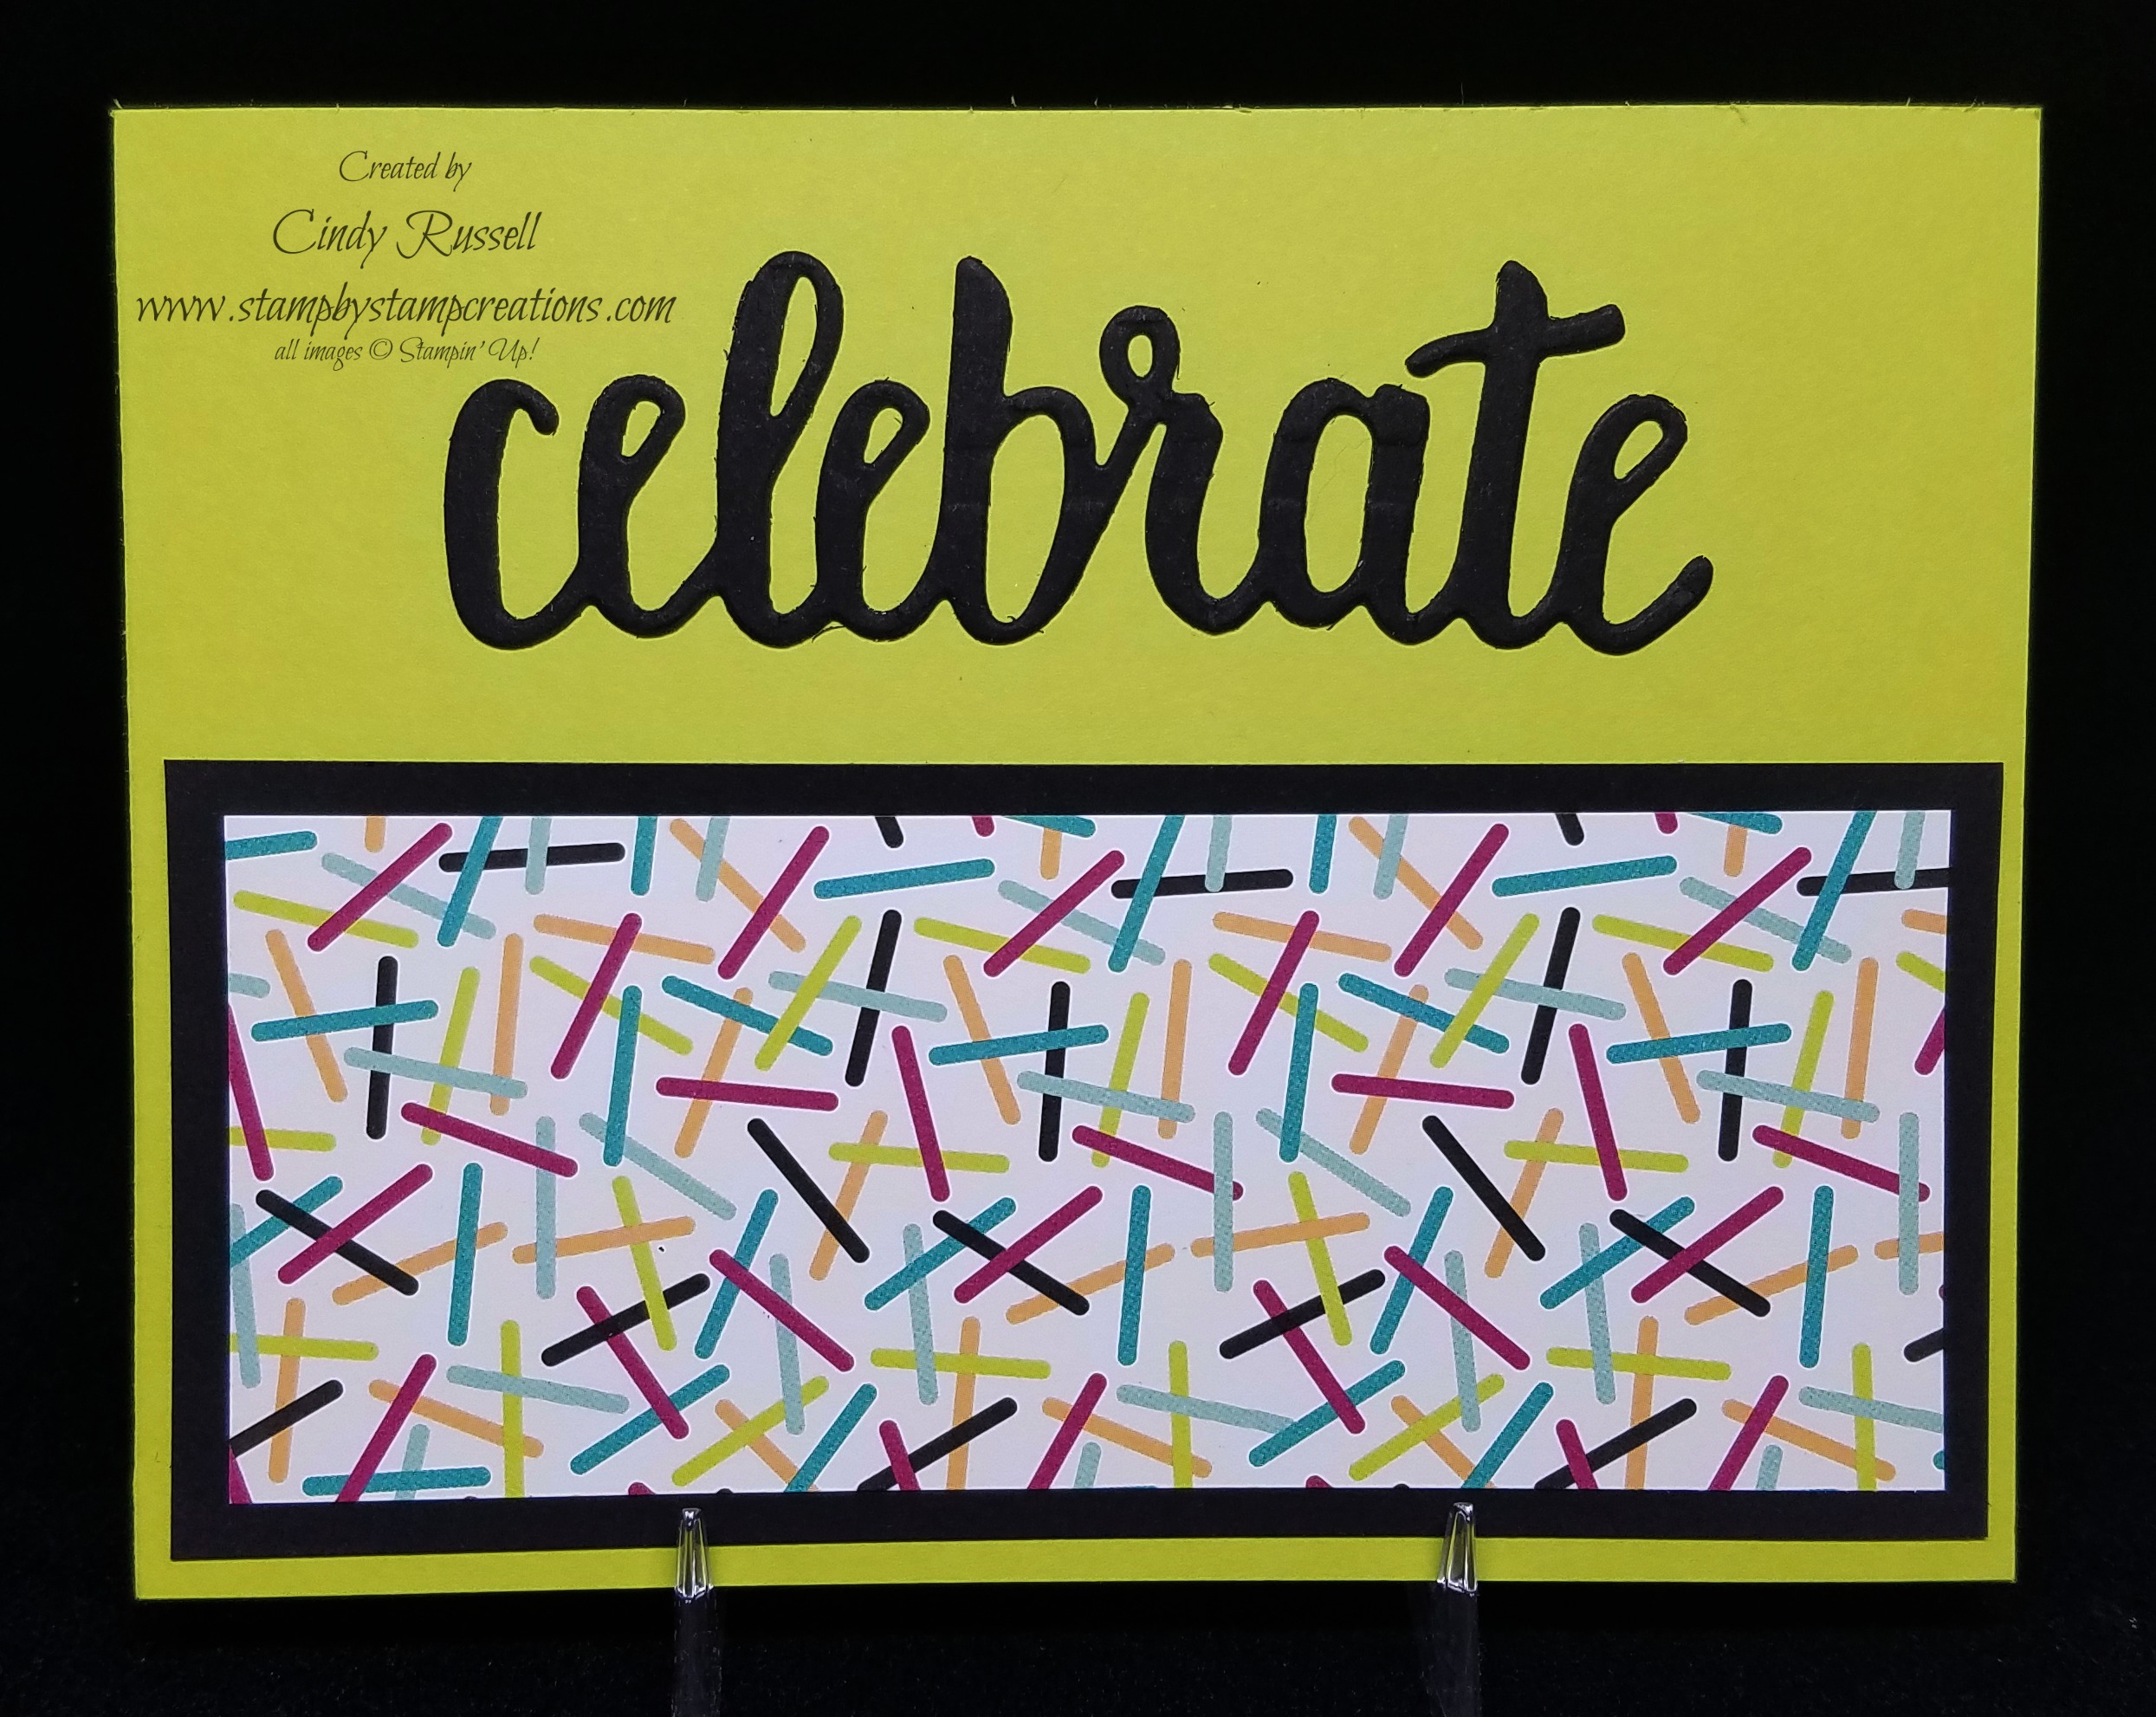
I used it here on this card for my upcoming Masculine Card Buffet…a classic card for any occasion.  I embossed the trees on the Wood Textures Designer Paper and then just layered away.  Very simple.  Very classic.  You really can’t go wrong with this stamp set.  I’d definitely recommend putting it on your wish list if you don’t already own it.

Happy April!  Happy Spring!  Have a great day and Happy Stamping!

Heartfelt Blooms

There is only one week and one day left of Sale-a-bration.  Oh, no!  It’s so sad when it’s over.  You fall in love with the items, play with them for a bit and then they’re gone.  Well, if you’re like me you have multiples of many of them because you place so many orders but as a demonstrator I don’t want to use these products in a class or share them with you because you won’t be able to get them anymore.

Heartfelt Blooms.0118Today’s card is made with one of my favorite Sale-a-bration items.  The Heartfelt Blooms stamp set is absolutely GORGEOUS!  It’s one that everyone should have in their collection.

Doesn’t this bouquet look real?  It should.  The designers took a photograph of an actual bouquet and then made it into a stamp.  Amazing!  Stampin’ Up! is actually getting a copyright for this type of stamp.

f98dd6bc07ef20721b79873e8c1bc229I haven’t tried this techinique yet but you can actually stamp this image and then color it with any type of medium you’d like.  I got this sample off of pinterest.

You definitely need this stamp set in your craft room.  I love the font and the sayings.  Perfect for a sympathy card.

So, what are you waiting for?  Get that order together and put this stamp set down as your Sale-a-bration choice (W-#147197 C-#147202)!  Don’t wait though.  Saturday, March 31st is the last day of Sale-a-bration.

Spring has Sprung

You're Inspiring.0318Happy Spring!  What better way to celebrate than with Daffodils!  This is an Easter card but you could easily change the sentiment on the card or even leave it blank.

It doesn’t quite feel like spring here in Denver because we actually got about 3″ of snow on Sunday evening.  We haven’t had a lot of snow this year so we were all pretty excited about the precipitation.

I had fun coloring these daffodils but it was hard deciding on what to color them with.  Should I use my new Stampin’ Blends?  Watercolor them? Use my Watercolor Pencils?  Decisions.  Decisions.  I decided on watercoloring….only because when we made this card in class I was already using both my sets of Stampin’ Blends on other cards!  Ha!  It’s nice to have choices though.

What is your favorite way to color images?  Please leave me a comment and let me know!  I think I prefer the Stampin’ Blends.  The only problem with them is that they don’t come in all of the colors.  Hopefully that will change.  🙂

You're Inspiring.1.0318Can you tell from the picture that the card front isn’t full size?  I cut my cardstock 5 1/2″ x 7 5/8″ and then scored it at 4 1/4″.  Then, after embossing the Old Olive cardstock I adhered it to the inside of the card which then shows when the card is closed.  It’s just makes the card a little unique.

Since it is Spring today I should probably take down all of my snowman decorations.  They’ve been up since January and I think the time has come to pack them up.  I have quite a few so I better get started….

Have a great day!  Take care and Happy Stamping!  Think Spring!

Easter Peeps!

Peeps.0318What would Easter be without Peeps?  Well, luckily we don’t have to find out.  If you don’t want to eat them, you can send them on a card.

I found this adorable idea on Pinterest (of course!) and had to copy it.  These little Peeps are so simple and so cute.  The hardest part is just punching out the little circles for the eyes and noses and putting them on the bunny.

Would you ever have guessed that the bunnies are made from the Cookie Cutter Builder Punch?  After you punch out the cookie cutter shape you just need to cut off the arms, turn it upside down and use the legs as the ears to the bunnies!  How clever!

The hardest part of making the card was deciding on which designer paper to use.  🙂

The little faces are made from the retired Small Oval Punch.  Luckily I never get rid of anything….ha!

So, I have to ask….do you actually like to eat Peeps?  They definitely aren’t my favorite Easter candy.  Why eat sugary marshmallow candy when you can eat chocolate!  Am I right?  🙂

I hope you have a wonderful day.  Take care and Happy Stamping!

A Lovely Easter Cross

Hold on to Hope.2.0318Yikes!  We’re coming up on the middle of March which means that Easter is just around the corner!  How did that happen!  Since Easter is coming up so fast I should probably show you another Easter card.

I think his card turned out really nice.  I love the crosses in the Hold on to Hope bundle.  Yep….a bundle….COORDINATION….my favorite!  There’s only one cross in the Hold on to Hope stamp set but there are 4 different crosses in the Cross of Hope Framelits set.  One of the framelits fits the cross in the stamp set, 2 are more decorative and then there is a smaller cross to die cut.

The cross on this card is die cut with one of the decorative framelits.  It was so easy to attach to the card when I used my Multipurpose Adhesive Sheets!  I just cut a piece of adhesive sheet slightly smaller than my piece of Silver Foil and adhered it to the back of the foil sheet then die cut.  Remove the backing and stick down the cross on your card!  Easy Peasy!

Doesn’t the little corner piece finish off the card perfectly?

I probably should make a few more of these so I can actually send Easter cards this year….although this card could be used for other occasions too.

Have a great day!  Take care and Happy Stamping!

Blossoming Basket

Blossoming Basket.0313This beautiful card was made using the new Sale-a-bration stamp set Blossoming Basket.  Actually, I should clarify…it was made with a Sale-a-bration BUNDLE.  This stamp set and the Basket Weave Embossing Folder together are a Level 2 Sale-a-bration item meaning you can get the bundle for FREE with a $100 order.

This stamp set is quite fun to color.  You can use your watercolor pencils, your ink pads and an Aquapainter or you can use your Stampin’ Blends like I did.  Of course once I was done coloring I had to go over the flowers with my Wink of Stella Glitter Pen!  You’ve got to have a little sparkle!  🙂

Do you want to know a little secret?  The Basket Weave Embossing Folder will carry over into the new 2018-2019 Annual Catalog.  The stamp set won’t, but the embossing folder will.  🙂

This is a fun embossing folder.  I’ve seen tons of cute things made with it.  Get your hands on it now while it’s FREE!   Sale-a-bration ends in a few short weeks so don’t miss out on getting your favorite item(s)!

Have a great day!  Take care and Happy Stamping!

Lots of Happy Card Kit

Who doesn’t love kits?!  They’re fast.  They’re easy.  And all of the designing, planning and cutting is done for you!  I especially love all-inclusive kits where everything you need to make all of the projects comes with the kit.

Lots of Happy Kit.0318This Lots of Happy Card Kit is all-inclusive and it was really fun to make.  Do you love coloring?  Then this kit is for you!  With this kit you can make 20 different cards in 5 different sizes.  How fun is that?!

The little stamp set that comes with the kit has 5 different sayings and a couple of floral images.  The kit comes with one Basic Black Ink Spot as well as 4 full-size Watercolor Pencils.  You do need a Blender Pen if you want to blend the images you’ve colored and you need  your own adhesive.  The kit even comes with a clear block for the stamps!

This kit was fun to make although there was a lot of coloring involved.  I didn’t try to make the kit all at one time.  I think I broke it up into a couple of coloring sessions and then an assembly session.

Lots of Happy Kit.1.0318The cards are really cute.  In this picture you can see the vellum leaves that go on all of the cards.  The images that you color are all die-cut so you don’t need to do any fussy-cutting.

You can check out the kit on page 15 of the Occasions Catalog.  Guess what I just noticed when I was looking on page 15….you can purchase a refill for this kit which will contain all of the cards and accents you’ll need to make 20 more cards!  Woo Hoo!  If you’d like give this kit a try just head on over to my online store!

P.S.  If you purchase the kit, the blender pens and your favorite adhesive you will qualify for a Sale-a-bration item!  Woo Hoo!  But only until March 31st!

Epic Celebrations

Epic Celebrations1.0118There are lots of March birthdays around here.  My niece is one of those birthdays and she turns 17 on Sunday.  I was talking to my mom the other day and she mentioned that she got Abbey a pair of high-top tennis shoes for her birthday and I knew I just had to send this card!  How perfect!  🙂

I got the idea for this card from fellow demonstrator Tanya Bell…Thank you Epic Celebrations1a.0118Tanya!  I switched up a few things to make it my own but the general layout came from her.  I love that we demonstrators are happy to share ideas with each other.

You can see in the second picture how I added just anther layer to the inside of the card to make it pop.  I really like doing this….it makes such a difference.

Epic Celebrations is a fun little stamp set and perfect for teens.  Besides the tennis shoes stamp there is a guitar stamp and a headphones stamp.  This is a Sale-a-bration stamp set meaning you can choose it for FREE when you place a $50 order.  Don’t miss out though….Sale-a-bration ends on March 31st!

Epic Celebrations5.0118One of the things I like best about this card is that you can make it in so many different colors!  I made a card in each color that the little binder clips came in.  You can see the different color combinations that I used here.  On the gray card I left of the sequin trim and the baker’s twine bow to make it more of a guy card.

Aren’t the little binder clips cute!  They do make the card a little difficult to mail.  I ended up putting the card in a larger padded envelope to make sure it would arrive at it’s destination.

You could send this card for many occasions….just leave off the sentiment on the inside of the card.  Maybe I should send one to all of you because I appreciate you…YOU ARE AWESOME!  Thank you for reading my blog.  Are you on my email list yet?  If not, just sign up in the box above on the right!  Have a great day!  Take care and Happy Stamping!

Another Celebrate You Thinlits Card

Celebrate.0118I love the Sale-a-bration Celebrate You Thinlits!  It’s so easy to make a card with some beautiful designer series paper and the “Celebrate” thinlit.

I designed this card for my Sale-a-bration Celebration back in January.  It was an open house and a sale of my retired items.  For this card I used the absolute gorgeous Sweet Soiree Specialty Designer Series Paper.  The whole pack contains designs that look handpainted and they all have a touch of silver foil on one side of them.  GORGEOUS!

To adhere the “celebrate” to the strip of silver foil on my card I used the Multipurpose Adhesive Sheets (144106 $10, pg 203 in the Annual Catalog).  These sheets are a must when adhering fine thinlits and small pieces that you die cut or punch out.  You simply cut your adhesive sheet to the size (or slightly smaller) of the piece of paper you are die-cutting.  Remove one side of the backing and adhere the adhesive sheet to your cardstock.  Die cut your image with the cardstock side up.  Peel the backing off the adhesive sheet and adhere!  This really works slick.  On my card above I only had the adhesive sheet on the lower half of my cardstock so that I could pop up the strip of Silver Foil with Stampin’ Dimensionals.

Ta Da!  A gorgeous card with absolutely no stamping!  🙂

If you haven’t tried these Multipurpose Adhesive Sheets you really must.  They make card making SO easy!

Have a great day!  Take care and Happy Stamping!

Sale-a-bration Celebrate You

Oh, no!  Only 5 weeks left of Sale-a-bration!  Have you picked out your favorite Sale-a-bration item?  Have you placed your order so you can receive your FREE Sale-a-bration item?  If not, don’t wait!

Celebrate You Thinlits1.0118The Celebration You Thinlits are one of my favorite Sale-a-bration items.  With this package of thinlits you can die cut the words “celebrate”, “amazing” and “you”.  Best if all…they are a Level 2 Sale-a-bration item and you can get them for FREE with a $100 order!  🙂

Celebrate You Thinlits2.0118You can’t go wrong pairing “celebrate” with the fabulous and fun Picture Perfect Party 6 x 6 Designer Series Paper Stack!  There are some fun designs in this package of paper!  One side of all the different designs is a photographic image of things….party blowers, gifts, party hats, bows, balloons…the images are quite fun!  Check out page 5 in the Occasions Catalog to see them.

Lately I’ve started spicing up the inside of my cards.  I’ve found it really makes a difference in the finished product.  Even just adding that extra border makes a big difference.  What do you think?  Do you like to just put the piece of Whisper White cardstock on the inside of your card or would you like to add the extra piece of Basic Black to make the white pop?  I’d love to hear your opinion so leave me a comment!

Have a great day!  Take care and Happy Stamping….don’t forget to place that order to get your FREE Sale-a-bration items!

Party Pandas

Party Pandas.0118Winter colds….who needs them?!  I sure don’t.  I came home from the mountains with one and it’s messed up my whole schedule.  No big deal really but it’s SO annoying!  My cold wasn’t bad enough to be stuck in bed or anything but it was just enough to make me a lazy slug…”oh, I should just relax and read my book because I don’t feel well”….sheesh!  How’s a girl suppose to get anything done?!

Well, I’m back on my regular schedule…at least I hope I am!  I’m going to start by actually posting a project….yes…you heard me right…it’s time to start posting again!

We’re going to start with these adorable Party Pandas!  This is Sale-a-bration stamp set is definitely one I’ll be hanging on to! TSC!!  Too Stinkin’ Cute!  This Sale-a-bration stamp set has three adorable little partying pandas in it along with three little phrases and a little confetti stamp.  There are so many fun things you can do with this set.  My card was for this past week’s Card Buffet Class so it’s pretty easy.  A couple of stamps, some layers, a bit of designer paper and a little coloring with the Stampin’ Blends.  That’s it!  So easy, but SO cute!  🙂

Partying Pandas is a Level 1 Sale-a-bration stamp set meaning it’s one you can choose for FREE with a $50.  Who doesn’t love FREE?!  If you haven’t placed an order during Sale-a-bration yet you may want to get that order together because there’s only a little over 1 month left!  Yikes!  Only 4+ weeks left to get those FREE items with qualifying purchases!  Don’t miss out!

I hope you have a fun day and a fabulous weekend.  Maybe you can party with the pandas!  🙂

Take care and Happy Stamping!

Beautiful Paper Pumpkin!

PaperPumpkin0218You are not going to believe this!  After being up in the mountains for a week I came home to discover my February Paper Pumpkin kit waiting for me.  Here’s the unbelievable part….I sat down that very day and made my Paper Pumpkin kit!  Yep…I didn’t just place it on the shelf with many of my past kits….I actually made it!

I’m so glad I did!  It’s a fun, easy and beautiful set of cards with coordinating envelopes.  The kit actually made 3 of each of the 3 designs shown.

Are you a Paper Pumpkin subscriber?  No?  You should be!  The monthly kits are a fun and easy way to make a new project every month that you don’t have to design!  🙂

In March Paper Pumpkin is celebrating their 5th Anniversary.  Wow!  5 years!  As a special thank you to Paper Pumpkin subscribers they are including a special gift in the March kits.  I can hardly wait!

It’s not too late to subscribe in order to receive your special gift in the March kit.  You have until March 10th…but don’t wait….you don’t want to forget!

You can either purchase a monthly subscription where your credit card will be charged monthly when the kit is shipped or you can purchase a prepaid subscription from my online score.

To purchase a monthly subscription simply go to the Paper Pumpkin website and click “subscribe” at the top.  While entering your information you will be asked who your demonstrator is.  If my name doesn’t already show up, please enter it so I can receive credit for your subscription.  A monthly subscription is only $19.95 a month which includes shipping.

A prepaid subscription can be purchase right in my online store.  You can purchase a 1 month, 3 month, 6 month or 12 month subscription.  The important thing to remember right now is that if you do purchase a 3, 6 or 12 month subscription you get to choose Sale-a-bration items!  Woo Hoo!  Free stuff!  You can check out the prices for these subscriptions in my online store.

Consider signing up for Paper Pumpkin…I know you’ll love it.  The kits just keep getting better and better!

Have a great day!  Take care and Happy Stamping!

Happy Birthday Dear Friend

Heart Happiness1.0118Happy Birthday to my dear friend Joann.  Unfortunately I don’t get to celebrate with her this year as she passed away about a year and a half ago.  I sure do hate cancer!

She is definitely missed but never forgotten.  I think of her today as we head up to Breckenridge in the Rocky Mountains for a week at our time share.  Joann and her husband used to always come with us and we had some pretty good times.  Breck.1.0215Skiing, dining out, and just hanging out.  Here’s a picture of the two of us up in Breck doing what we do best:  just hanging out!  🙂

Cheers to you Joann!

This card is made with the Heart Happiness stamp set and is actually one of the very first cards I made using a stamp set from the 2018 Occasions Catalog!  Of course I used the new Stampin’ Blends Alcohol Markers to color the heart.  The sentiment is from the Dragonfly Dreams stamp set.  Simple, yet elegant….my favorite type of card!

Have a great day!  Take care and Happy Stamping!  I’ll try to stay in touch next week although I might be quite busy doing not much of anything!  🙂

Sure Do Love You

Sure Do Love You.0118Here’s another card for you that’s perfect for Valentine’s Day, an anniversary or whenever.  It’s made with the Sure Do Love You stamp set and the COORDINATING Lots to Love Box Framelits.  Yep….COORDINATING.  You know how much I love that!  🙂

I used some bright fun colors on this card that COORDINATE with the fun Painted With Love Specialty Designer Series Paper.  If you haven’t checked out this designer paper you really must!  It’s fun.  It’s bright!  It has gold foil on EVERY single sheet!  You can check it out on page 13 of the Occasions Catalog.  For some reason, this paper reminds me of lipstick.  some of the patterns are like lipstick swatches.  I know, that sounds really weird but the pinks and purples in the paper would make great lipstick colors….maybe Stampin’ Up! needs to start a new side business.  🙂

I popped up the layer of Shimmery White cardstock to give the heart window a little dimension and I embossed the leafy heart.  Yes….you can emboss with Stampin’ Up’s Classic Stampin’ Pads and Clear Embossing Powder.  Just get the powder on the ink fairly quickly before it dries.  It works really well.  Give it a try!

Do you have your valentines ready to mail?  I may actually try to mail some this year….just don’t hold me to that!  Ha!  Have a great day!  Take care and Happy Stamping!

Heart Happiness

Heart Happiness2.00118Yikes!  It’s almost February and I’ve hardly showed you any valentine cards!  I better get on that!

This is a favorite of mine from my last class and it was a favorite in the class to.  So simple.  So striking.  You can’t go wrong with that black and red color combination.

The Heart Happiness stamp set (pg 20 in the Occasions Catalog) is a very versatile stamp set of mostly all hearts.  There is one tiny leaf stamp and one small flower stamp by the flower stamp will fit perfectly in one of the Sweet & Sassy Heart Framelits.  In fact, six of the heart stamps will fit in some of the Sweet & Sassy Heart Framelits and two others will fit in heart framelits from the Lots to Love Box Framelits!  Woo Hoo!

I’ve also used a number of items from the Petal Passion Suite found on pages 22-23 of the Occasions Catalog.  I LOVE this suite.  That black and white paper and that stamp set just call to me!  The die I used on the label also from this suite.  Love, love, love it!

Speaking of the label….did you notice that the rhinestones on it are red?  I used my Light Cherry Cobbler Stampin’ Blends marker to color them!  Isn’t that fun!  You can color many things with these versatile alcohol markers.  Have you tried them yet?

Do you have a favorite suite or item from the new Occasions Catalog? Leave a comment and let me know.  I’d love to know what you think.

The first month of Sale-a-bration is over….but there are two more left!   Guess what?  There are some new Sale-a-bration items coming in just a few weeks!  I’m so excited…as a Stampin’ Up! Demonstrator I can order them tomorrow!  Yep, that’s one of the perks of being of demonstrator!  You get early access to new products!  That’s one of my favorite perks since I have the patience of a little kid when it comes to new products!  Ha!  If you’d like to be able to have early access to new products and receive that 20% discount on all Stampin’ Up! products be sure to hop on over to my website and click on “Join the Fun”!  I’d love to have you as part of my Sassy Stampers Team!

Have a great day!  Take care and Happy Stamping