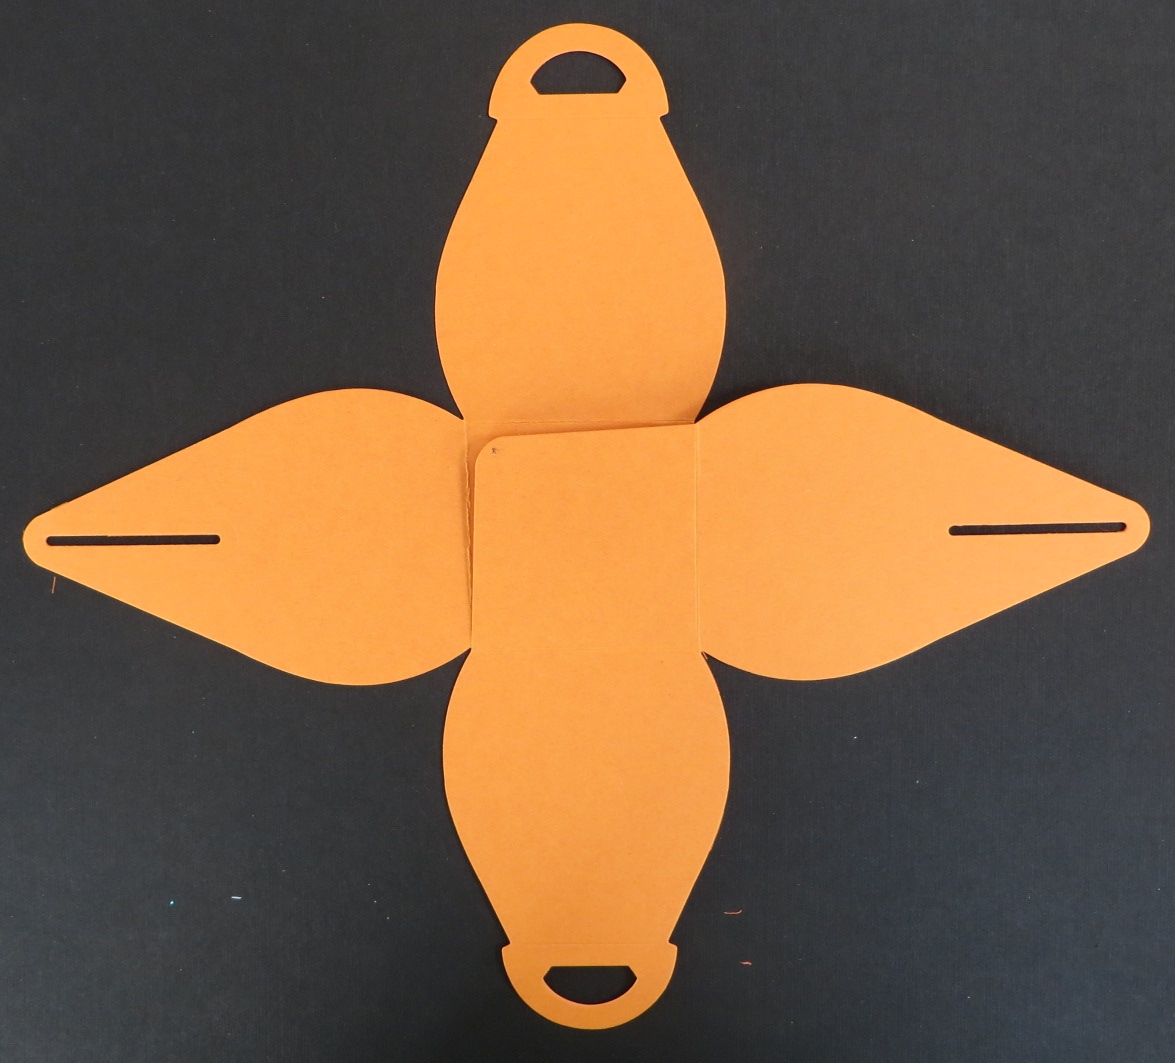
 Did you notice how I didn’t say Classy WINE Bottle Tag in the title? That’s because this project can be so much more! You can use it for any type of bottle. How about fancy home-made flavored oils? Yep. There are many types of bottles out there so don’t be limited .
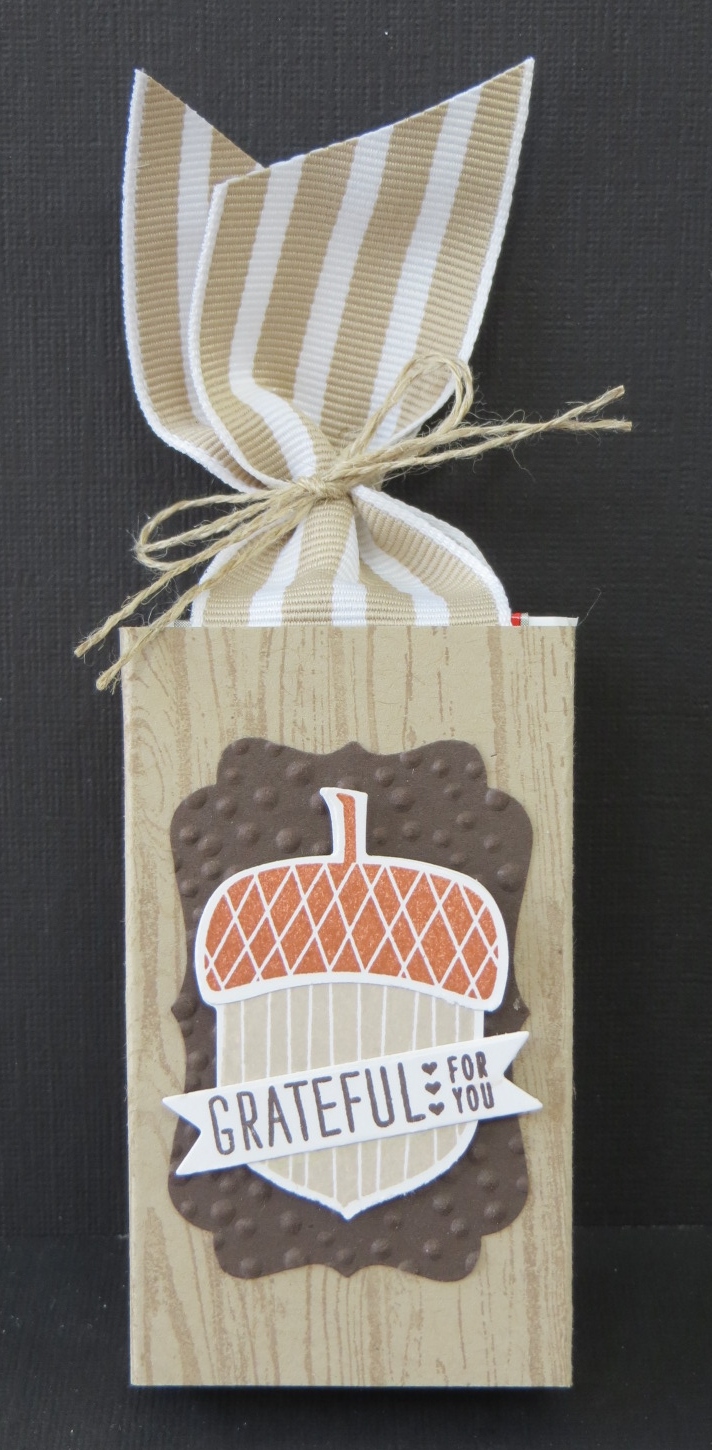
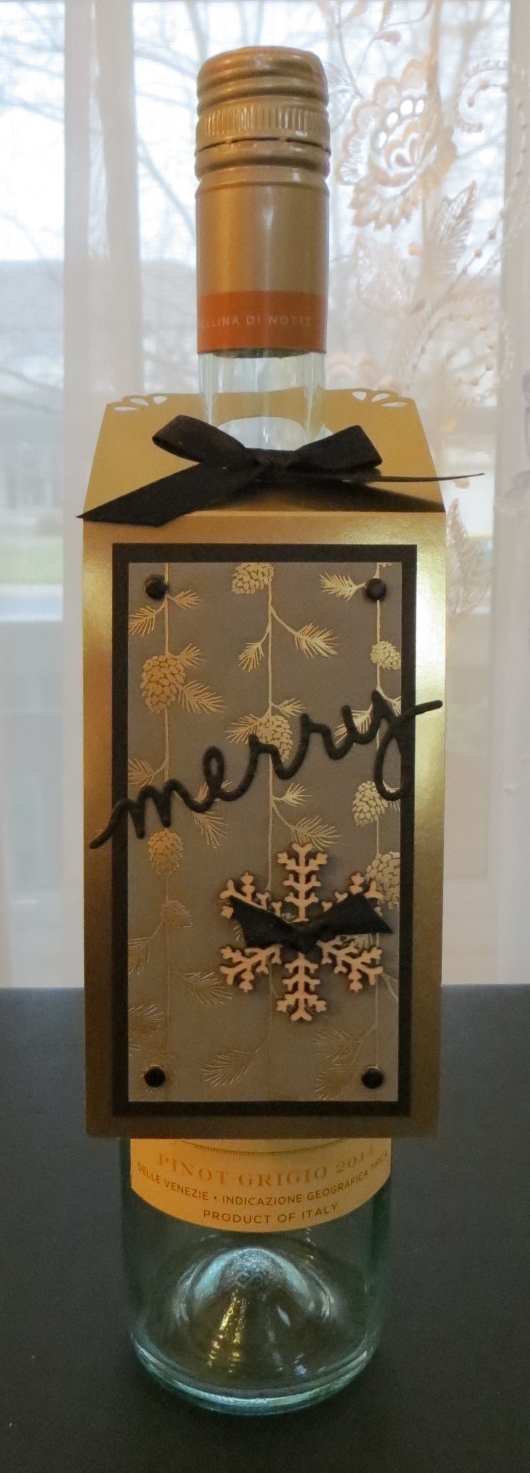
I had to use the word classy just because of the fancy black and gold color scheme. Isn’t it sharp looking? This was one of those projects that when I finished it I just sat back and smiled. It made me happy that it turned out so well!
I started with the Gold Foil sheet then decorated it with the fabulous Winter Wonderland Vellum and some Basic Black card stock. The vellum is GORGEOUS! Of course with vellum you have to figure out how to adhere it so that the glue doesn’t show. Well…I had a brain storm! 🙂
I first adhered my Candy Dots to the vellum with Mini Glue Dots to make sure they didn’t come off. Then on the back side of the vellum I used a dot of the Fine Tip Glue Pen behind each Candy Dot to adhere the vellum to the card stock.
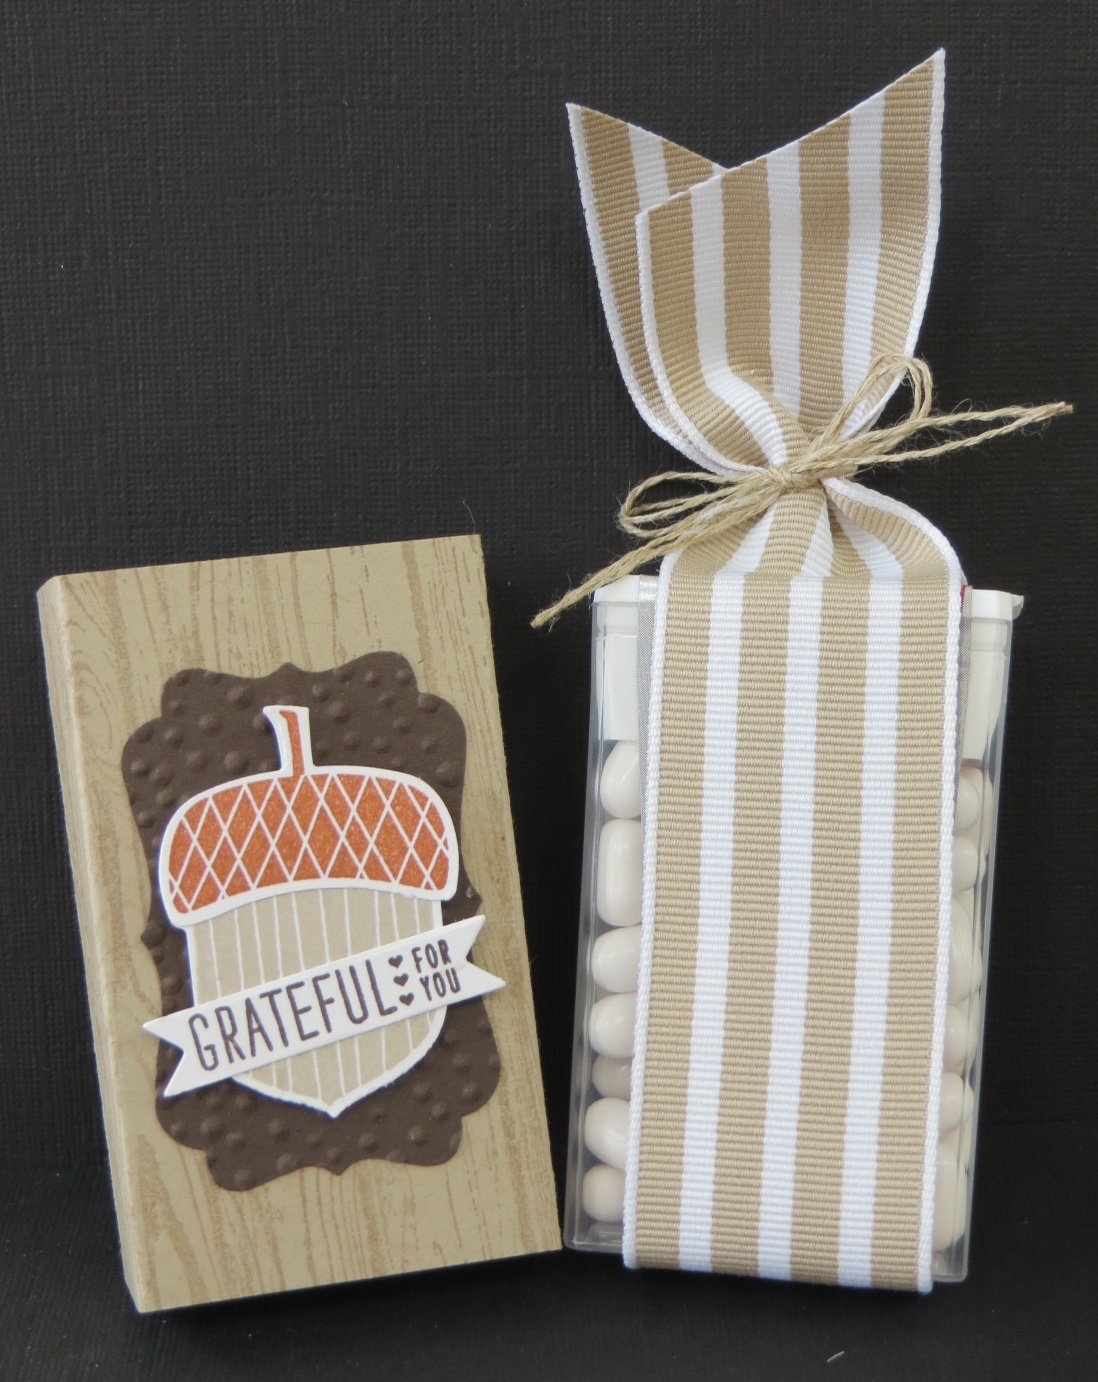
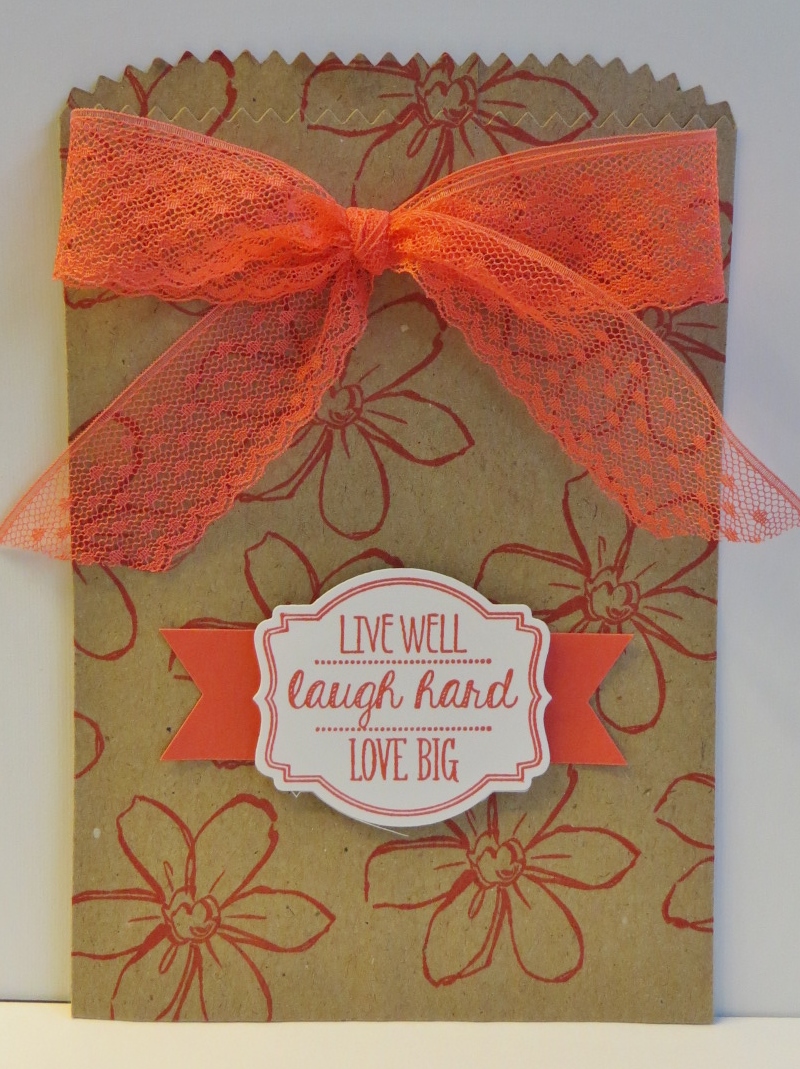
If you don’t want your bottle tag to be holiday related you could always use the “cheers” or the “thanks” from the Greetings Thinlits.
Such a cute project. Now I just need to figure out who might need a bottle of wine or flavored oil so that I can give one of these great tags away!
Have a great day! Take care and Happy Stamping!